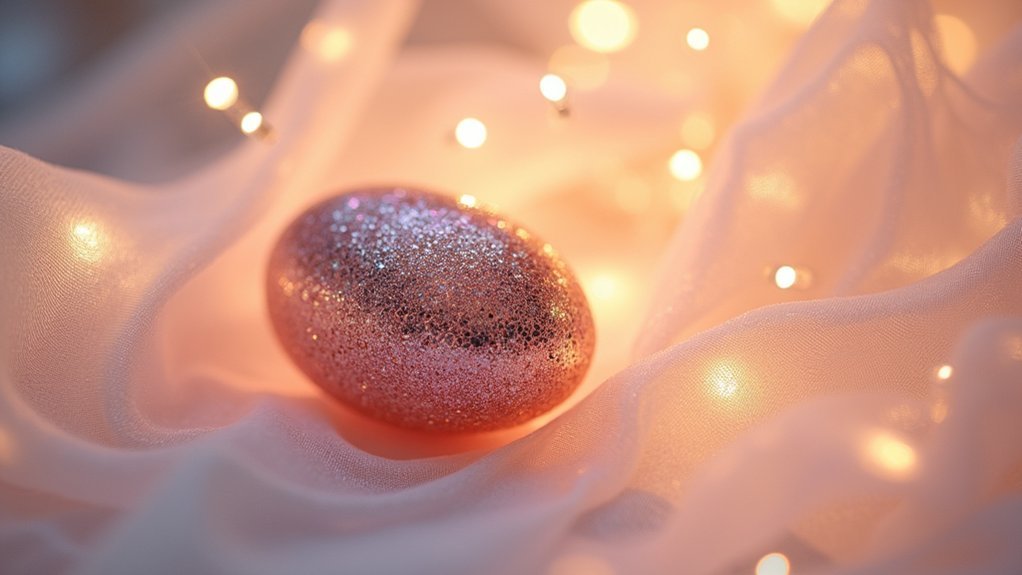
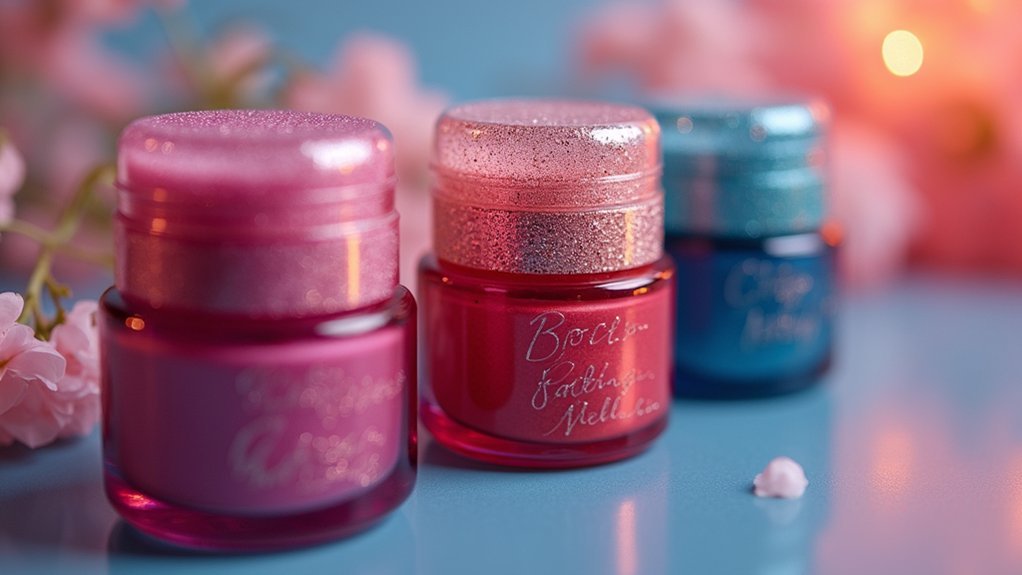
You’ll capture stunning sparkly product packaging by mastering three key techniques. First, use soft diffusers like translucent fabric positioned at 45-degree angles to eliminate harsh glare while preserving natural shimmer. Second, set your camera to ISO 100-200 with f/8-f/11 aperture and use manual focus for crisp sparkle definition. Third, enhance your shots in post-processing using dodge tools and blending modes like Screen or Overlay to amplify reflections. These foundational strategies will reveal professional-quality results.
Mastering Light Diffusion to Eliminate Harsh Glare on Sparkly Surfaces

When photographing sparkly products, you’ll quickly discover that harsh glare can transform beautiful shimmer into distracting hotspots that overwhelm your composition. Mastering light diffusion becomes essential for capturing sparkly surfaces without sacrificing their natural vibrancy.
Use soft diffusers like translucent fabric or softboxes to create diffused lighting that scatters evenly across glittery surfaces. Position your light sources at 45-degree angles to balance illumination with reflection, preventing overwhelming hotspots while preserving sparkle.
Experiment with multiple lights at varying distances to achieve even light distribution across your subject. Incorporate bounce cards made from white foam boards to reflect light from different angles, which helps reduce glare while softening harsh shadows.
Avoid direct overhead lighting that creates unwanted reflections on these delicate surfaces.
Camera Settings and Angles That Capture Maximum Sparkle Definition
While proper lighting lays the foundation for sparkly product photography, your camera settings and shooting angles determine whether those glimmers translate into stunning definition or disappointing blur.
Start with ISO 100-200 for ideal image clarity and reduced noise. Set your aperture between f/8-f/11 to maintain sharp focus while allowing sufficient light penetration.
Low ISO settings between 100-200 combined with f/8-f/11 aperture deliver crisp, noise-free product images with optimal sparkle definition.
Manual focus gives you precise control over which sparkly elements to emphasize in your product shots. Experiment with 45-degree angles when capturing reflections—this technique maximizes sparkle definition while minimizing unwanted glare.
Position small, focused light sources strategically to create dramatic highlights that enhance surface definition.
These camera settings and angles will dramatically improve your results, reducing the need for extensive photo editing later.
Post-Processing Techniques to Enhance Glitter and Rhinestone Details

Even with perfect camera settings and ideal shooting angles, post-processing remains your secret weapon for transforming good sparkly product photos into extraordinary ones.
Start by utilizing layers in editing software like Corel Paintshop Pro to isolate glitter and rhinestone details without affecting your entire image. Apply the Clone Stamp tool to eliminate background distractions and enhance your focus on product elements.
Use the Dodge tool to brighten specific sparkle areas, creating enhanced shimmer illusions. Experiment with blending modes like Screen or Overlay to amplify light reflections while preserving original colors.
Incorporate adjustment layers for hue and saturation to fine-tune glitter colors, ensuring they’re vibrant yet balanced. These post-processing techniques will make your sparkly products irresistibly eye-catching.
Frequently Asked Questions
How to Photograph Something Sparkly?
Use small, focused light sources at various angles against dark backgrounds. Set your camera on a tripod with low ISO and small aperture. You’ll capture sharp sparkles by experimenting with gentle movement.
How Do You Take Product Photos of Shiny Objects?
You’ll need focused light sources at 45-degree angles and dark backgrounds to minimize glare while maximizing reflections. Use multiple lights from different positions, then refine sparkle effects in post-production software.
What Settings Do You Use for Sparklers Photography?
You’ll want manual mode with ISO 100, aperture f/8-f/11, and bulb mode for long exposures. Use a tripod for stability, turn off auto-ISO, and manually focus on an unlit sparkler first.
How to Get Glitter to Show up on Camera?
You’ll need small, focused light sources at various angles to catch glitter’s reflective surfaces. Use spotlights instead of broad lighting, set a dark background, and shoot with low ISO around 200 for maximum sparkle.
In Summary
You’ve got the tools to transform your sparkly product shots from flat to fabulous. By diffusing light properly, you’ll eliminate unwanted glare while preserving those essential sparkle details. Don’t forget to experiment with your camera angles and settings—they’re game-changers for capturing maximum definition. Finally, your post-processing work will make those glitters and rhinestones truly pop. Practice these techniques consistently, and you’ll see dramatic improvements in your sparkly product photography immediately.


Leave a Reply