You’ll achieve stunning gemstone photos by mastering color temperature selection—use cool lighting (5000K-6500K) for diamonds, neutral (4000K-5000K) for mixed collections, and warmer tones for colored stones. Position lights at 45-degree angles to maximize brilliance while using high CRI lighting (90+) for accurate color representation. Combine direct lighting for transparent gems with diffused techniques for opaque stones, and utilize light tents or softboxes to eliminate harsh reflections. These professional techniques reveal each gemstone’s hidden beauty and fire.
Understanding Color Temperature for Different Gemstone Types
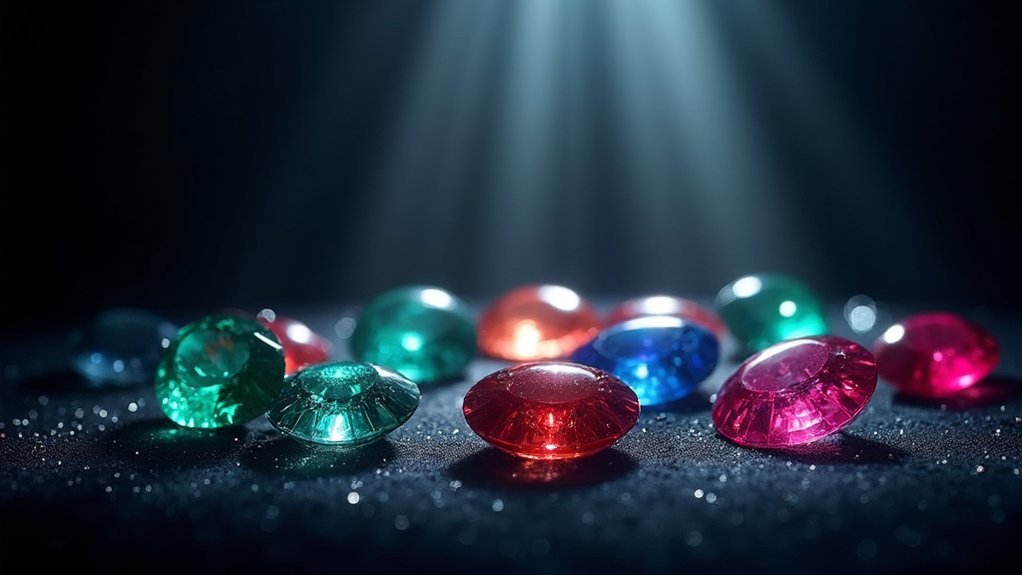
When photographing gemstones, you’ll discover that color temperature dramatically transforms how each stone appears in your images.
For diamonds and transparent stones, you’ll want cooler lighting conditions between 5000K-6500K to maximize their brilliance and sparkle.
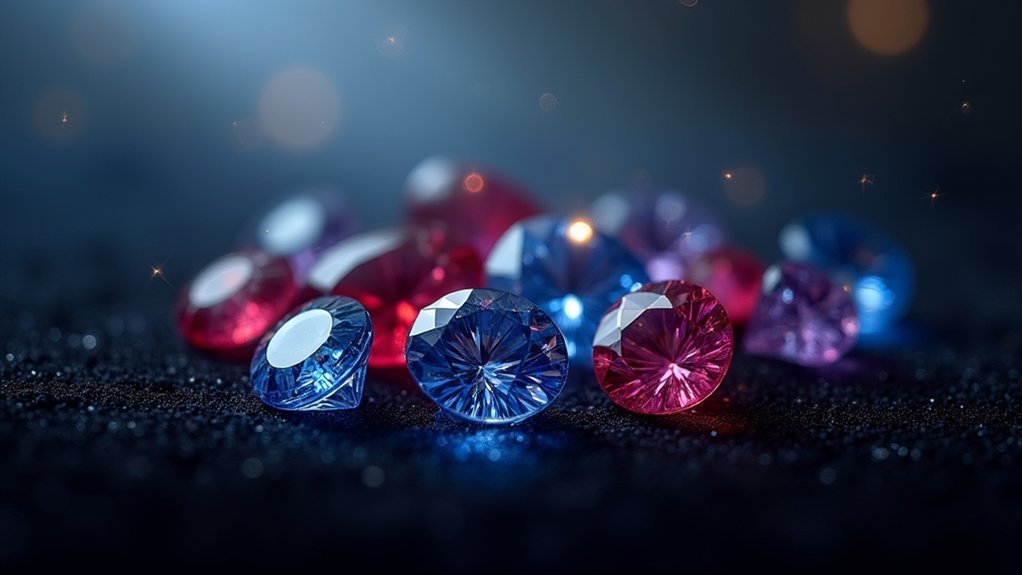
Neutral lighting at 4000K-5000K works best when you’re photographing mixed collections, providing balanced representation without color distortion.
For versatile gemstone photography sessions featuring multiple stone types, neutral 4000K-5000K lighting ensures consistent, distortion-free color accuracy across your entire collection.
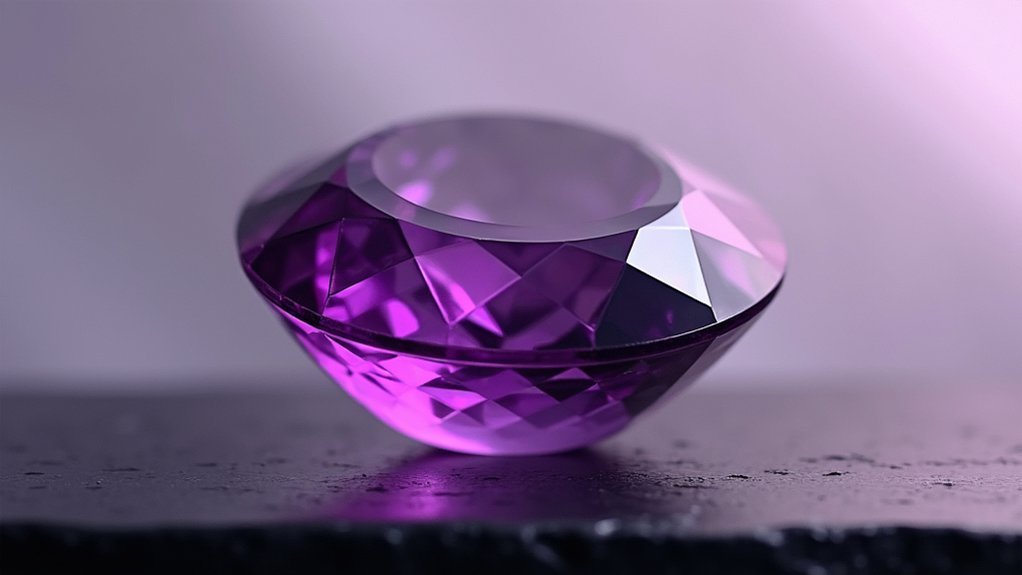
If you’re capturing rubies, sapphires, or emeralds, warmer temperatures of 2700K-3500K will make their rich hues pop with vibrant intensity.
Regardless of your color temperature choice, make certain you’re using lights with a high Color Rendering Index of 90+ for accurate color reproduction.
This combination of proper color temperature and superior CRI rating will deliver professional-quality gemstone photographs that showcase each stone’s true beauty and characteristics.
Direct vs. Diffused Lighting: When to Use Each Technique
Although your lighting setup can make or break a gemstone photograph, mastering the distinction between direct and diffused lighting will elevate your results dramatically.
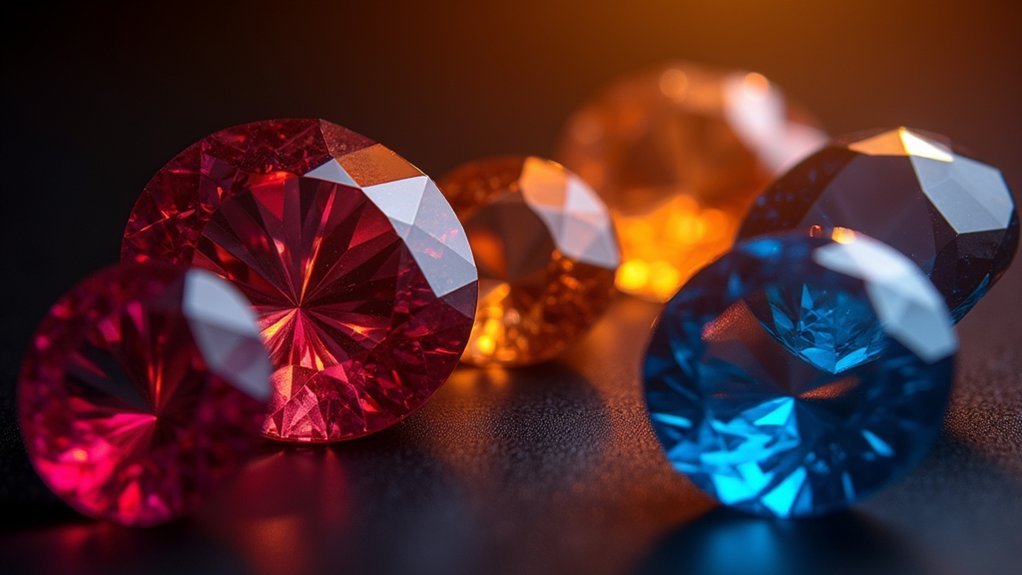
Direct lighting works best for transparent gems like diamonds, where you’ll want to highlight dispersion and brilliance. This technique enhances sparkle and reveals internal features that make each transparent gem unique.
Diffused lighting excels with opaque stones such as rubies and emeralds, showcasing their rich colors while minimizing harsh glare and reflections.
You’ll achieve the best high-quality photos by combining both lighting options strategically. Use a lightbox or light tent for controlled conditions, allowing you to balance direct and diffused elements without unwanted shadows.
This combination creates depth and dimension while accentuating each gemstone’s distinctive characteristics.
Setting Up Professional Studio Strobes for Maximum Brilliance
Professional studio strobes transform gemstone photography by delivering consistent, powerful illumination that reveals every facet’s potential.
You’ll achieve high-quality images by mastering proper strobe placement and settings that showcase your gemstone’s true brilliance.
Position your studio strobes at 45-degree angles to create dramatic highlights while minimizing unwanted glare. This technique maximizes light reflection through the gem’s facets.
- Attach softboxes or diffusers to create diffused lighting that reduces harsh reflections
- Experiment with strobe distance to control light intensity and prevent overexposure
- Combine multiple strobes for direct and diffused lighting effects
- Fine-tune power settings to maintain accurate color representation
Adjust your strobes’ power settings carefully to preserve the gemstone’s true colors and natural brilliance.
Multiple light sources allow you to highlight different aspects simultaneously, creating depth and visual interest in your final images.
Mastering LED Light Positioning for Faceted Stones
Since LED lights offer precise control and continuous illumination, they’re ideal for positioning adjustments that bring out every sparkle in faceted gemstones.
Position your LED lights at a 45-degree angle to maximize facet highlighting without overwhelming reflections during your photo shoot. Combine direct and diffused lighting to enhance color while minimizing glare from polished surfaces.
Experiment with multiple LED lights around the stone to find ideal arrangements that accentuate brilliance.
Adjust the distance between lights and gemstones to control reflection intensity and shadow balance for more flattering appearances.
Use colored LED filters or gels to creatively enhance vibrancy while maintaining natural hues.
This systematic approach to lighting guarantees you’ll capture every nuance of your gemstone’s unique characteristics with professional results.
Creating the Perfect Light Tent Environment
You’ll need to carefully consider your tent’s dimensions to accommodate different gemstone sizes while maintaining proper light-to-subject distance ratios.
Your choice of diffusion materials—whether translucent fabric, frosted acrylic, or specialized photography diffusers—directly impacts how evenly light wraps around your stones.
Strategic positioning of multiple light sources around the tent’s perimeter guarantees you’re capturing every facet’s brilliance without creating unwanted hotspots or dead zones.
Optimal Tent Size Selection
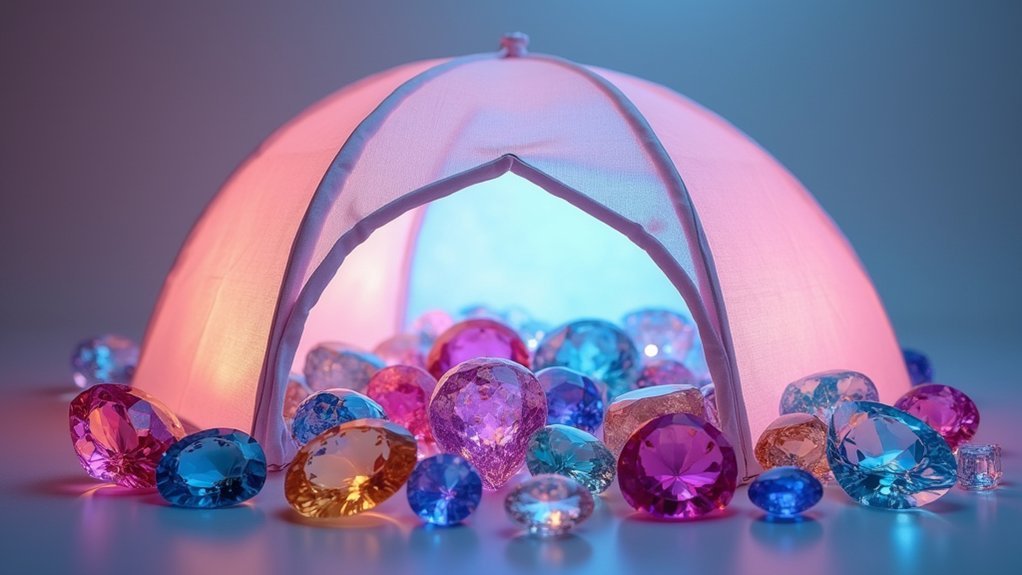
When you’re choosing the right light tent size, the space between your gemstone and the tent walls becomes essential for eliminating unwanted shadows and reflections that can ruin an otherwise perfect shot.
Your ideal tent size directly impacts the quality of your gemstone photography.
Consider these key sizing guidelines when selecting your light tent:
- Small to medium gemstones – Use at least 12×12 inches to provide adequate spacing
- Larger jewelry pieces – Opt for 24×24 inches or more for bulkier items requiring varied angles
- Adjustable openings – Choose tents with flexible flaps for better light direction control
- Diffusive materials – Make sure your tent creates soft even lighting that minimizes harsh glare
The right tent size guarantees you’ll capture stunning details while photographing gemstones with professional results every time.
Diffusion Material Choices
Although your light tent provides the foundation for controlled lighting, the diffusion material you choose determines whether your gemstone photos achieve that coveted professional glow or fall flat with harsh reflections.
White nylon and muslin excel at creating soft light while maintaining even illumination across your subject. Translucent plastic sheets or shower curtains offer budget-friendly alternatives that minimize glare on polished surfaces.
You’ll want materials with 70-90% light transmission to preserve brightness while eliminating harsh shadows. Layer multiple sheets to enhance softness and bring out your gemstone’s natural colors.
Don’t hesitate to experiment with silk or frosted glass for unique effects. Each diffusion material creates distinct characteristics in your lighting setup, allowing you to highlight specific gemstone features.
Light Source Positioning
Strategic placement of your light sources transforms an ordinary light tent into a gemstone photography powerhouse. Your understanding of light source positioning determines whether your gems capture their true brilliance or appear flat and lifeless.
Position your primary light sources at 45-degree angles to maximize facet definition and internal fire. This lighting works best because it creates dimensional depth while minimizing harsh shadows.
For high-quality gemstone photography, you’ll need multiple illumination points working together harmoniously.
- Place lights at 45-degree angles to highlight facets and enhance brilliance
- Use multiple light sources combining continuous and LED lighting for balanced illumination
- Add reflective surfaces inside your tent to bounce light and eliminate dark spots
- Minimize external interference by positioning your setup away from competing light sources
Harnessing Natural Sunlight for Authentic Color Representation
You’ll discover that mastering ideal sun angles transforms your gemstone photography by positioning stones at 30-45 degree angles to capture maximum brilliance without unwanted glare.
Understanding color temperature control becomes essential since natural sunlight shifts from cool blue tones at midday to warm golden hues during golden hour, directly affecting how your gems’ true colors appear.
Learning proper diffusion techniques outdoors—whether through sheer fabric, clouds, or strategic positioning—helps you harness sunlight’s power while maintaining the soft, even illumination that reveals every facet’s authentic beauty.
Optimal Sun Angles
When natural sunlight becomes your primary light source, understanding how to harness its power transforms ordinary gemstone photographs into stunning visual representations that capture authentic colors and brilliance.
Optimal sun angles are essential for exceptional natural light photography. Position your gemstones at a 45-degree angle to the light source, which maximizes brilliance while minimizing unwanted reflections that can obscure the stone’s beauty.
Key positioning strategies include:
- Golden hour timing – Shoot shortly after sunrise or before sunset for warm, diffused lighting
- 45-degree angle placement – Showcases depth and brilliance while reducing glare
- Light diffusion techniques – Use sheer white fabric to soften harsh direct sunlight
- Cooler daylight conditions – Target 5000K-6500K for superior color rendering without casts
This approach guarantees your gemstone’s authentic characteristics shine through every photograph.
Color Temperature Control
Natural sunlight delivers the ideal 5500K color temperature, revealing your gemstones’ true colors without artificial distortion. You’ll want to harness this advantage by setting your camera’s white balance to neutral or automatic mode.
| Light Condition | Color Temperature | Recommended Setting |
|---|---|---|
| Golden Hour | 3000-4000K | Auto White Balance |
| Overcast Day | 6000-7000K | Daylight Preset |
| Window Light | 5000-5500K | Neutral/Auto |
Position your gems near windows with indirect sunlight for superior color temperature control. This setup minimizes unwanted color casting while maintaining natural light’s full spectrum benefits, ensuring your photographs showcase genuine gemstone brilliance.
Diffusion Techniques Outdoors
Although harsh sunlight creates unwanted glare and shadows that obscure gemstone details, proper diffusion techniques transform this challenging outdoor lighting into your greatest asset.
You’ll achieve professional gemstone photos by controlling how natural light interacts with your subjects. These essential diffusion techniques will elevate your photography:
- Use translucent umbrellas or white sheets as diffusers to soften direct sunlight and eliminate harsh reflections.
- Position gems in natural shade under trees or overhangs for even light distribution and accurate color representation.
- Experiment with north-facing light angles to capture cooler tones that enhance diamond brilliance.
- Add white cards or foil reflectors to bounce soft light onto darker gem areas.
Master these outdoor diffusion techniques to harness sunlight’s power while maintaining the controlled lighting quality your gemstone photos demand.
Controlling Reflections and Eliminating Unwanted Glare
Since polished gemstones act like tiny mirrors, you’ll face the challenge of managing reflections that can obscure a stone’s true beauty and internal characteristics.
Strategic lighting placement becomes essential – position your light sources at multiple angles around the gemstone to discover the sweet spot that maximizes brilliance while minimizing direct reflections.
Polarizing filters are your secret weapon against stubborn glare. Mount them on your camera lens to dramatically reduce surface reflections, revealing the gem’s internal fire and clarity.
Don’t overlook reflectors either – they’ll bounce soft light onto your subject from various directions, enhancing color saturation without creating harsh hotspots.
Experiment with light color temperatures too. Cooler lights excel with diamonds, while warmer tones reduce glare on colored stones.
Lighting Techniques for Cabochons and Star Stones
When photographing cabochons and star stones, you’ll need to adjust your lighting approach to showcase their unique optical properties.
These gemstones appear dramatically different from faceted stones, requiring specialized lighting techniques to capture their natural beauty and phenomena.
Position your light source at a 45-degree angle to enhance surface shine while avoiding harsh reflections. This angle maximizes luster without overwhelming the stone’s characteristics.
- Use diffused lighting to minimize glare and reveal intricate color patterns without distraction
- Direct light specifically to emphasize asterism in star stones, creating a soft glow effect
- Employ a black background for maximum contrast, making colors pop dramatically
- Experiment with multiple light sources, combining direct and diffused illumination for depth
This multi-layered approach creates compelling images that truly capture these gemstones’ mesmerizing qualities.
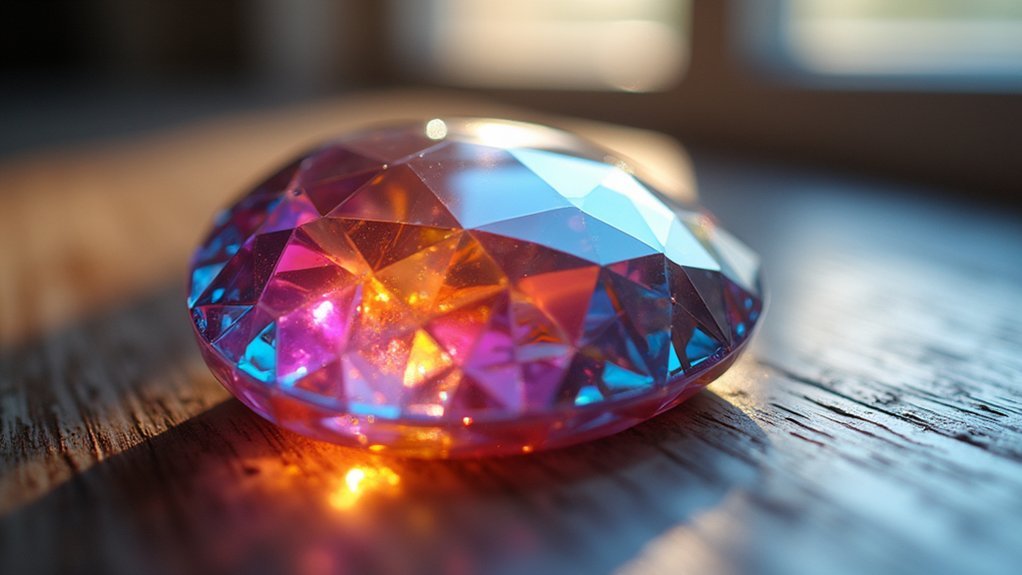
Enhancing Dispersion in Transparent Gemstones
You’ll maximize your transparent gemstone’s fire by positioning lights directly at the facets to create brilliant spectral displays.
Control your lighting angles carefully—multiple positions will capture internal reflections and refractions that showcase the stone’s optical properties.
Select cooler color temperatures between 5000K-6500K to enhance sparkle while maintaining accurate color representation with high CRI lighting above 90.
Direct Light Placement
Although transparent gemstones possess inherent beauty, direct light placement can dramatically transform their appearance by enhancing dispersion and revealing their hidden brilliance.
Position your direct light at a 45-degree angle to create dynamic highlights that’ll showcase each facet’s unique character while your high-resolution camera captures every detail.
Strategic placement techniques include:
- Spotlight positioning – Use focused beams to intensify sparkle and color play in diamonds and sapphires
- Angle experimentation – Test different positions to reveal special phenomena like asterism in star stones
- Distance adjustment – Control light reflections by modifying how close your source sits to the gemstone
- Glare management – Fine-tune angles to minimize hot spots while maximizing facets and the light interaction
You’ll discover ideal positioning through systematic testing of various direct light configurations.
Angle Control Techniques
How precisely can you control light angles to reveal a transparent gemstone’s full potential? Position your gemstone at a 45-degree angle to maximize dispersion and brilliance. These angle control techniques allow light to enter and reflect off multiple facets, enhancing your gemstone’s natural beauty.
| Angle Range | Effect | Best For | Equipment | Result |
|---|---|---|---|---|
| 30-45° | Maximum dispersion | Diamonds, crystals | Rotating platform | Enhanced brilliance |
| 45-60° | Color play emphasis | Opals, labradorite | Light tent | Reduced glare |
| Variable | Thorough assessment | All transparent stones | Softbox lighting | Ideal clarity |
| 60°+ | Internal inclusion highlight | Included gemstones | Diffused setup | Detail capture |
| Rotating | Multiple perspectives | High resolution shots | Adjustable mount | Complete coverage |
Use rotating platforms for incremental adjustments while maintaining proper lighting for stunning high resolution images.
Color Temperature Selection
When selecting color temperature for transparent gemstone photography, cool lighting between 5000K and 6500K becomes your most powerful tool for maximizing brilliance and dispersion.
This lighting range enhances the fire and sparkle that makes diamonds enchanting.
Your color temperature choices greatly impact how you’ll accurately capture gemstone characteristics:
- Use 5000K-6500K cool lighting to maximize dispersion and fire in transparent stones
- Maintain consistent lighting throughout your setup to prevent unwanted color casts
- Choose LED panels with 90+ Color Rendering Index for true color representation
- Avoid mixing different color temperatures within the same shot
You’ll notice dramatic improvements in sparkle and light refraction when using proper cool lighting.
The higher color temperature creates ideal conditions for capturing those brilliant flashes of color that make transparent gemstones truly spectacular in photographs.
Working With High CRI Lighting for Color Accuracy
Since gemstone photography demands precise color representation, you’ll need high CRI lighting rated at 90 or above to capture stones’ true hues without distortion.
This color accuracy guarantees your photographs showcase each gemstone’s natural beauty authentically, building trust with potential buyers who expect realistic representations.
Neutral lighting between 4000K-5000K works exceptionally well with high CRI fixtures, providing balanced illumination that doesn’t favor any particular color spectrum.
This combination allows diamonds, rubies, emeralds, and sapphires to display their genuine characteristics without artificial enhancement or color shifts.
Consistency becomes vital when implementing high CRI throughout your entire setup.
Every light source should maintain the same CRI rating to prevent color variations across different angles.
This uniformity assures that your gemstone’s colors remain accurate whether viewed from multiple perspectives or in various lighting conditions.
Combining Multiple Light Sources for Dramatic Effects
Building upon your high CRI foundation, you can create stunning dramatic effects by strategically combining multiple light sources that work together to reveal your gemstone’s hidden beauty.
This technique transforms ordinary shots into enchanting images that showcase extraordinary characteristics.
You’ll discover remarkable results when experimenting with various angles and intensities:
- Reveal asterism in star stones by positioning lights to highlight the star effect
- Enhance opal depth using diffused overhead lighting combined with side illumination
- Control shadows and reflections by pairing your lightbox with additional accent lights
- Balance warm and cool temperatures to preserve your gemstone’s natural color accuracy
Mobile Photography Lighting Solutions for Gemstone Dealers
Three portable lighting essentials can transform your smartphone into a professional-grade gemstone photography tool that rivals expensive studio setups.
First, invest in a portable lightbox that eliminates reflections while ensuring consistent color accuracy across all your shots.
A quality portable lightbox is your first defense against unwanted reflections while maintaining true-to-life gemstone colors in every photograph.
Second, position LED lights strategically around your gemstones to create diffused illumination that reduces glare and showcases natural brilliance without harsh shadows.
Your smartphone camera’s manual controls are equally important.
Download apps that let you adjust ISO, shutter speed, and focus for macro photography precision.
Experiment with exposure and white balance settings to capture true gemstone colors under varying conditions.
Finally, use white cards as reflectors to bounce light into dark areas, creating balanced illumination that highlights every facet and detail of your valuable stones.
Frequently Asked Questions
What Is the Best Lighting for Gemstone Photography?
You’ll achieve stunning results by combining direct and diffused full-spectrum lighting with high CRI values above 90. Use cool light for diamonds, warmer tones for colored stones, and control reflections with lightboxes.
What Is the Best Lighting for Examining a Gems Surface?
You’ll want full-spectrum lighting between 5000K-6500K with high CRI above 90. Position your diffused desk lamp at 45-degrees to minimize glare while revealing surface details and imperfections clearly.
What Is the Best Lens for Gemstone Photography?
You’ll want a macro lens with 60-100mm focal length for gemstone photography. Choose options like Canon’s 100mm f/2.8L or Nikon’s 105mm micro for sharp 1:1 magnification and excellent color accuracy.
What Camera Is Best for Gemstone Photography?
You’ll want a high-resolution DSLR like Canon’s EOS 5D Mark IV or Nikon’s D850 for gemstone photography. Sony’s Alpha A7R IV offers excellent mirrorless performance. You need at least 16 megapixels for capturing intricate details.
In Summary
You’ve now mastered the essential lighting techniques that’ll transform your gemstone photography from amateur snapshots to professional-quality images. Whether you’re using studio strobes, LED setups, or mobile solutions, you can confidently capture every facet’s brilliance and showcase true colors. Don’t be afraid to experiment with combining multiple light sources—that’s where the magic happens. Your gemstones deserve lighting that reveals their natural beauty and maximizes their visual impact.
Leave a Reply