You’ll master wax carving for fine gold jewelry by selecting the right wax type—green for intricate details, blue for curves, and hard wax for sharp edges. Use quality carving knives, wax pens, and rotary tools while maintaining sharp edges for precision. Transfer your designs with permanent markers, carve methodically using layered approaches, then refine with progressive sandpaper grits from 100# to 800#. Polish with cool flame application and fabric buffing. These foundational techniques reveal advanced texturing methods and professional casting standards.
Understanding Wax Properties for Gold Jewelry Applications
When you’re selecting wax for gold jewelry projects, you’ll discover that different wax types serve distinct purposes in achieving your desired results. Understanding wax properties is critical for successful outcomes.
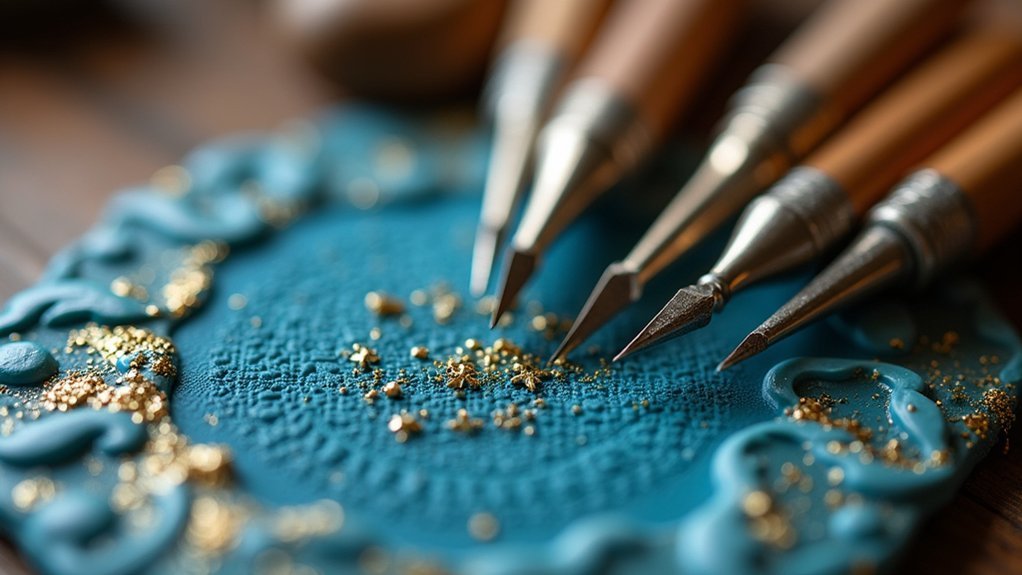
Green wax works perfectly for intricate designs requiring sharp edges and precise details. Hard wax allows you to carve crisp lines and complex patterns, while soft wax offers easier manipulation for rounded forms and flowing shapes. Blue wax provides the flexibility needed for curved elements.
For ring creation, wax tubes simplify your workflow by enabling easy cutting and resizing while maintaining casting process integrity.
Remember that wax weighs approximately 16 times less than 18-carat gold, requiring accurate weight calculations. Proper finishing techniques, including fine sandpaper smoothing and wax polish application, guarantee ideal surface quality before casting.
Essential Tool Selection for Professional Wax Carving
Every successful wax carving project begins with assembling the right tools for your specific jewelry-making needs.
The foundation of exceptional wax carving lies in selecting quality tools matched to your artistic vision and technical requirements.
Professional wax carving tools enable precision and detail essential for creating intricate designs in fine gold jewelry applications.
Your essential toolkit should include:
- Carving knives and wax files – These provide fundamental shaping capabilities and surface refinement for your wax models.
- Jeweller’s saw – Critical for cutting larger wax pieces with clean, accurate lines.
- Wax pen and rotary tool with wax burs – Enable controlled manipulation and detailed work on complex patterns.
- Sandpaper progression (100# to 800# grit) – Essential for polishing and finishing surfaces to achieve professional results.
Maintaining sharp tools reduces damage risks to delicate wax models while enhancing your finished piece’s quality and craftsmanship.
Design Transfer and Planning Techniques
Before you begin carving, you’ll need to transfer your design accurately onto the wax block using proven pattern transfer methods.
Start by sketching your design on paper to establish clear proportions, then use a permanent marker to trace these lines directly onto the wax surface.
Managing proportion control becomes essential at this stage—ensure your wax piece is slightly larger than your intended final product to accommodate material removal during the carving process.
Accurate Pattern Transfer Methods
Precision in pattern transfer forms the foundation of successful wax carving, determining whether your final piece matches your creative vision.
Using permanent markers creates bright, visible guidelines that guarantee accurate execution throughout the carving process. When you transfer designs from paper to wax, proper preparation prevents costly mistakes.
Essential Pattern Transfer Steps:
- Create scaled sketches – For complex designs, draft your concept on paper first to establish proper proportions before committing to the wax block.
- Use nail or push pin outlining – Punch out the outline of your design to maintain precision during initial transfer phases.
- Check alignment and symmetry – Frequently compare your wax model with the original sketch to guarantee accuracy.
- Employ strategic lighting – Position light sources to visualize depth and detail, allowing you to refine as needed during carving.
Proportion Control Strategies
While accurate pattern transfer establishes your design’s foundation, maintaining proper proportions throughout the carving process requires deliberate strategies that prevent dimensional drift.
You’ll want to establish clear guidelines directly on your wax block using permanent markers that create visible reference points for symmetry checks. Mark key measurements and proportional relationships from your original template onto the wax surface before beginning detailed carving work.
As you progress through each carving stage, regularly step back and compare your work against the original design proportions. Use calipers or rulers to verify critical dimensions haven’t shifted during the removal process.
When you notice proportional inconsistencies developing, make immediate adjustments rather than hoping to correct them later. This proactive approach guarantees your final piece maintains the intended design integrity and structural balance throughout the entire carving process.
Precision Carving Methods for Complex Details
When you’re tackling intricate wax carving projects, your tool selection becomes critical for achieving professional results.
You’ll need fine wax carvers and specialized wax burs that can navigate tight spaces and create the precise cuts your design demands.
Building complex details requires a methodical layered approach where you add and refine each element systematically rather than attempting to carve everything at once.
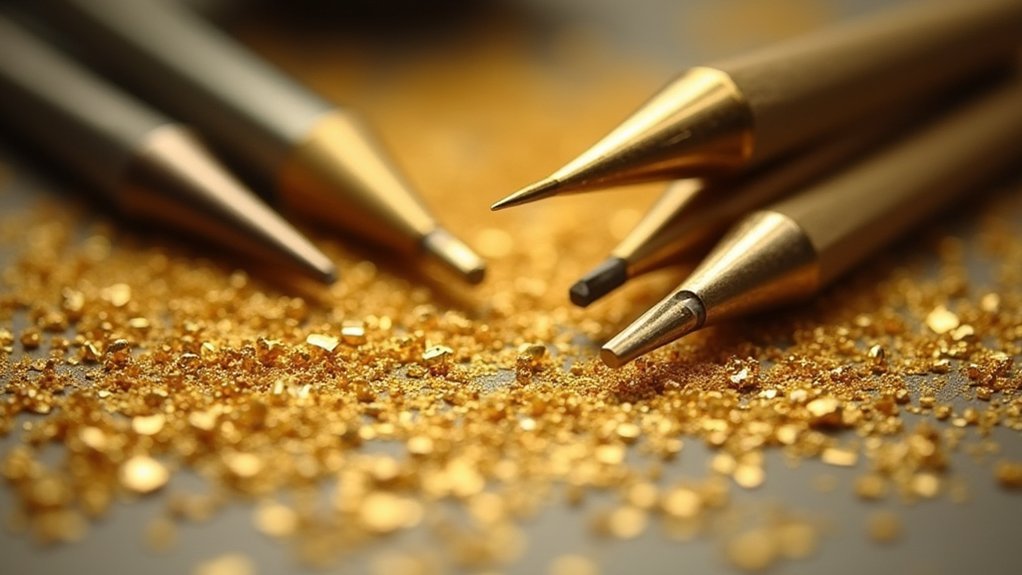
Sharp Tool Selection
Since complex wax carving demands exceptional accuracy, you’ll need to invest in high-quality sharp tools that can handle intricate detailing without compromising your design’s integrity.
The right tools and techniques make the difference between amateur work and professional-grade precision cuts.
Essential sharp carving knives come in various shapes, enabling you to execute complex designs with controlled accuracy.
Here’s what you’ll need:
- Sharp carving knives in multiple profiles for detailed work and varied cutting angles
- Diamond saw blades that slice through hard wax materials while maintaining clean edges
- Specialized files with different grits for refining surfaces and smoothing sharp changes
- Dental tools for micro-detailing and texture work in tight spaces
Maintain your tools regularly to guarantee peak performance during intricate detailing sessions.
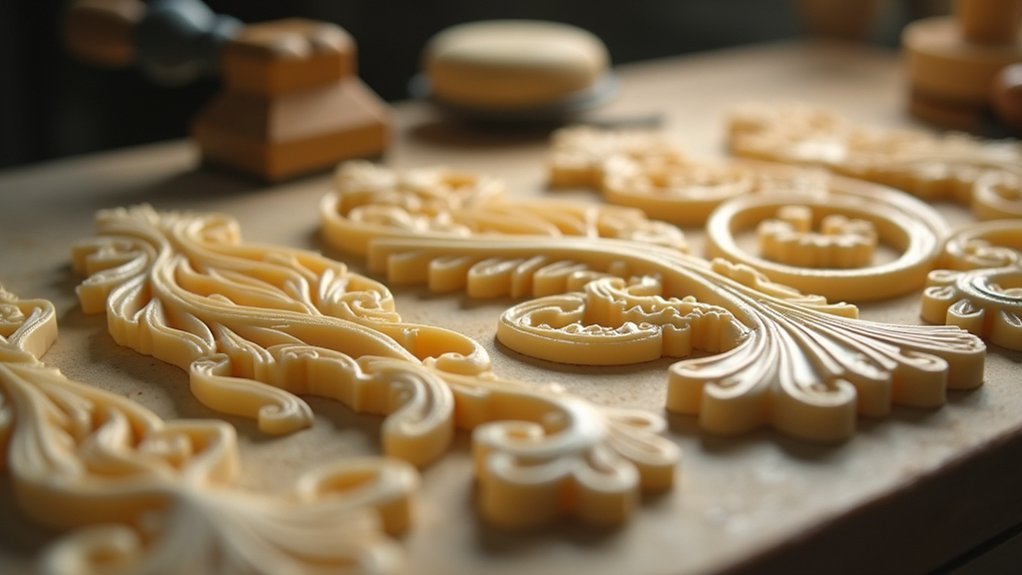
Layered Detail Approach
With your sharp tools properly selected and maintained, you can now implement a systematic layered detail approach that transforms basic wax forms into intricate masterpieces.
Start with a base form and gradually build complexity through strategic layering techniques. Use hard wax for crisp edges and soft wax for flexible shaping in your layered designs.
When carving wax, employ different tools for specific purposes—carving knives and files help refine each layer with distinct clarity. Your wax pen becomes essential for intricate details requiring precise shaping without compromising structural integrity.
These wax carving techniques demand consistent evaluation. Regularly assess your progress by checking symmetry and proportion between layers, making necessary adjustments to maintain design integrity throughout your detailed carving process.
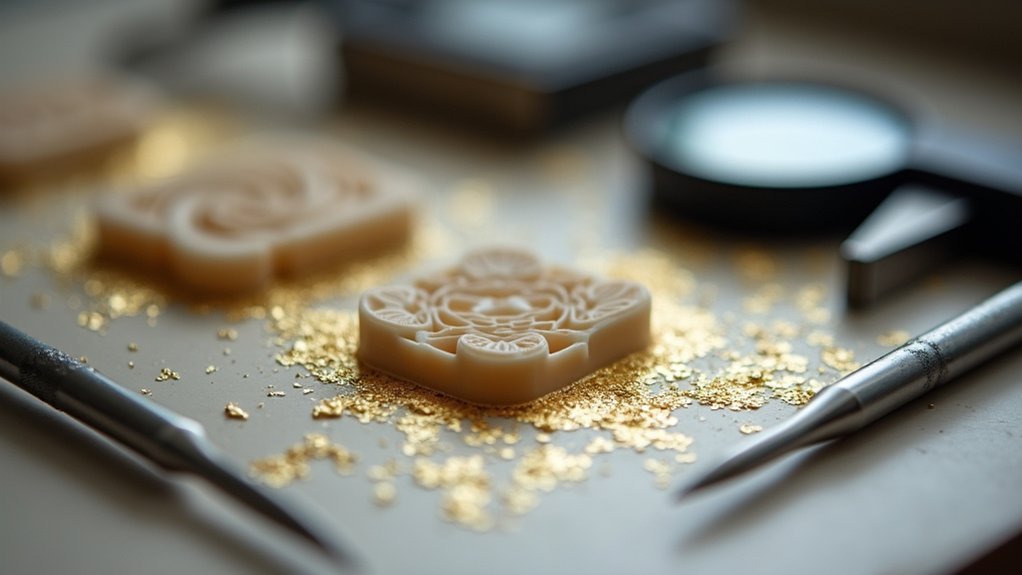
Surface Refinement and Smoothing Processes
Although your wax carving may appear complete once you’ve achieved the basic form, the surface refinement process transforms a rough model into a professional-quality piece ready for casting.
This vital phase determines whether your fine gold piece will exhibit amateur marks or professional excellence.
Your surface refinement strategy should follow this systematic approach:
- Start with coarse sandpaper (100#) to eliminate major imperfections, then progress through finer grits up to 800# for peak smoothness.
- Deploy needle files for precise edge work and detailed contouring during the carving phase.
- Apply your wax pen to create delicate textures and enhance surface quality.
- Pass through cool flame to remove rough edges, then buff with old tights for final polishing.
This methodical process guarantees your smooth finish meets casting standards.
Heat Application and Wax Manipulation Strategies
Beyond achieving that smooth finish, you’ll discover that strategic heat application opens up entirely new possibilities for manipulating your wax model.
Your heat source—whether an alcohol lamp or wax heater—facilitates controlled heat application for precise wax manipulation without compromising material integrity. Monitor temperatures carefully, as excessive heat softens wax too much, causing detail loss and structural weakness.
When making repairs with melting wax, slightly heat the original wax to create strong bonds and prevent separation. A wax pen delivers targeted heat for intricate adjustments, allowing you to add layers and enhance design complexity in specific areas.
Always let your wax cool completely after manipulation. This guarantees your final shape remains stable and retains desired details before casting.
Quality Control and Error Correction Methods
You’ll inevitably encounter carving mistakes during your wax modeling process, but don’t let these setbacks discourage your progress.
Understanding proper repair techniques can transform these errors into learning opportunities that improve your overall craftsmanship skills.
Implementing systematic final inspection methods guarantees you’ll catch any remaining imperfections before moving to the casting stage.
Common Carving Mistakes
Every artisan encounters setbacks during their wax carving journey, but understanding common mistakes can save you countless hours of frustration and material waste.
Here are four critical errors that can compromise your carving precision:
- Overzealous cutting – Making aggressive cuts destroys design integrity. Always use small, gradual cuts to maintain control and achieve the refinement your piece deserves.
- Inaccurate measuring – Poor measurements create ill-fitting pieces. Use a wax ring sizer and double-check dimensions before starting your carving process.
- Surface imperfections – Tool marks and uneven textures ruin finished pieces. Sand with progressively finer grits and polish using materials like old tights.
- Skipping final inspection – Always examine your carved piece under good lighting, inspecting for flaws before casting. You can repair uneven spots by applying heated molten wax from scrap pieces.
Repair Techniques Overview
When mistakes do occur, effective repair techniques can salvage your work and restore precision to damaged areas. This repair techniques overview focuses on methods that guarantee your wax piece maintains professional standards.
To fix uneven spots, heat your original wax surface before applying scrap wax. This creates seamless integration between new and old materials.
When using molten wax for corrections, let it cool completely to strengthen the bond and preserve your model’s integrity.
Maintain steady hands during repairs to achieve smooth finishes that won’t show in final castings. Use fine grit emery paper to refine uneven edges and surfaces, directly improving casting quality.
For quality control, pass your design through a cool flame to eliminate rough edges and imperfections, enhancing your finished jewelry’s appearance.
Final Inspection Methods
Before proceeding to casting, thorough inspection guarantees your wax model meets professional standards and eliminates costly mistakes.
You’ll need to examine every detail under proper lighting to catch imperfections that could compromise your final piece.
Here’s your systematic inspection process:
- Visual Assessment – Check for tool marks, asymmetries, and surface irregularities that might affect casting quality.
- Dimensional Verification – Use calipers to confirm your wax model matches intended specifications and proportions.
- Surface Refinement – Apply gentle flame for smoothing rough edges, then repair uneven areas with heated scrap wax.
- Final Polishing – Complete the casting process preparation by polishing with fine emery paper and fabric.
This methodical approach guarantees your dimensions are accurate and surface imperfections are eliminated before the critical casting phase begins.
Preparing Wax Models for Gold Casting
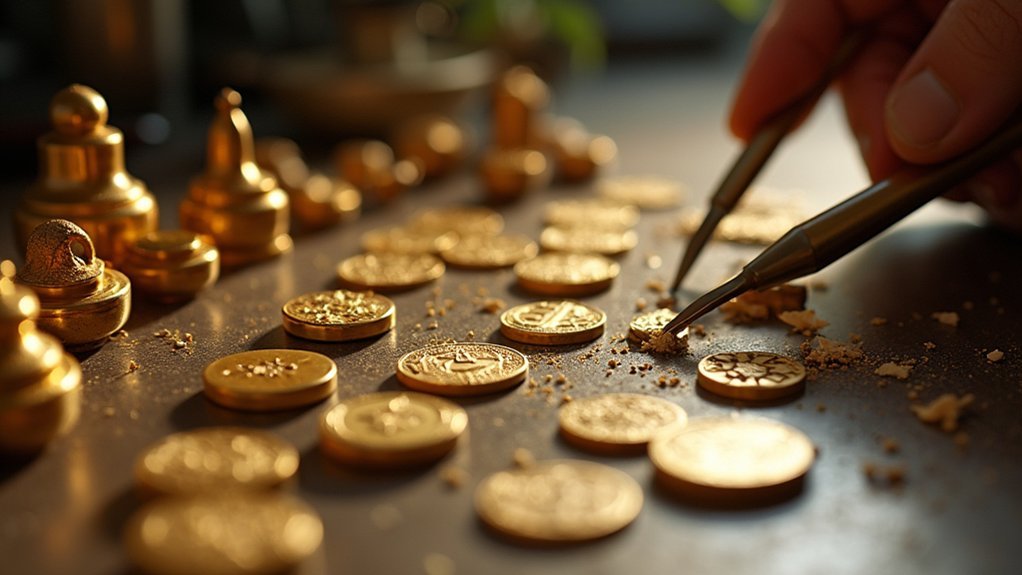
Success in gold casting depends entirely on how well you prepare your wax model, as even the smallest imperfection will transfer to your final piece. The wax carving process requires meticulous attention to detail when preparing your wax model for transformation into fine gold.
Perfection in wax preparation determines gold casting success—every flaw becomes permanent in your precious metal masterpiece.
Start by refining your carved piece with fine grit sandpaper up to 800# to achieve a smooth finish. Every surface must be flawless since molten gold will replicate exactly what you’ve created.
Next, attach a sprue to your model—this essential channel allows molten gold to flow into the mold cavity.
Before proceeding with the casting process, pass your wax model through a cool flame to eliminate rough edges, then polish it with fine materials for ideal results.
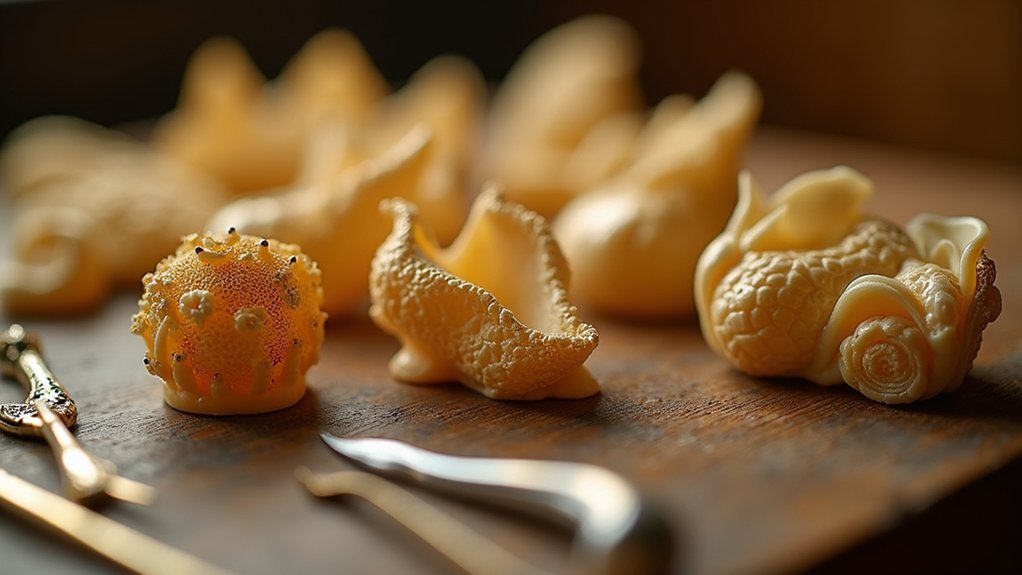
Advanced Texturing and Pattern Creation
The artistry of wax carving reaches new heights when you master advanced texturing techniques that transform simple surfaces into enthralling visual narratives.
These sophisticated methods enable you to create intricate surface patterns that rival nature’s complexity.
Advanced Texturing Methods:
- Tool-Based Texturing – Use wax burs and texturing wheels to create bark-like or fabric patterns, then apply stippling or cross-hatching for enhanced visual depth.
- Layering Different Wax Types – Combine hard green wax for sharp details with softer blue wax for smooth shifts, creating dimensional contrasts.
- Heat Application – Make wax pliable through careful heating, manipulating it to achieve organic textures with unexpected results.
- Found Objects Integration – Press textured materials into wax to create innovative patterns that guarantee each piece remains distinctly original.
Professional Finishing Standards for Cast-Ready Models
Once your wax carving showcases the intricate textures and patterns you’ve envisioned, it’s time to elevate your work to professional casting standards through meticulous finishing techniques.
Start by employing fine grit emery paper, progressing from 100# to 800#, to refine your intricate carvings and eliminate imperfections. Use a wax file for removing material and rounding sharp edges while preserving crisp details.
Pass your model through a cool flame to enhance smoothness—a technique taught in any thorough wax carving course. Inspect for symmetry and accuracy, as flaws translate directly to the finished piece.
Finally, polish with soft cloth or old tights to achieve high shine. These jewelry-making techniques guarantee ideal casting quality and professional results.
Frequently Asked Questions
How to Smooth Carving Wax?
Start with coarse 100# sandpaper to remove imperfections, then progress to finer grits up to 800#. Use needle files for detail work, wax files for edges, and polish with soft cloth for smooth finish.
What Is the Difference Between Green and Blue Carving Wax?
You’ll find green carving wax is harder and perfect for intricate details and sharp edges, while blue wax is softer and more flexible, making it ideal for smooth curves and organic shapes.
What Is the Lost Wax Carving Method?
You’ll sculpt your design in wax, then encase it in investment plaster. Once heated, the wax melts out, leaving a cavity where you’ll pour molten metal to create your final jewelry piece.
What Is the Melting Point of Carving Wax?
You’ll find that carving wax melts between 60°C to 90°C, depending on the type you’re using. Harder green waxes melt at higher temperatures, while softer blue waxes have lower melting points.
In Summary
You’ve now mastered the fundamental techniques that’ll transform your wax carving from basic attempts into professional-quality models. Remember, consistent practice with proper tools and attention to detail separates amateur work from pieces worthy of fine gold casting. Don’t rush the refinement process—your patience during surface preparation and quality control directly impacts your final jewelry’s success. Apply these methods systematically, and you’ll consistently produce cast-ready models that meet industry standards.


Leave a Reply