You’ll master prong setting by selecting compatible stones for standard or custom settings, using essential tools like prong pliers and magnification equipment, and creating precise notches with lubricated burrs cut halfway through prong wire. Center your stone between evenly spaced prongs, then close them systematically in opposite directions—North, South, East, West—while testing for levelness. Finally, file prongs to desired length, round tips with cup burrs, and polish for professional shine. These foundational techniques will elevate your jewelry craftsmanship to new heights.
Understanding Stone Types and Setting Compatibility
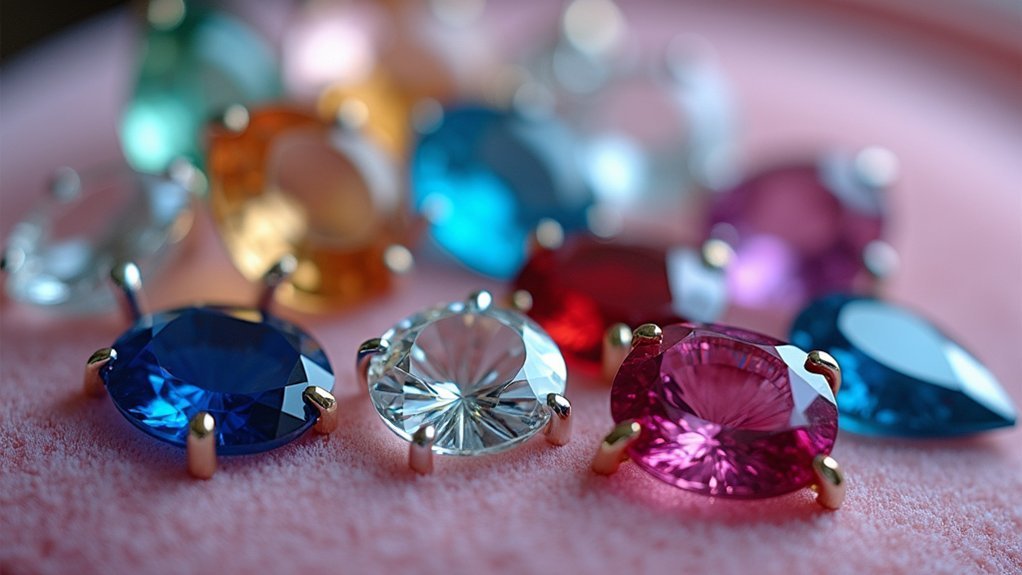
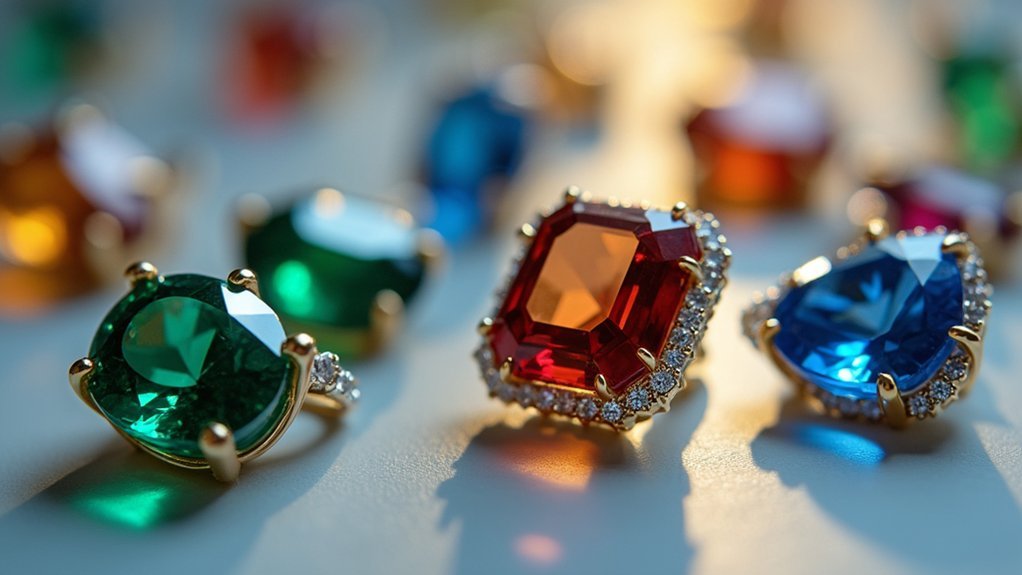
When you’re selecting a prong setting for your gemstone, the stone’s characteristics determine which setting style will work best.
Calibrated stones like diamonds and cubic zirconia fit perfectly in standard pre-made prong settings since they’re cut to specific sizes like 4mm, 6mm, or 8mm. However, you’ll need custom settings for non-calibrated stones, requiring precise measurements and adjustments.
Faceted gemstones require pre-notched prongs that accommodate the girdle and secure the stone properly.
When setting stones with cabochon cuts, you’ll find low dome settings work best, though deeper cabochons can be challenging.
Consider your gemstone’s hardness too—softer stones like opals benefit from protective bezel settings rather than traditional prongs to prevent damage during wear.
Essential Tools and Equipment for Prong Setting
You’ll need the right tools to execute professional prong settings that securely hold your gemstones.
Your toolkit should include basic essentials like prong pliers and tweezers for fundamental setting work.
As your skills develop, you can invest in advanced equipment that’ll enhance precision and expand your setting capabilities.
Basic Prong Setting Tools
Success in prong setting depends heavily on having the right tools at your disposal. When working with prong settings, you’ll need specialized setting tools to secure each gemstone in place effectively. Prong pliers help close prongs securely, while gemsetting pliers offer precision manipulation during jewelry making projects.
| Tool | Purpose | Benefit |
|---|---|---|
| Prong Pliers | Close prongs securely | Guarantees stone security |
| Gemsetting Pliers | Precision manipulation | Better control |
| Small Parts Tray | Organize components | Keeps elements accessible |
| Magnification Tools | Detailed examination | Accurate alignment |
| Burrs with Lubricant | Notch prongs accurately | Precise preparation |
Don’t forget tweezers or a pickup stick for safe gem handling, magnification tools for detailed work, and a small parts tray to organize components. These essential tools guarantee professional results.
Advanced Setting Equipment
Beyond basic tools, several advanced pieces of equipment can elevate your prong setting from adequate to exceptional.
Professional prong pliers offer superior grip control for closing prongs without damaging delicate settings. Gemsetting pliers provide specialized jaw configurations that accommodate various gemstone shapes while maintaining consistent pressure distribution. Prong pushers deliver precise force application, allowing you to secure prongs incrementally without over-bending.
High-quality cutting tools become essential when creating custom notches for unique gemstone configurations. These precision instruments require regular maintenance with appropriate lubricants to guarantee clean cuts and extended tool life.
A thorough magnification system, whether head-mounted loupes or adjustable bench magnifiers, transforms your ability to work with microscopic details.
Professional-grade small parts trays with compartmentalized sections prevent costly gemstone loss while maintaining organized workflow efficiency throughout complex setting procedures.
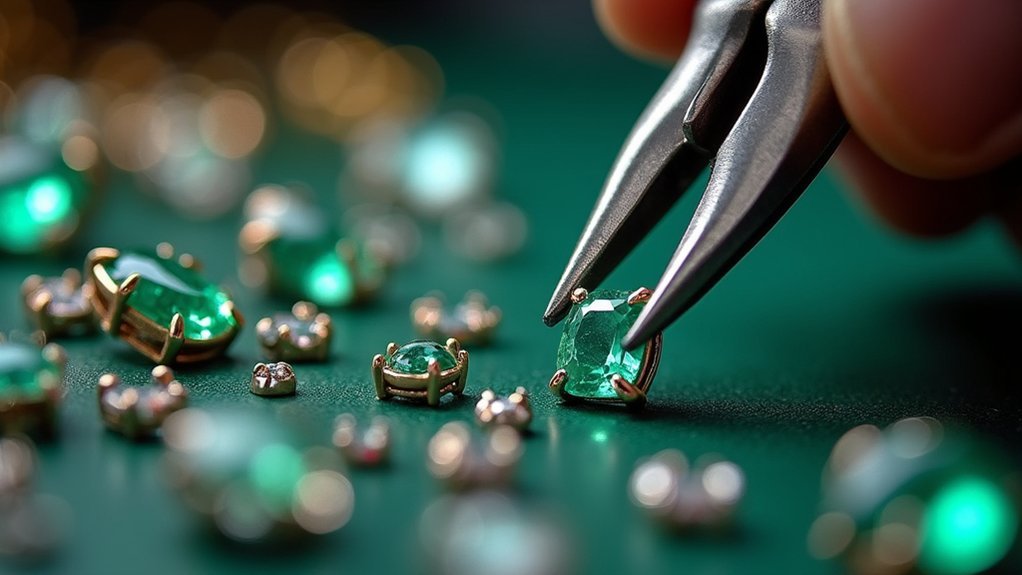
Creating and Shaping Wire Prongs

Master the art of wire prong creation by starting with precise measurements and cuts. You’ll need to trim your prong wires to half the height of your gemstone’s crown for ideal coverage during setting. This guarantees your stone sits securely in your jewelry designs.
Next, use a hart bur to cut seats in each prong wire, creating stable resting points for your gemstone. File the prong tops flat after trimming—this step’s essential for smooth closing over the stone and achieving professional results.
When notching prong wires, work with a sharp bur and proper lubrication for precision cuts. You want secure holds without excessive pressure that could damage delicate stones.
Finally, polish prong heads using silicone wheels or polishing papers, removing rough edges for flawless finishes.
Notching Techniques for Proper Stone Seating
When you’re ready to create the perfect seat for your gemstone, precise notching becomes the foundation of a secure and professional setting. This technique creates essential seats where your stone’s girdle will rest, ensuring stability and proper positioning within your prongs.
Follow these critical steps for effective notching:
- Use sharp burs with lubrication – This combination provides better control and smoother cuts during the notching process.
- Cut halfway through the prong wire – This depth facilitates proper adjustment while maintaining structural integrity.
- Check recommended bur speeds – Proper speeds prevent chatter that affects notch quality and stone fit.
- Test fit and adjust – Always verify your stone sits level and stable in the setting.
Master these notching techniques, and you’ll achieve professional-quality prong settings every time.
Step-by-Step Stone Placement and Adjustment
Once you’ve prepared your prongs through proper notching, you’ll position the gemstone carefully between them to achieve ideal placement.
You must then adjust the prong spacing to guarantee even distribution around the stone’s perimeter, which prevents tilting and maintains structural integrity.
Finally, you’ll verify that the stone sits level by checking alignment from multiple angles before proceeding to secure the prongs permanently.
Proper Stone Positioning
Although proper stone positioning requires patience and precision, you’ll achieve professional results by following a systematic approach to placement and adjustment.
Your prong setting success depends on careful stone positioning from the start. Here’s how to secure your gemstone properly:
- Center the stone between the prongs, guaranteeing it rests evenly against the bearing for maximum stability and support.
- Adjust prong spacing evenly around the stone while keeping it level throughout the positioning process.
- Use flat pliers to gently squeeze prongs in opposite pairs (N, S, E, W) to maintain perfect balance and security.
- Test fit multiple times during adjustment to confirm the stone remains level and sits at your desired height.
Double-check the final position to verify your gemstone is completely secure within the prong structure.
Prong Spacing Alignment
Perfect prong spacing alignment transforms your gemstone setting from amateur to professional quality. You’ll need to adjust prongs for even spacing around your stone, guaranteeing symmetrical positioning for balanced appearance. Close prongs gradually in opposing directions—North, South, East, West—maintaining level positioning throughout the process.
| Direction | Order | Purpose |
|---|---|---|
| North | 1st | Initial anchor point |
| South | 2nd | Opposing stability |
| East | 3rd | Lateral balance |
After closing, double-check alignment and spacing to confirm your gemstone sits securely. Make gentle adjustments by squeezing or repositioning prongs for uniformity. These setting techniques guarantee stability around your gemstone while maintaining professional appearance. Proper prong spacing prevents stones from shifting and creates visually appealing symmetry that enhances the overall design.
Level Setting Verification
With your prongs properly spaced and aligned, you’re ready to verify the stone sits level throughout the entire setting process. This critical step guarantees your gemstone remains perfectly positioned while you secure it in place.
Follow this systematic approach for level setting verification:
- Position the stone centrally between the prongs, checking that it rests evenly across all contact points for ideal support and visual appeal.
- Close prongs systematically in opposite directions (North, South, East, West) to maintain the stone’s levelness as you work around the setting.
- Test the stone’s security by gently checking for movement after closing all prongs to confirm it’s firmly held.
- Make final adjustments using flat pliers to gently squeeze prongs if needed, guaranteeing the stone remains level and secure.
Securing Prongs With Professional Closing Methods
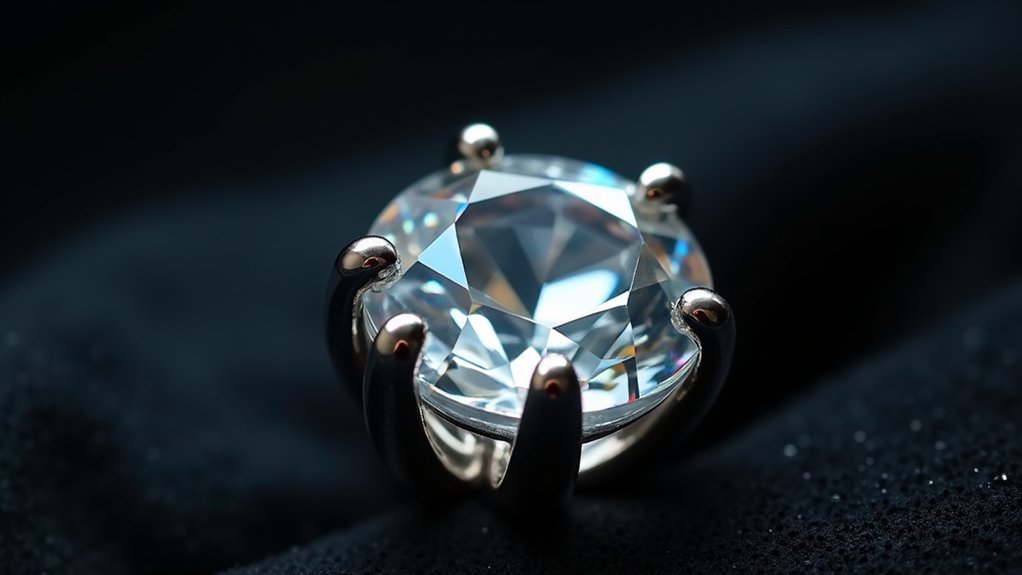
Once you’ve positioned your gemstone and trimmed the prong wires to the appropriate height, you’ll need to master the art of closing prongs with precision and control. Start by using prong pliers with one jaw below the setting and the other on top of each prong to guarantee even pressure distribution.
| Step | Tool | Direction | Purpose |
|---|---|---|---|
| 1 | Prong Pliers | North/South | Initial closure |
| 2 | Prong Pliers | East/West | Level positioning |
| 3 | Prong Pushers | All directions | Final adjustment |
| 4 | Test Movement | N/A | Security check |
This setting method requires working in opposite directions to maintain the stone’s level position. After using prong pliers, utilize prong pushers to finalize closure, applying additional force if necessary. The prongs should securely grip your stone without damage, and properly set gemstones won’t shift when gently tested.
Finishing and Polishing Techniques for Prong Settings
After securing your gemstone, the quality of your prong setting depends heavily on proper finishing techniques that transform rough, functional prongs into polished, professional-looking components.
Achieving professional-grade results requires systematic attention to detail:
- File and smooth – Use a fine needle file to trim prongs to desired length and eliminate sharp edges for a refined appearance.
- Round the tips – Employ a cup burr to create rounded prong tips that won’t snag clothing or skin while maintaining secure stone retention.
- Polish thoroughly – Apply silicone wheels or polishing papers to achieve brilliant surface shine that enhances your setting’s overall aesthetic appeal.
- Clean and inspect – Remove polishing compound residue with ultrasonic cleaning, then perform final inspection ensuring your gemstone remains secure and prongs display uniform finish quality.
Frequently Asked Questions
What Is the Most Common Gem Setting Style?
You’ll find that prong setting is the most common gem setting style. It uses metal prongs to secure stones while maximizing light exposure, making it perfect for showcasing your gemstone’s brilliance and sparkle effectively.
What Is the Most Secure Gemstone Setting?
The bezel setting’s your most secure choice since it completely encases your gemstone in metal. You’ll get maximum protection from impacts and minimize loss risk, though you’ll sacrifice some sparkle compared to prong settings.
What Is the Prong Setting Method?
You’ll use metal extensions called prongs to grip and secure gemstones in jewelry settings. This method maximizes light exposure to your stone, enhancing its brilliance while providing reliable security for most gems.
What Is the Four Prong Stone Setting?
You’ll use four metal prongs positioned at cardinal points around your gemstone to create this classic setting. It maximizes light exposure while providing secure support, making it perfect for engagement rings.
In Summary
You’ve now mastered the fundamental techniques that’ll transform your prong setting skills from amateur to professional. Remember, practice makes perfect—start with less expensive stones to build your confidence before working with valuable gems. Don’t rush the process; each step requires patience and precision. With these seven techniques in your toolkit, you’ll create secure, beautiful settings that showcase gemstones at their absolute best while ensuring they’ll last for generations.


Leave a Reply