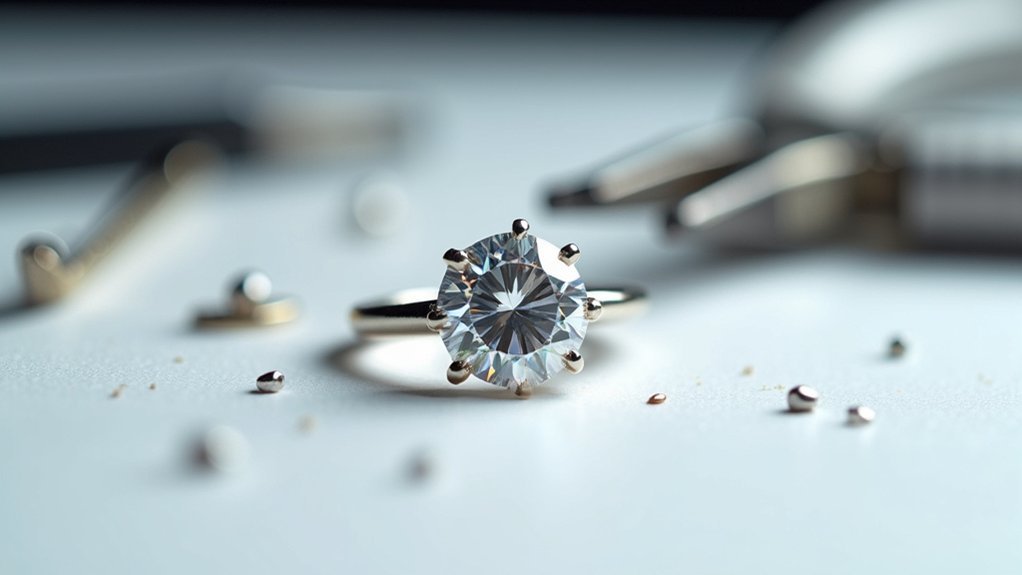
You’ll need chain nose pliers, stone setting pliers, and a jeweler’s loupe to repair diamond prongs effectively. Start by inspecting for bent, worn, or loose prongs that catch on fabric or create gaps around your stone. Carefully straighten damaged prongs with pliers, or file down severely compromised ones for complete replacement. Secure your diamond back into the setting by alternating tightening pressure across all prongs, then polish with rubberized abrasive wheels. The complete process requires precise techniques to guarantee lasting results.
Understanding the Role of Prongs in Diamond Settings
The tiny metal claws gripping your diamond serve as the primary guardians of one of your most precious possessions. These prongs physically anchor your gemstone within the setting, creating the essential barrier between security and potential loss. When functioning properly, they maintain constant contact with your diamond’s surface, eliminating gaps that could compromise stability.
Your ring’s prongs come in various styles—claw, button, and V-shaped designs—each engineered for specific security levels and visual appeal.
However, daily wear gradually weakens these metal guardians through impacts, catching, and general stress. Damaged or worn prongs create vulnerabilities that lead to loose stones, making regular inspections vital for prevention.
Signs Your Diamond Prongs Need Repair
While prongs silently protect your diamond day after day, subtle changes in their condition can signal brewing trouble that demands your immediate attention. You’ll need to inspect your jewelry regularly for warning signs that indicate repair needs.
| Warning Sign | What to Look For | Action Required |
|---|---|---|
| Movement | Diamond shifts or rocks in setting | Immediate tightening |
| Visible gaps | Space between stone and prongs | Professional adjustment |
| Bent prongs | Crooked or misaligned positioning | Straightening repair |
| Signs of wear | Thinning, fraying, or weakening | Replacement needed |
| Fabric catching | Prongs snag on clothing | Professional realignment |
If you notice loose jewelry symptoms like excessive diamond movement or prongs catching on fabric, don’t delay seeking help. A professional jeweler can assess the damage and recommend appropriate repairs before you risk losing your precious stone entirely.
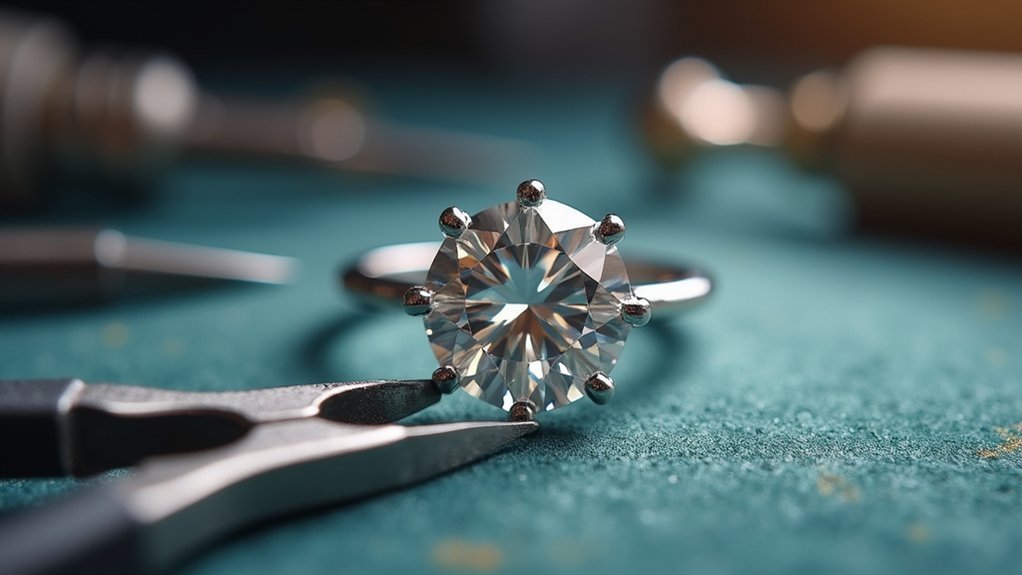
Tools and Equipment Required for Prong Repair
Successful prong repair demands precision tools that allow you to work safely around valuable gemstones without causing damage.
Chain nose pliers are necessary tools for straightening crooked prongs, while stone setting pliers guarantee effective closure. You’ll need a safe-edge needle file for smoothing prong tips and a rubberized abrasive wheel on a flex shaft to polish prongs after adjustments.
A magnifying glass or jeweler’s loupe is essential to identify potential issues through close inspection of prong alignment and wear patterns.
For attaching new prongs, use a soldering iron or torch to create secure bonds. Precision screwdrivers help disassemble rings when needed.
Having these tools readily available supports regular maintenance and enables you to address prong problems before they compromise your diamond’s security.
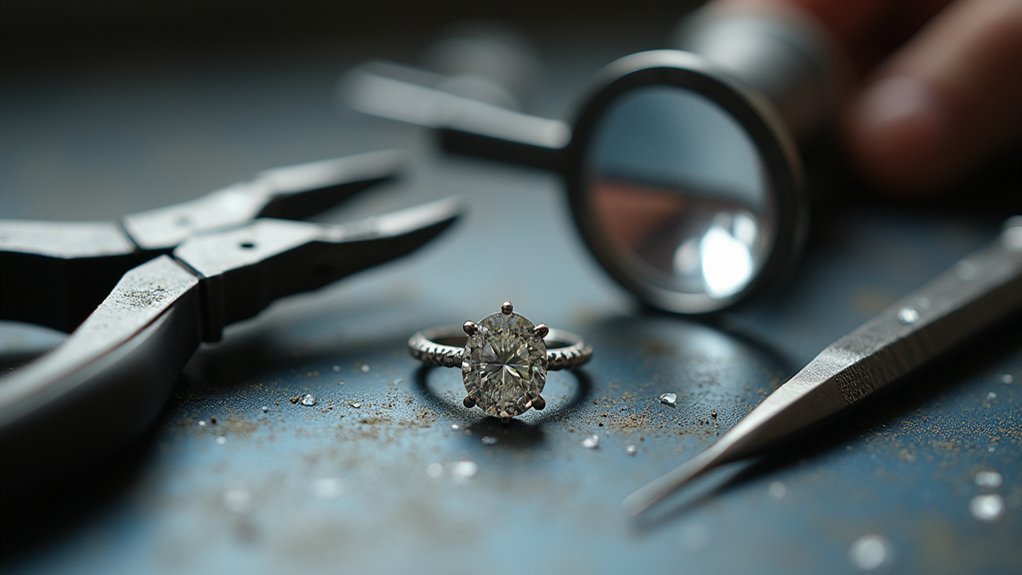
Removing the Diamond Safely From the Setting
Before you remove your diamond, you’ll need to carefully assess each prong’s condition to identify any cracks, wear, or weakness that could affect the removal process.
Once you’ve confirmed the prongs are stable enough for manipulation, use professional-grade gemstone tools rather than household items to avoid damaging the stone or setting.
Apply gentle wiggling motions combined with upward pressure using proper removal techniques, but stop immediately if you encounter any resistance that could indicate a problem.
Assess Prong Condition First
First things first – you’ll need to evaluate each prong’s condition before attempting any removal work. Using a magnifying glass, carefully examine each prong for damage that could complicate removal. Worn prongs require different handling techniques than healthy ones, so this assessment determines your approach.
| Prong Condition | Visual Signs | Removal Method | Risk Level |
|---|---|---|---|
| Excellent | Sharp, intact tips | Standard lifting | Low |
| Good | Minor wear marks | Gentle pressure | Low-Medium |
| Fair | Visible thinning | Extra caution needed | Medium |
| Poor | Cracked or bent | Professional repair first | High |
Look for prongs that show signs of wear, including scratches, thinning, or cracks. Periodic inspections help identify these issues early, preventing stone loss and simplifying repairs.
Use Proper Tools
After determining your prongs’ condition, you’ll need the right tools to remove the diamond without causing damage.
Use specialized stone setting pliers to grip prongs securely without harming them or the gemstone. Place your diamond on a cushioned surface to prevent contact with hard surfaces that could cause minor scratches or chips.
Before removal, carefully straighten any crooked prongs to avoid unnecessary stress on the stone. Gently push prong tips downward with pliers, ensuring you don’t overbend them since you’ll need their original shape for reinstallation.
With proper care during this process, you’ll preserve both the diamond and setting integrity.
Once freed, examine prongs for wear or damage. If you’re uncomfortable with this delicate work, seek professional assistance immediately.
Professional Removal Techniques
When you’re ready to remove the diamond, begin by positioning your specialized stone setting pliers at the base of each prong rather than the tips.
Professional removal techniques require careful assessment of prong condition before proceeding. Apply controlled pressure to gently loosen each prong, working systematically around the stone. The jeweler guarantees no cracking or chipping occurs by bending prongs back with precision rather than force.
Once prongs are opened sufficiently, delicately lift the diamond from its setting. Avoid placing any stress on the stone during extraction. This process works equally well for engagement rings and other precious jewelry pieces.
After removal, immediately inspect the diamond under magnification for any surface damage or structural issues. This thorough examination guarantees the stone remains in ideal condition before you proceed with prong replacement or repair work.
Straightening and Preparing Existing Prongs
Before setting a diamond securely, you’ll need to examine and straighten any crooked prongs that could compromise the stone’s stability. Use chain nose pliers to grip each prong from above, making sure you cover the prong’s full length during straightening. Align every prong vertically to achieve parallel positioning, which is vital for ideal stone placement.
After straightening, check for gaps between the stone and prongs to guarantee a snug fit that’ll secure the gemstone effectively.
Employ stone setting pliers to close prongs properly by pushing them inward before applying downward pressure on the tips. Use a systematic tightening process, alternating between opposite sides to keep the stone stable.
Regular care includes checking prong alignment to maintain your diamond’s security.
Installing New Prongs When Replacement Is Necessary
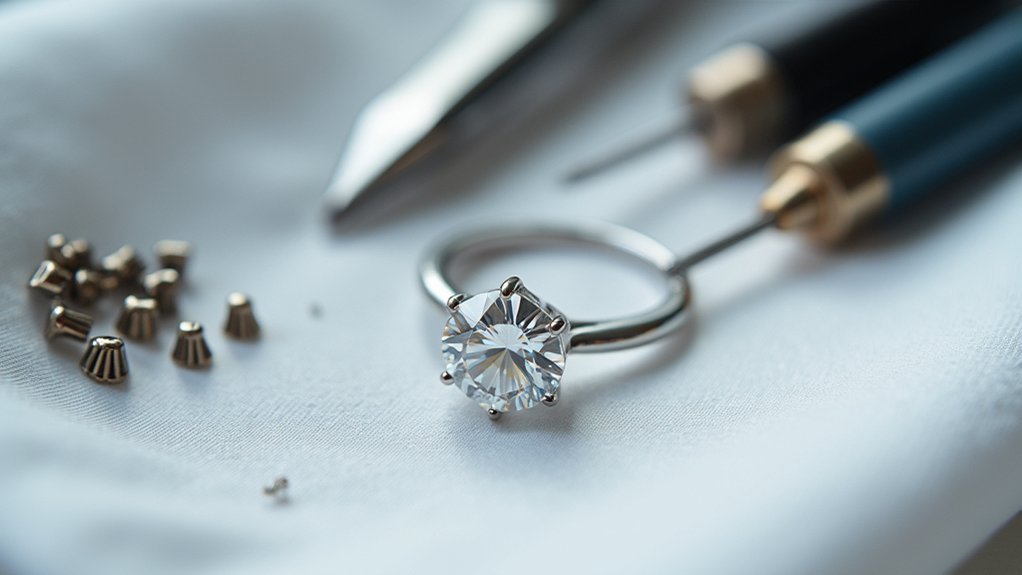
Sometimes straightening existing prongs won’t provide adequate security for your diamond, making complete prong replacement the only viable solution. When wear and tear has compromised your prongs beyond repair, installing new prongs becomes crucial to properly hold the stone.
| Step | Action | Purpose |
|---|---|---|
| 1 | Remove diamond carefully | Prevent damage during repair |
| 2 | File down old prongs | Create smooth attachment surface |
| 3 | Install custom-made prongs | Guarantee secure diamond fit |
You’ll need a skilled jeweler to handle this delicate process. They’ll craft custom prongs matching your ring’s specifications, then meticulously secure your diamond back into place. The jeweler will check alignment and tightness before polishing the ring, guaranteeing new prongs blend seamlessly with the original design.
Securing the Diamond Back Into the Setting
Once you’ve installed new prongs, you’ll need to carefully position your diamond back into the setting with precision and control.
Start by ensuring proper diamond placement within the prong framework, then move on to making final prong adjustments that’ll secure the stone permanently.
These two critical steps require steady hands and attention to detail to achieve both security and visual appeal.
Proper Diamond Placement
After reshaping your prongs, you’ll need to carefully position the diamond back into its setting with precision and attention to detail.
Proper diamond placement starts with centering the stone within the prongs to maintain balance and visual appeal. Use a jeweler’s loupe to inspect the alignment, checking that the diamond sits snugly without gaps between the stone and prongs.
Employ precision stone setting pliers to carefully push each prong downward against the diamond, securing it securely in place.
Alternate tightening the prongs to maintain even pressure and prevent the stone from shifting during installation. Once positioned, gently wiggle the diamond to verify its stability—it should remain completely motionless, ensuring it remains properly secured within the setting.
Final Prong Adjustment
The final prong adjustment requires precise technique to lock your diamond permanently in place.
Position the diamond carefully into the prong setting, guaranteeing it aligns perfectly with each prong’s contours. Use stone setting pliers to gently push the prong tips downward, securing the diamond without excessive pressure that could cause damage.
Verify all prongs sit snug against the diamond with no gaps, which indicate loose fitting that risks stone loss.
Inspect prong alignment to guarantee they’re evenly positioned and pointing inward toward the stone. These adjustments are critical for long-term security.
Complete your repair by performing a stability test—gently wiggle the diamond to confirm it doesn’t move within the prongs, indicating successful setting.
Finishing and Polishing the Repaired Prongs

When you’ve completed the structural repairs to your diamond prongs, you’ll need to refine and polish them to achieve a professional finish.
Start by using a safe-edge needle file to round the prong tips and remove any marks, keeping the safe-edge side toward the stone to prevent scratches.
Next, attach a rubberized abrasive wheel to your flex shaft to clean and polish the prongs effectively, creating smooth surfaces that won’t snag or damage the gemstone.
After completing these repairs, lightly polish the prongs with a soft cloth to restore their shine and enhance the ring’s overall appearance.
Finally, retouch the finish on the entire ring to maintain uniformity and preserve its beauty throughout.
Testing and Quality Assurance After Repair
Once you’ve polished your repaired prongs to perfection, rigorous testing becomes essential to verify the diamond’s security and the repair’s overall success.
Start by gently wiggling the gemstone to confirm there’s no movement. Use a magnifying glass to inspect for gaps between prongs and stone, as these indicate improper fitting.
Check that all prongs point inward uniformly and maintain equal height for ideal appearance. Test each prong by applying slight pressure with a proper setting tool – they shouldn’t spring back after tightening.
This thorough testing and quality assurance after repair process helps identify issues before they become serious problems.
For your precious Engagement Ring, schedule a professional follow-up inspection within six months to guarantee long-term prong integrity.
Frequently Asked Questions
Can I Tighten the Prongs on My Ring Myself?
You can tighten ring prongs yourself, but it’s risky and may cause damage or stone loss. Use chain nose pliers carefully, apply controlled pressure, and alternate between opposite prongs. Consider professional help instead.
How Much Does It Cost to Fix Prongs on a Diamond Ring?
You’ll typically pay $50 to $250 for prong repairs, depending on your ring’s metal and complexity. Platinum costs more than gold, and you’ll pay extra if multiple prongs need replacement or intricate work.
How Do You Repair a Broken Prong on a Ring?
You’ll need to carefully remove the gemstone first, then file down the broken prong and install a new matching one. Finally, you’ll securely reset the stone and guarantee it’s properly aligned.
How Long Does It Take to Fix Prongs?
You’ll wait a few days for simple prong repairs, though complex fixes take up to two weeks. If you’re just straightening prongs, you can wear your ring immediately after the hour-long process.
In Summary
You’ve now mastered the essential steps for repairing diamond prongs safely and effectively. Remember, this delicate work requires patience and precision—don’t rush through any stage. If you’re ever unsure about your technique or notice the diamond isn’t sitting securely, consult a professional jeweler immediately. With practice, you’ll develop the confidence to maintain your jewelry’s integrity while preserving its beauty and your diamond’s security for years to come.


Leave a Reply