Master Rhino CAD for jewelry design by starting with detailed sketches that capture your design intent and vision. Organize complex components using distinct layers with descriptive names and colors for efficient workflow management. Learn essential commands like “Line” (L), “Curve” (C), and Boolean operations to accelerate your modeling process. Experiment with Rhino’s material editor to visualize metals and gemstones realistically using HDRi lighting. Save your work every 15-20 minutes and seek feedback from peers to refine your designs—there’s much more to discover about advanced techniques.
Start With Clear Sketches and Vision Planning
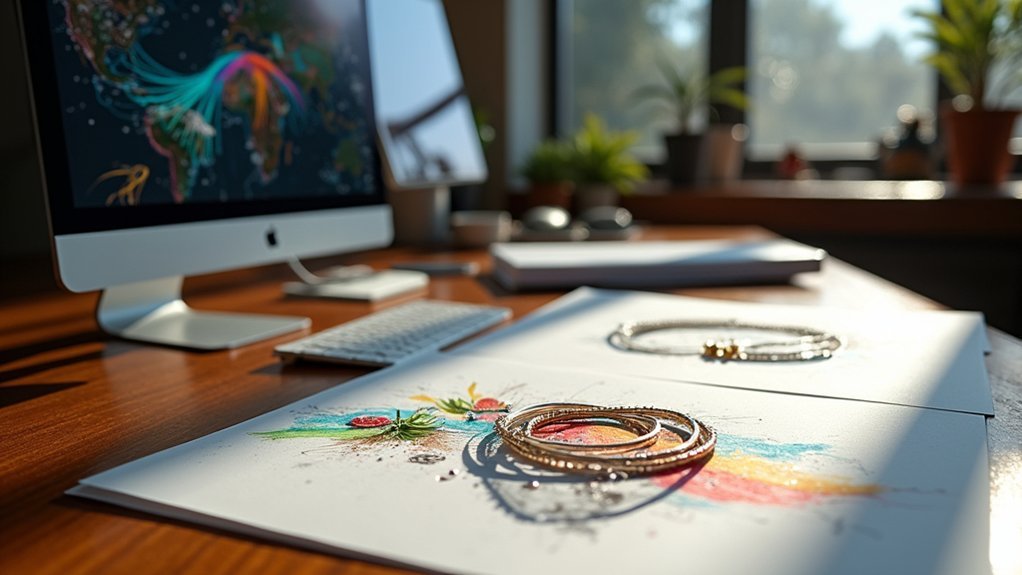
Before you plunge into Rhino CAD’s digital workspace, you’ll need solid sketches and a clear vision to guide your jewelry design journey. Start by creating detailed initial sketches that capture your design intent with precision. These clear sketches become your roadmap through the 3D modelling process.
Establish a vision board featuring inspiration, color palettes, and essential design elements to maintain creative focus. This foundation facilitates a dynamic design process where digital tools enhance rather than replace your original concepts.
Include material specifications and gemstone details in your sketches to guarantee practical designs that work for production. The course’s 3D modelling assets complement your hand-drawn concepts perfectly.
Throughout your Rhino CAD work, regularly reference these initial sketches to maintain alignment with your original vision.
Master Layer Organization for Complex Jewelry Components
Once you’ve established your design foundation, organizing your Rhino CAD workspace through strategic layer management becomes essential for handling complex jewelry components effectively.
You’ll want to separate different elements like settings, stones, and metal parts onto distinct layers, which dramatically improves editing and visualization of intricate pieces.
Assign unique colors and descriptive names to each layer for maximum clarity and organization throughout your jewelry design process.
Create layer groups to bundle related components together, enabling quick visibility toggling when working with complicated assemblies.
Save different layer states to preserve various design iterations, letting you experiment freely without compromising your original model.
Don’t forget to regularly clean unused layers—this practice will streamline workspace efficiency and maintain an efficient workflow that prevents costly design errors.
Learn Essential Rhino Tools and Keyboard Shortcuts
While mastering Rhino’s interface sets the foundation, developing proficiency with essential Rhino tools and keyboard shortcuts will dramatically accelerate your jewelry design workflow.
You’ll want to familiarize yourself with fundamental commands like “Line” (L), “Curve” (C), and “Surface” (S) to create foundational shapes for your jewellery designs. Master the Transform tools including “Move,” “Rotate,” and “Scale” to manipulate models with precision and speed.
Boolean operations—Union, Difference, and Intersection—are vital for creating complex shapes and intricate designs by combining or subtracting geometries. These operations let you craft sophisticated pieces that would be difficult to achieve otherwise.
Don’t forget to practice using “Undo” (Ctrl + Z) and “Redo” (Ctrl + Y) commands regularly. These keyboard shortcuts will streamline your process and minimize errors as you refine your creations.
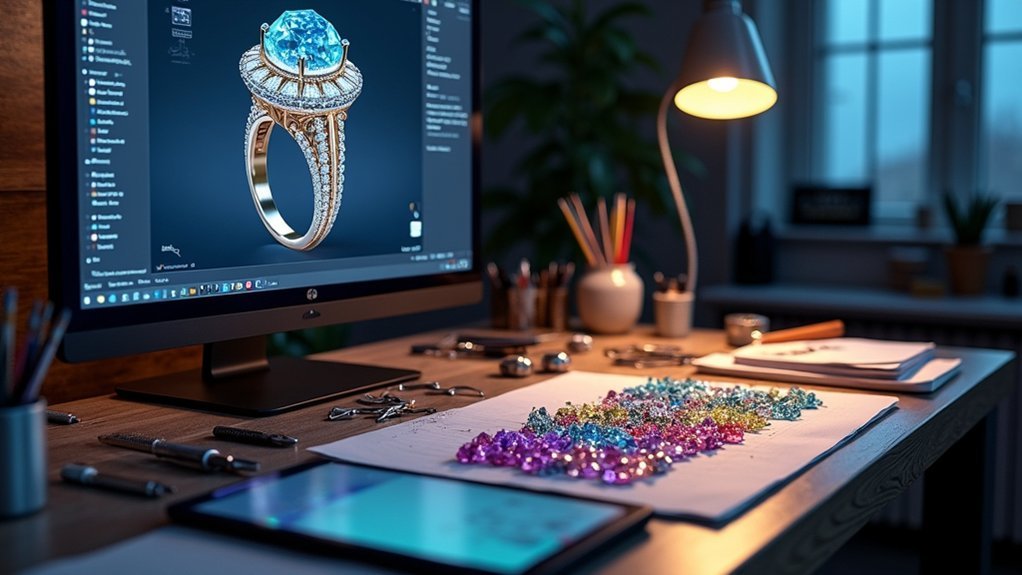
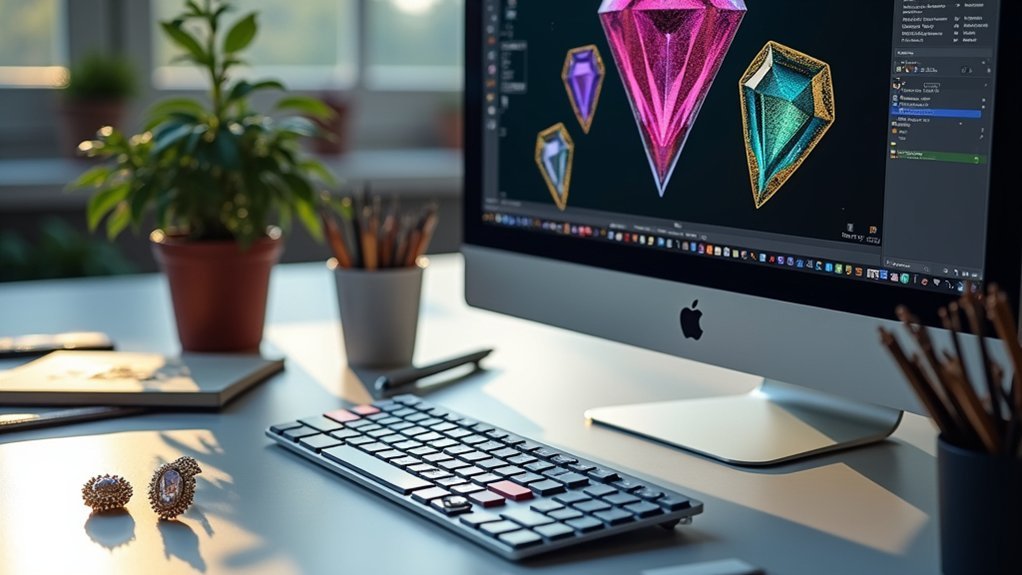
Experiment With Materials and Texture Visualization
Mastering Rhino’s tools provides the technical foundation, but bringing your jewelry designs to life requires sophisticated material and texture visualization techniques. Rhino’s advanced material editor lets you manipulate color, transparency, and reflectivity to create realistic textures for your jewellery design. Experiment with materials for Cycles and texture mapping techniques to add intricate details that authentically represent gemstones and metals.
| Material Type | Visual Impact | Application |
|---|---|---|
| Polished Gold | Luxury Appeal | Wedding Rings |
| Cut Diamonds | Brilliant Sparkle | Engagement Settings |
| Brushed Silver | Modern Elegance | Contemporary Pieces |
HDRi maps enhance lighting effects and reflections in your rendering, creating dynamic presentations. Leverage pre-made materials from course libraries to save time while inspiring creativity. Regular testing guarantees your designs meet creative vision and industry standards.
Save Frequently and Gather Design Feedback
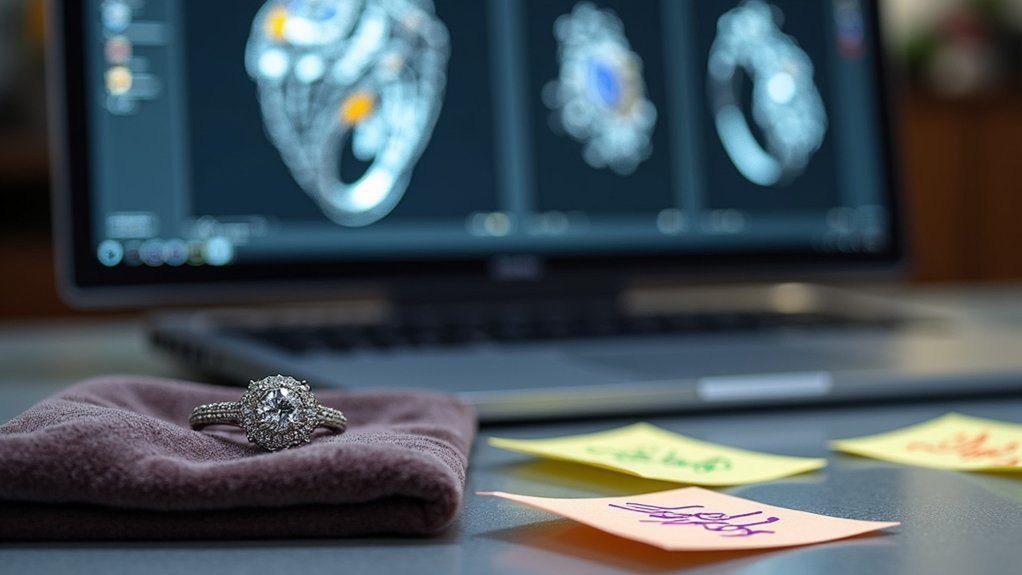
Consistently saving your Rhino CAD files protects months of intricate jewelry design work from unexpected software crashes or system failures.
When you save frequently during your 3D jewellery modelling sessions, you’ll maintain control over your creative workflow and prevent devastating losses.
Creating multiple versions through “Save As” lets you experiment boldly while keeping previous iterations safe. This approach proves invaluable when you need to backtrack during your design process.
- Save every 15-20 minutes to maintain recent progress and avoid losing detailed work
- Share files with trusted peers to gather feedback and valuable insights on your designs
- Collaborate using cloud tools to facilitate real-time discussions about design improvements
Establishing this routine of frequent saves and feedback collection will greatly enhance your Rhino CAD jewelry design quality.
Frequently Asked Questions
Is Rhino Good for Jewelry Design?
You’ll find Rhino excellent for jewelry design because it offers precise 3D modeling tools, intricate detailing capabilities, and specialized features. It’s beginner-friendly yet powerful enough for professionals, with plugin compatibility enhancing functionality.
What Is the Best CAD Software for Jewelry Design?
You’ll find Rhino 3D consistently ranks as the top CAD software for jewelry design. It’s versatile, supports specialized jewelry plugins, offers precise curve control, and integrates seamlessly with manufacturing workflows.
Can Autocad Be Used for Jewelry Design?
You can use AutoCAD for basic jewelry design, but it’s primarily a 2D drafting tool. You’ll find it lacks the advanced 3D sculpting and rendering features that specialized jewelry CAD software offers.
How Do You Make a Simple Ring in Rhino?
You’ll create a circle in top view for the inner diameter, extrude it to add thickness, then use fillet on edges for comfort. Add gemstones with boolean operations and render for visualization.
In Summary
You’ve learned five essential strategies to elevate your Rhino CAD jewelry designs. By starting with clear sketches, organizing layers systematically, mastering key tools and shortcuts, experimenting with materials, and saving frequently while seeking feedback, you’ll create more professional and refined pieces. Don’t try to implement everything at once—pick one or two techniques that resonate with your current workflow and gradually incorporate the others as you build confidence and expertise.


Leave a Reply