You’ll achieve rhodium plating excellence by mastering essential electroplating techniques that transform white gold jewelry into brilliant, durable pieces. Start with meticulous surface preparation using ultrasonic cleaners, then apply proper buffer layers before the rhodium plating process. You’ll need a rectifier, platinized titanium anodes, and rhodium plating solution while maintaining 4.5 volts and 100°F temperature. Control plating thickness between 0.75-1.0 microns for ideal durability. This thorough workshop guide reveals professional-grade methods that’ll elevate your jewelry crafting skills.
What Is Rhodium Plating and Why Use It in Jewelry Making
Brilliance defines rhodium plating—a sophisticated electroplating process that applies an ultra-thin layer of rhodium metal onto jewelry surfaces.
Rhodium plating elevates jewelry through precise electroplating, depositing an ultra-thin metallic layer that delivers unmatched brilliance and sophistication.
You’ll discover this platinum group metal transforms ordinary pieces into extraordinary works of art. When you apply rhodium plating to white gold, you’re creating a brilliant finish that outshines unplated metals with remarkable luster.
You’ll appreciate rhodium’s protective qualities as it shields jewelry from oxidation and scratches, making your pieces incredibly durable.
The hypoallergenic properties guarantee comfortable wear for clients with sensitive skin, as rhodium creates an effective barrier against allergens in underlying alloys.
Typically ranging from 0.75 to 1.0 microns thick, this coating considerably extends your jewelry’s lifespan while maintaining its stunning appearance and structural integrity.
Essential Tools and Materials for Professional Rhodium Plating
Success in professional rhodium plating depends entirely on having the right equipment and materials at your disposal.
You’ll need a rectifier to regulate current flow during the plating process, guaranteeing consistent results across all jewelry pieces. Platinized titanium anodes provide effective electroplating, while beakers help you prepare chemical baths properly.
Your rhodium plating solution contains rhodium salts in an acidic medium, creating the deposit layer on your base metal.
Don’t forget the activator solution—it prepares stainless steel surfaces for better adhesion. Intermediate layers like nickel or gold often improve the final finish quality.
Ultrasonic cleaners are among your most essential tools, removing contaminants that could compromise plating quality.
Clean surfaces guarantee ideal rhodium adhesion and professional results.
Surface Preparation Techniques for Optimal Adhesion

You’ll achieve superior rhodium plating results by mastering proper surface preparation techniques that guarantee peak adhesion.
Your success depends on implementing effective cleaning and polishing methods that remove all contaminants and create the ideal surface texture.
You must also understand how to properly apply activator solutions that prime the surface for maximum rhodium bonding.
Cleaning and Polishing Methods
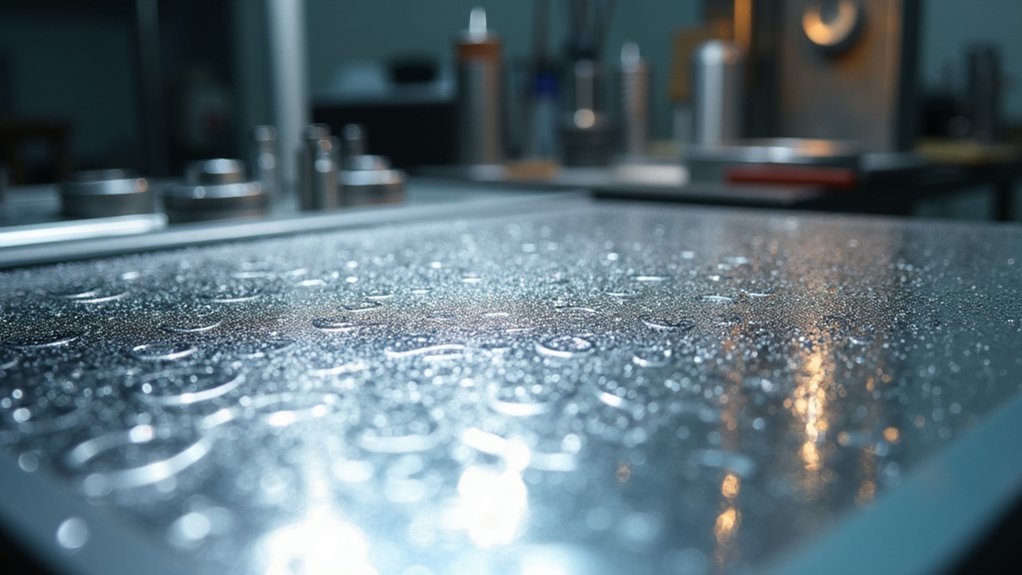
Three fundamental steps form the backbone of successful rhodium plating: meticulous cleaning, precise polishing, and thorough surface inspection.
Start by using an ultrasonic cleaner to eliminate dirt, oils, and residues from your jewelry piece. This guarantees you’ll have a pristine surface for ideal rhodium layer adhesion during the plating process.
Next, polish your stainless steel item until you achieve a smooth finish. Rough surfaces create poor plating results and reduce the rhodium layer’s durability.
After polishing, rinse the clean piece in distilled water to remove any cleaning agents or contaminants.
Apply a stainless steel activator solution to prepare the surface and enhance adhesion.
Finally, inspect the surface carefully for imperfections or defects, as these greatly affect your rhodium finish’s final appearance and quality.
Activator Solution Application
Proper activator solution application determines whether your rhodium plating will bond effectively or fail prematurely. This essential surface preparation step removes oxidation and contaminants that prevent ideal adhesion between your jewelry piece and the rhodium layer.
Immerse your cleaned jewelry piece in the activator solution for exactly 30 seconds. Guarantee complete, even coverage across all surfaces you’ll be plating. The mild acidic solution etches the stainless steel surface, creating microscopic texture that promotes superior bonding.
Immediately after the 30-second treatment, rinse your jewelry piece thoroughly in distilled water. This removes residual chemicals that could interfere with the plating process.
Don’t skip this step—leftover activator chemicals will compromise your rhodium plating quality and durability, leading to premature wear and poor finish.
Understanding Buffer Layers and Their Critical Role
You’ll need to select the right buffer layer composition—typically nickel or gold—to create a strong foundation between your base metal and rhodium coating.
Your adhesion enhancement methods must include proper electrical current application and surface conditioning to eliminate potential failure points.
You should also time your buffer layer application correctly, monitoring thickness between 0.5 to 1.0 microns before proceeding with the rhodium plating process.
Buffer Layer Composition
When rhodium plating stainless steel, you can’t simply apply the rhodium directly to the substrate and expect professional results.
You’ll need a buffer layer to create the foundation for exceptional plating. The most effective buffer layer compositions include nickel and gold, which provide superior adhesion between your stainless steel substrate and the rhodium coating.
Your buffer layer composition directly impacts the final product’s durability and appearance. Proper thickness control, typically 0.5 to 1.0 microns, guarantees optimal performance without compromising aesthetics.
Quality control during application prevents defects that could undermine your rhodium plating integrity.
- Nickel buffer layers: Create a smooth, metallic foundation that gleams beneath the rhodium surface
- Gold buffer layers: Form a luxurious, warm-toned barrier that enhances the final brilliant finish
- Controlled thickness application: Produces an even, consistent coating that feels perfectly smooth to touch
Adhesion Enhancement Methods
Beyond selecting the right buffer layer materials, several proven techniques will maximize adhesion between your stainless steel substrate and rhodium coating.
You’ll need thorough surface preparation first—polish and clean meticulously to eliminate contaminants that compromise bonding. Control your buffer layer thickness precisely between 0.5 to 1.0 microns; this range provides ideal adhesion without affecting aesthetics.
The intermediate layer creates a smoother foundation for your rhodium coating, considerably reducing defect potential.
Implement rigorous quality control checks throughout your plating process. Monitor buffer layer integrity continuously to catch issues early.
You can’t skip these verification steps—they’re essential for achieving professional results. When you follow these adhesion enhancement methods systematically, you’ll create durable finishes that maintain their brilliance and resist wear over time.
Application Timing Factors
Although buffer layer application might seem straightforward, timing precision determines whether your rhodium plating achieves professional-grade results or fails prematurely. Your application timing must be immediate following surface preparation to prevent oxidation or contamination that’ll compromise adhesion.
Once you’ve cleaned your jewelry piece, don’t hesitate—apply the buffer layer within minutes.
Control your immersion time carefully, keeping it between 2 to 5 minutes for ideal thickness. This window guarantees your nickel or gold buffer layers create the perfect foundation for rhodium bonding. Your plating process demands consistent quality control at each stage.
- Watch the stopwatch tick as golden buffer solution transforms your jewelry’s surface
- Feel the smooth, uniform coating developing under your careful monitoring
- Observe the flawless preparation that’ll support years of brilliant rhodium durability
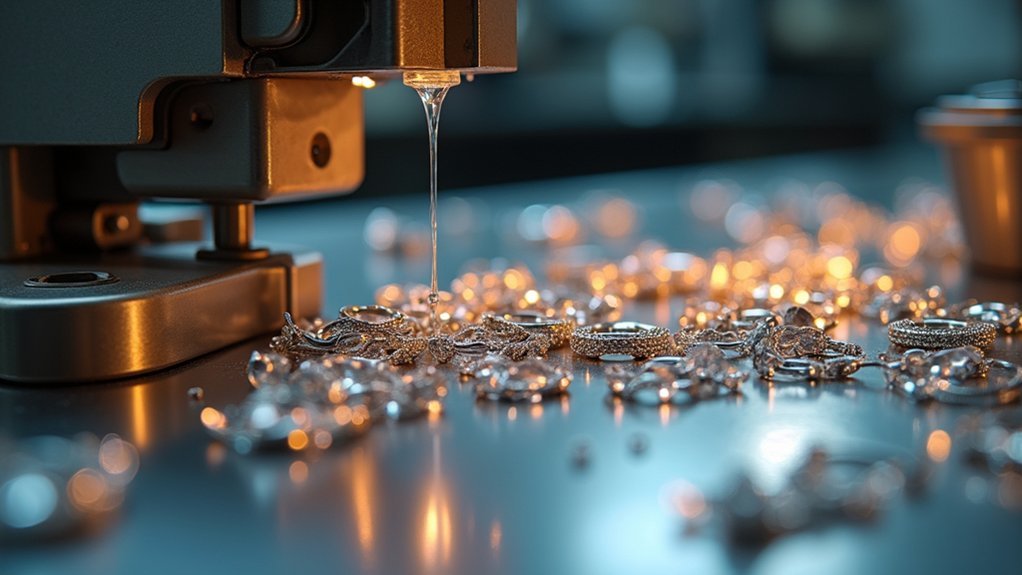
Step-by-Step Rhodium Plating Process for Jewelry
Five critical steps transform raw jewelry into brilliantly finished rhodium-plated pieces that’ll maintain their lustrous appearance for years.
First, you’ll clean and polish your jewelry piece thoroughly using an ultrasonic cleaner to remove contaminants and guarantee proper adhesion.
Next, prepare your rhodium solution by mixing rhodium salts with acidic solution, setting your rectifier to 4.5 volts. Connect the jewelry piece to the negative electrode and immerse it in the rhodium solution for 20-30 seconds, monitoring carefully to achieve ideal plating thickness of 0.75-1.0 microns.
Immediately rinse with distilled water, then dry completely.
Finally, inspect the mirror-like finish for uniformity and defects. This rhodium plating process delivers professional-quality results when executed precisely.
Electroplating Setup and Equipment Configuration
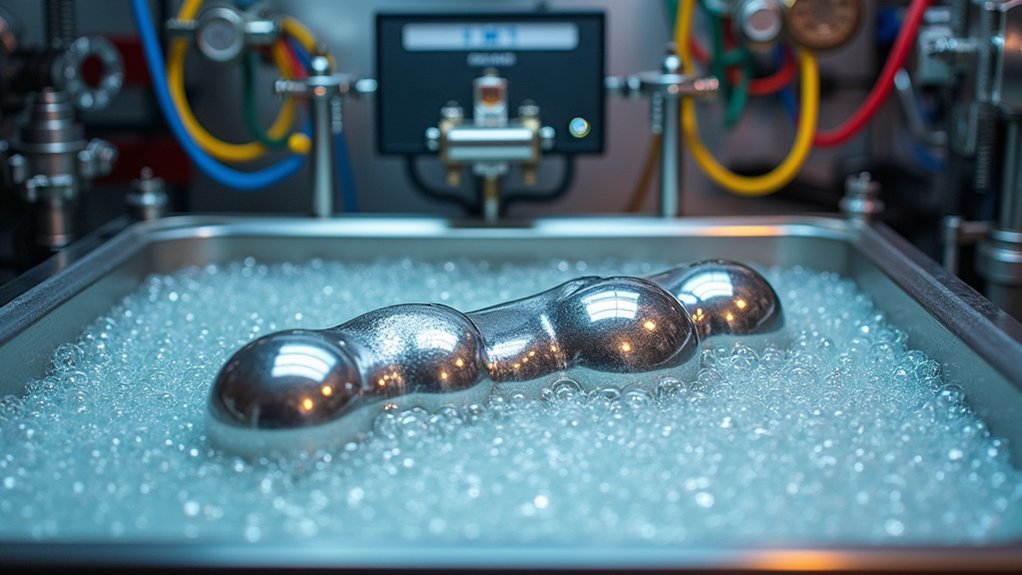
Three essential components form the foundation of your rhodium electroplating setup: a controlled power source, proper ventilation, and specialized electrodes.
Position your workspace in a well-ventilated area or fume hood to handle chemicals safely. Configure your rectifier to deliver 4.5 volts of electrical current for consistent rhodium plating results. Install a platinized titanium anode in your plating tank as the positive electrode.
Prepare your cleaning stations with two separate beakers containing distilled water solutions – one with electroclean powder and another with activator powder. These solutions guarantee your jewelry surface is properly prepared before plating begins.
- Steam rising from temperature-controlled plating solutions at 100°F
- Gentle bubbling around the platinized titanium anode during operation
- Sparkling clean jewelry emerging from the electroplating setup
Controlling Plating Thickness and Quality Parameters
Once you’ve established your electroplating setup, you’ll need to master the precise control of plating thickness and quality parameters to achieve professional results. The thickness for rhodium plating should range between 0.75 to 1.0 microns for maximum durability. Your plating process involves maintaining immersion times of 30 to 60 seconds depending on piece size.
| Parameter | Specification |
|---|---|
| Plating Thickness | 0.75-1.0 microns |
| Immersion Time | 30-60 seconds |
| Solution Temperature | 100°F |
| Electrical Current | 4.5-10 amps |
Rhodium plating requires careful monitoring of the solution temperature at 100°F. The electrical current applied typically ranges 4.5 to 10 amps to guarantee uniform adhesion. Your quality control measures must include defect inspection and thorough distilled water rinsing post-plating.
Safety Protocols and Workshop Best Practices
You’ll need to prioritize three critical safety areas when setting up your rhodium plating workshop: proper protective equipment, adequate ventilation, and secure chemical storage.
These protocols aren’t optional—they’re essential for protecting yourself from chemical exposure, electrical hazards, and toxic vapors that can cause serious health issues.
Let’s examine how to implement each safety measure effectively to create a secure working environment.
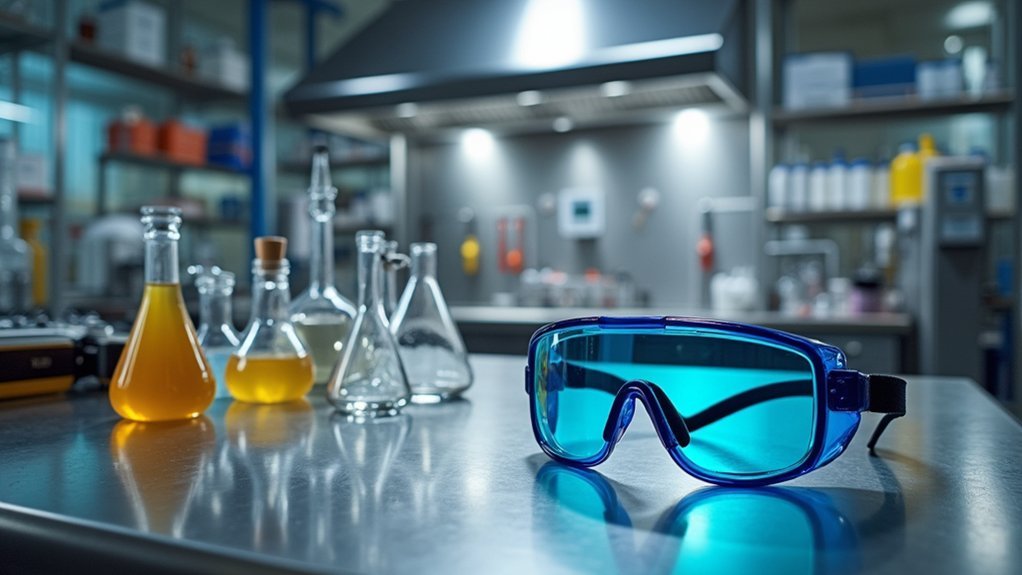
Personal Protective Equipment
Five essential safety barriers stand between you and potential chemical burns, respiratory damage, and electrical hazards in rhodium plating operations.
Your personal protective equipment serves as your first line of defense against hazardous plating solutions and toxic vapors.
Always don protective clothing, chemical-resistant gloves, and safety goggles before handling any materials. These barriers prevent direct skin and eye contact with corrosive chemicals.
Confirm your workspace maintains adequate ventilation or install fume extraction systems to eliminate harmful vapor exposure.
- Nitrile gloves creating an impenetrable shield against caustic rhodium solutions splashing onto your hands
- Safety goggles forming a crystal-clear protective barrier while chemical mists swirl around your face
- Ventilation systems whisking away invisible toxic vapors before they reach your lungs
Proper chemical waste disposal and regular equipment maintenance complete your thorough safety protocol.
Ventilation and Storage
While rhodium plating generates toxic vapors that can overwhelm even well-equipped workshops, strategic ventilation design transforms your workspace into a safe haven for precision work. You’ll need proper fume hoods or exhaust fans to prevent harmful vapor accumulation during plating operations.
Store all chemicals in clearly labeled, corrosion-resistant containers within designated areas, keeping incompatible substances separated. Regular ventilation system inspections maintain peak airflow effectiveness throughout your workshop.
| Storage Zone | Container Type | Safety Protocols |
|---|---|---|
| Acid Solutions | Glass/PTFE | Separate storage |
| Base Solutions | Polyethylene | Ventilated cabinet |
| Rhodium Salts | Sealed containers | Temperature controlled |
| Cleaning Agents | Metal-safe bottles | Spill containment |
| Waste Materials | Approved vessels | Proper disposal |
Maintain organized tool storage to minimize clutter-related accidents while guaranteeing your personal protective equipment remains easily accessible for efficient workflow.
Troubleshooting Common Plating Issues and Defects
Even with careful attention to technique, rhodium plating can produce frustrating defects that compromise both appearance and durability.
You’ll encounter adhesion problems when surfaces aren’t properly prepared—use activator solutions and intermediate layers to enhance bonding. Uneven plating typically results from inconsistent current flow or temperature fluctuations, requiring constant monitoring of your plating conditions.
- Rough, pitted surfaces revealing inadequate surface cleaning protocols
- Discolored patches indicating temperature instability in your plating bath
- Premature wear showing insufficient thickness below 0.75 microns
When you notice rough or pitted finishes, it indicates insufficient surface cleaning or polishing before plating.
For ideal wear protection, maintain rhodium thickness between 0.75-1.0 microns. Implement rigorous quality control through regular visual inspections and solution analysis to catch issues early and maintain consistent plating standards.
Gemstone Compatibility and Protection During Plating

Understanding your gemstones’ properties becomes critical when rhodium plating, as different stones react differently to the chemical and electrical processes involved. Gemstone compatibility determines whether you’ll need to remove stones before plating or can safely leave them in place.
| Safe for Plating | Remove Before Plating |
|---|---|
| Diamonds | Opals |
| Sapphires | Pearls |
| Rubies | Turquoise |
Professional jewelers assess each stone’s hardness and porosity before beginning the plating process. The typical immersion time of 30-60 seconds can damage soft gemstones exposed to acids and electrical currents. You’ll need protective methods for vulnerable stones that can’t be removed, including specialized masking techniques that shield them during plating while maintaining the jewelry’s structural integrity.
Post-Plating Finishing and Quality Inspection
Once you’ve completed the rhodium plating process with properly protected gemstones, the quality of your finished piece depends entirely on thorough post-plating procedures.
First, thoroughly rinse your item in distilled water to eliminate residual chemicals that could compromise the finish. The plating makes jewelry achieve that coveted brilliant white appearance, but only with proper finishing.
Your quality inspection begins under bright lighting, where you’ll examine the surface for uniformity and defects. Look for bubbles, discoloration, or inconsistent coverage.
Your final visual check should confirm a mirror-like shine that rhodium plating is used to achieve.
Gently buff with a soft cloth to enhance luster, avoiding aggressive polishing that scratches the delicate layer.
- Crystal-clear rinse water cascading over gleaming surfaces
- Brilliant reflections dancing across flawless rhodium coating
- Gentle buffing motions revealing mirror-perfect shine
Maintenance and Care for Rhodium-Plated Jewelry
While rhodium plating creates stunning results, your investment’s longevity depends on proper maintenance practices. You’ll preserve that brilliant shine by cleaning your jewelry regularly with a soft, lint-free cloth to remove oils and dirt buildup.
| Protect Your Investment | Why It Matters |
|---|---|
| Store in separate compartments | Prevents heartbreaking scratches |
| Avoid harsh chemicals | Saves costly damage repair |
| Limit wear during activities | Preserves precious memories |
| Schedule professional re-plating | Maintains sentimental value |
| Clean gently and regularly | Keeps beauty alive |
Don’t wear rhodium-plated pieces while exercising, swimming, or cleaning. Store them in cool, dry places away from other jewelry. Schedule professional re-plating every 1-2 years for frequently worn items to maintain their stunning appearance.
Frequently Asked Questions
What Is the Downside of Rhodium Plating?
You’ll face high costs since rhodium reaches $2,500 per ounce. The thin plating wears quickly, requiring re-plating every few years. You’ll also deal with potential adhesion issues and time-consuming application processes.
Can You Rhodium Plate Yourself?
You can rhodium plate yourself with specialized equipment like a rectifier, plating solution, and safety gear. However, you’ll likely struggle to achieve professional-quality results due to technical challenges and precision requirements.
Is Rhodium Plated Jewelry Worth Anything?
You’ll find rhodium plated jewelry has limited resale value since it’s just thin plating over base metals. While it looks great initially, you’re better off investing in solid precious metals instead.
Can You Wear Rhodium Plated Jewelry Everyday?
You can wear rhodium plated jewelry everyday since it’s durable and scratch-resistant. However, you’ll need gentle cleaning with soft cloths and should avoid harsh chemicals to maintain its appearance and longevity.
In Summary
You’ve now mastered the fundamentals of rhodium plating through hands-on practice. You’ll achieve consistent, professional results by following proper surface preparation, maintaining ideal plating conditions, and conducting thorough quality inspections. Don’t forget to protect gemstones during the process and educate your customers about proper care. With these techniques, you’re equipped to deliver the brilliant, durable finishes that’ll set your jewelry work apart from competitors.


Leave a Reply