You’ll achieve professional ring wax models by selecting the right wax type—blue for simple designs, green for intricate details. Control your wax injector temperature between 140°F-160°F and maintain 5-15 psi pressure for ideal flow. Account for 1-5% metal shrinkage when sizing, position sprues at thick sections, and progress through 400 to 1000-grit sandpaper for smooth finishes. Use scribes for precise measurements and degas wax before injection to prevent bubbles. These foundational techniques reveal advanced casting mastery.
Choose the Right Wax Type for Your Ring Design
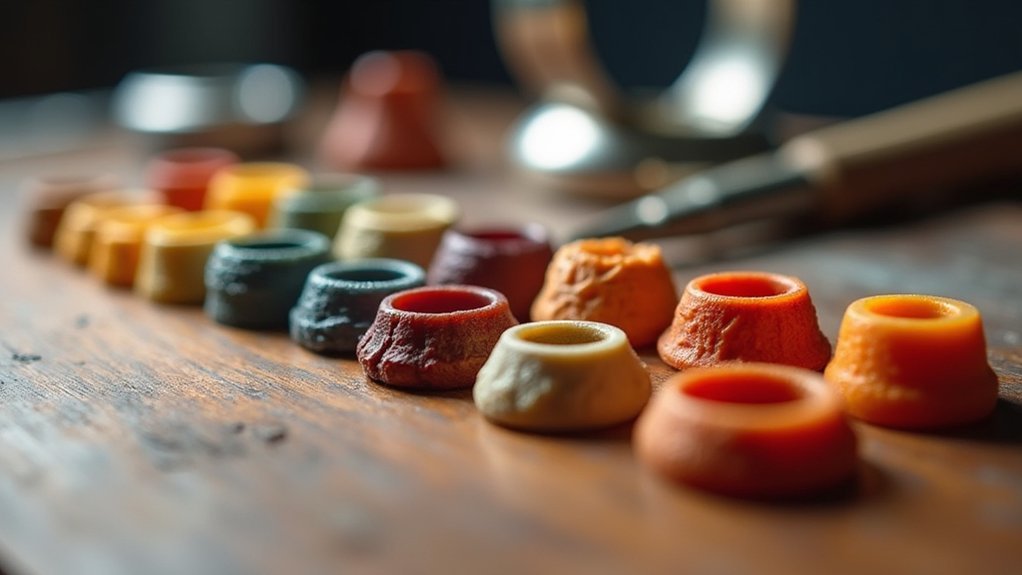
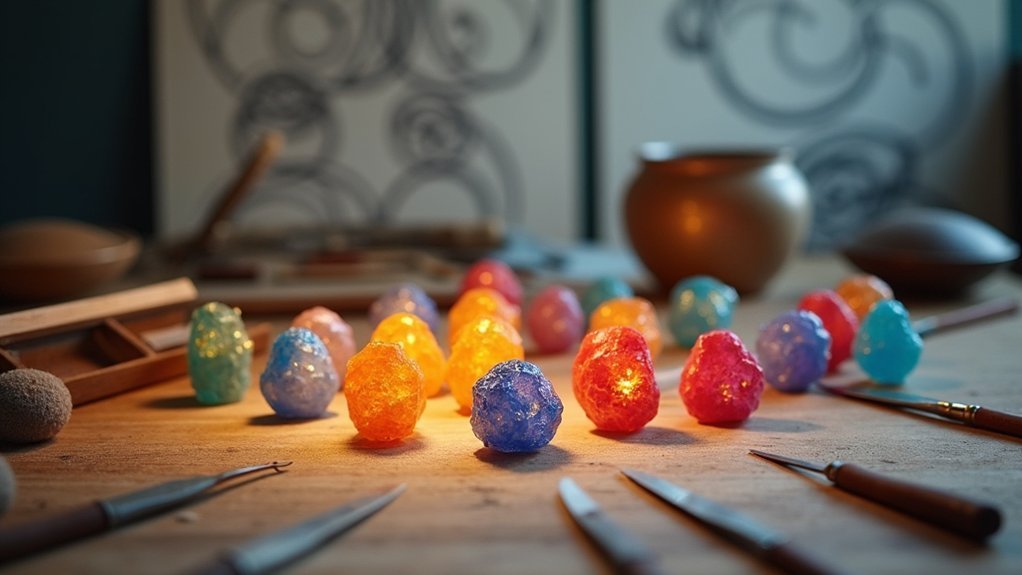
Four distinct wax types offer different advantages for ring modeling, and you’ll achieve better results by matching the wax to your specific design requirements.
Blue wax works best for simple, rounded designs due to its flexibility, making it perfect for comfortable wedding bands and basic ring styles.
When you’re planning intricate wax carving with sharp details and precise edges, green wax delivers superior results despite its brittle nature.
Purple wax serves as your versatile middle ground, balancing hardness with workability for most ring projects.
For exceptional surface quality, turquoise wax creates the smoothest finish that translates beautifully to your final piece.
Remember that each wax type behaves differently during casting, potentially affecting your final ring size, so factor this into your initial measurements and design planning.
Master Temperature Control for Smooth Wax Flow
While choosing the right wax type sets your foundation, controlling temperature during injection determines whether you’ll achieve professional-quality results or frustrating failures.
Maintain your wax injector between 140°F and 160°F for ideal fluidity. This range guarantees smooth flow into your mold without compromising detail fidelity.
Preheat your mold to match the wax temperature, preventing thermal shock that causes incomplete fills. Use a thermometer to monitor both temperatures consistently—fluctuations create surface imperfections that’ll plague your wax ring throughout the casting process.
Don’t overheat beyond 160°F, as degraded wax loses vital detail reproduction.
Consider establishing a temperature-controlled workspace to minimize environmental variables. These small temperature management steps separate amateur attempts from professional-grade wax models that translate into flawless final castings.
Optimize Injection Pressure Settings for Detail Capture
Perfect temperature control means nothing if your injection pressure settings sabotage detail capture in your wax models.
You’ll need to adjust injection pressure based on your ring’s complexity, starting with lower settings for intricate designs. For fine features, maintain pressure between 5-15 psi to capture thorough details without causing wax overflow.
Monitor wax flow constantly during injection. If you notice incomplete fills, increase pressure incrementally by 1-2 psi increments for ideal results. Proper mold alignment and security prevents leaks that compromise pressure and detail retention.
Key pressure enhancement strategies:
- Test injection pressure on sample models before final ring production
- Start with conservative pressure settings for complex geometric patterns
- Gradually increase pressure while monitoring fill completion and detail capture quality
Implement Strategic Vent Placement Techniques
You’ll achieve superior wax models by positioning vents at your mold’s highest points, ensuring trapped air escapes efficiently during injection.
Direct air flow through channels that connect to your sprue system, maintaining at least 1/8 inch width for ideal circulation.
Focus on bubble prevention by incorporating multiple vent points on complex ring designs while keeping them away from intricate details that could suffer distortion.
Optimal Vent Positioning
When creating ring wax models, strategic vent placement determines whether you’ll achieve crisp details or end up with air bubbles and incomplete fills.
Position your vents at the highest points of your mold to allow trapped air to escape effectively during wax injection. You’ll want multiple vent openings strategically placed around complex designs to guarantee complete fills without compromising detail quality.
Keep vents away from intricate sections and thin areas where they might obstruct proper wax flow. Tapered vent designs work exceptionally well, providing superior air evacuation while accommodating smooth wax movement throughout your model.
- Place vents at mold’s highest elevation points for ideal air escape
- Use multiple strategic openings around complex ring geometries
- Avoid positioning near delicate details or thin model sections
Air Flow Direction
Understanding air flow direction transforms your vent placement from guesswork into strategic planning that delivers consistent, bubble-free results.
You’ll need to visualize how air moves through your mold as wax enters from the bottom. Position vents at the highest elevation points where air naturally accumulates during injection. This creates clear escape routes that prevent trapped pockets.
Map your ring’s geometry to identify potential air traps in detailed areas like prong settings or intricate patterns. Place additional vents in these critical zones to guarantee complete air escape.
Watch how wax flows during initial tests and adjust vent locations accordingly. Remember that air travels upward, so your vent placement should follow gravity’s natural path, creating an efficient evacuation system for superior casting results.
Bubble Prevention Methods
Strategic vent placement techniques form the foundation of effective bubble prevention in ring wax model preparation.
You’ll need to position vents at your mold’s highest points, allowing trapped air to escape during wax injection. This placement creates clear pathways for air release, preventing incomplete fills and bubble formation.
For complex ring designs, you should implement multiple venting channels to facilitate better air circulation.
Position these vents in direct alignment with your sprue to maximize effectiveness as wax flows through the mold.
Essential vent placement strategies include:
- Size optimization – Balance larger vents for efficient air release while preventing wax leakage
- Regular maintenance – Keep vent channels clean and unobstructed for consistent performance
- Strategic positioning – Place vents at natural high points where air naturally accumulates
Account for Metal Shrinkage in Ring Sizing
Since lost wax casting naturally causes metal to shrink during the cooling process, you’ll need to compensate by making your wax model larger than the intended final ring size.
The metal piece typically shrinks between 1% to 5-6% during casting, so creating your wax model at least a half size larger guarantees proper fit.
Account for metal shrinkage by making your wax model at least half a size larger than your target ring size.
Remember that wax weighs considerably less than your final metal—approximately 10 times lighter than silver and 16 times lighter than 18-carat gold.
Document your wax model dimensions throughout the process to track shrinkage patterns.
Consider conducting trial casts to determine your specific shrinkage percentage. This data helps you adjust future designs more accurately, guaranteeing the size of ring matches your intended specifications consistently.
Perfect Your Mold Preparation Process
After you’ve calculated your sizing adjustments, proper mold preparation becomes the foundation for creating flawless wax models. Your mold’s condition directly impacts the quality of your final casting, so you can’t afford to skip these important steps.
Start by thoroughly inspecting your mold for any debris or residue that could transfer to your wax model. Apply a quality mold release agent to guarantee easy removal without damage.
Temperature control is essential—maintain your mold between 70°F to 90°F for ideal wax flow and surface quality.
- Heat your wax injector to 140°F-160°F for proper fluidity and detailed filling
- Secure your mold with clamps to prevent shifting during injection
- Monitor injection pressure carefully to avoid bubbles and capture intricate details
Execute Precise Measurement and Marking Methods
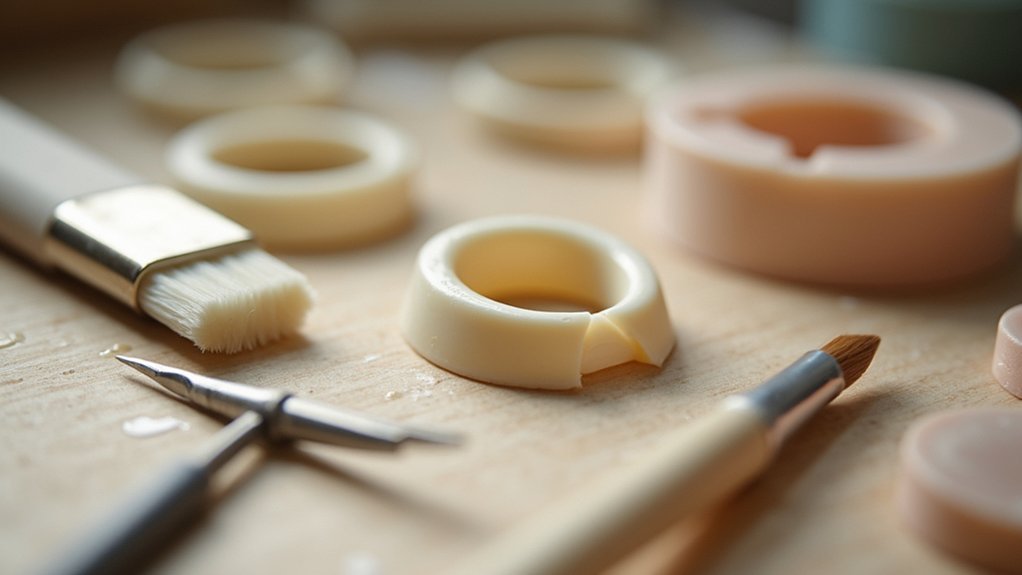
You’ll need the right marking tools and precise calculations to transform your wax tube into a perfectly proportioned ring model.
Start by gathering essential tools like scribes, dividers, and fine-tip permanent markers that’ll give you the accuracy required for professional results.
Master these measurement techniques now, and you’ll avoid costly mistakes that can derail your entire casting process.
Essential Marking Tools
Precision forms the foundation of successful ring wax modeling, and your choice of marking tools directly impacts the accuracy of your final piece.
You’ll need specific instruments to create clean, visible guidelines that guarantee professional results throughout your carving process.
Professional jewelers rely on these essential marking tools for consistent accuracy:
- Scribes or dividers – Measure and mark exact ring widths with precise mechanical accuracy
- Fine tip permanent marker – Create clear, visible guidelines directly on wax surfaces for enhanced visibility
- Measuring instruments – Establish accurate center lines by measuring from wax edges to maintain perfect symmetry
Your permanent marker should provide crisp lines that won’t smudge during handling.
Accurate Size Calculation
With your marking tools ready, calculating accurate ring dimensions becomes your next priority for achieving professional results.
You’ll need to measure the desired ring size using a ring sizer or calipers to guarantee precision before marking your wax model. When marking guides on the wax tube with a scribe or dividers, account for a 1mm removal during sawing due to blade thickness.
Confirm your center line is accurately measured from the wax edges to maintain design symmetry. Score the surface in from the edge to create precise measurements, allowing for clean cuts and better control during carving.
Use a fine tip permanent marker to draw design guidelines on the wax, making it easier to follow during the carving phase.
Apply Professional Surface Finishing Techniques
After completing your wax ring model, surface finishing becomes the critical step that separates amateur work from professional results.
You’ll want to start with 400-grit sandpaper and progressively work up to 1000-grit, systematically eliminating rough edges and imperfections. Maintain consistent pressure and angle throughout this process to guarantee even results across your entire model.
Once you’ve completed sanding, use fine steel wool to buff the wax surface, achieving that coveted glossy finish without melting your material.
Always inspect your work under bright lighting to catch any remaining flaws before casting.
- Practice surface finishing techniques on scrap wax pieces first to build confidence
- Work progressively through sandpaper grits for peak smoothness
- Inspect under proper lighting before finalizing your final product
Position Sprues for Optimal Metal Flow
You’ll need to master strategic sprue placement methods to guarantee molten metal flows smoothly throughout your ring’s design.
Consider the metal flow direction carefully, positioning sprues at an upward angle to promote complete mold filling while minimizing air pockets.
Don’t overlook multiple sprue benefits for complex or larger ring designs, as they’ll help distribute metal evenly and prevent problematic cold spots during casting.
Strategic Sprue Placement Methods
Since proper metal flow determines the success of your casting, strategic sprue placement becomes the foundation of quality ring production.
You’ll need to position your sprue at the thickest section of your wax model to prevent air entrapment and guarantee complete fills. When working with complex designs, don’t hesitate to use multiple sprues for even metal distribution throughout intricate details.
Your sprue channel must maintain at least 3mm diameter to avoid back pressure issues. Position it at an angle to your model, creating smooth entry that minimizes turbulence and casting defects.
- Thickest section placement – Guarantees ideal metal flow and prevents incomplete fills
- Angled positioning – Reduces turbulence and creates smoother molten metal entry
- Adequate sizing – Maintains minimum 3mm diameter for efficient flow without back pressure
Metal Flow Direction
When molten metal enters your casting flask, gravity becomes your most powerful ally in achieving complete fills and eliminating defects. You’ll want to position your sprue at the highest point of your wax model, creating a downward path that guides metal flow naturally. This top-down approach prevents air pockets and guarantees complete cavity filling.
| Flow Direction | Sprue Position | Result | Best For |
|---|---|---|---|
| Downward | Top of model | Complete fill | Simple rings |
| Angled | Away from corners | Smooth flow | Complex details |
| Multiple paths | Strategic points | Even distribution | Large designs |
| Gravity-assisted | Highest elevation | Natural flow | All castings |
Your sprue diameter should measure 3-5mm to maintain adequate metal flow while preventing blockages during the casting process.
Multiple Sprue Benefits
While single sprues work effectively for basic designs, multiple sprues transform complex castings by creating redundant pathways that guarantee complete metal distribution throughout your model.
You’ll achieve superior results by positioning sprues at your ring’s thickest sections, allowing molten metal to fill these areas first and flow systematically throughout the design. This strategic placement eliminates air pockets and ensures your cast piece maintains exceptional detail retention.
- Accelerated cooling rates – Multiple entry points enable faster, more uniform cooling that minimizes shrinkage and improves dimensional accuracy
- Reduced turbulence – Connect each sprue at 45-degree angles to promote smooth metal flow without creating destructive turbulence
- Calculated placement – Base sprue quantity and positioning on your model’s size and complexity for ideal casting performance
Troubleshoot Common Wax Model Defects
Although creating perfect wax models takes practice, you’ll inevitably encounter defects that can compromise your final jewelry piece if left unaddressed.
Start by degassing your wax before injection to prevent bubbles from moisture and trapped air. When you notice incomplete fills, check your mold alignment and increase injection pressure for thorough coverage.
Combat warped models by allowing slow, controlled cooling rather than rushing the process. Address surface imperfections using a wax file or metal tool to carefully trim and refine problem areas.
Select appropriate wax types based on your design’s complexity and maintain precise injection techniques. These troubleshooting steps guarantee consistent detail and professional results in your ring models.
Frequently Asked Questions
How Do You Smooth Jewelry Wax?
Start with 200-400 grit sandpaper to remove rough edges, then progress to 600-1000 grit for refinement. You’ll finish with steel wool or careful flame polishing for a glossy surface.
Do You Need a Vacuum for Lost Wax Casting?
You don’t need a vacuum for lost wax casting, but it’ll dramatically improve your results. It removes air bubbles from investment and guarantees better detail capture, especially for intricate pieces.
How to Lost Wax Casting Jewelry?
You’ll create a detailed wax model, embed it in investment plaster, burn out the wax, then pour molten metal into the cavity. After cooling, break the mold and polish your cast jewelry piece.
How Do You Set a Stone in Wax?
You’ll carve a precise cavity matching your stone’s dimensions, place the stone snugly inside, then secure it with heated wax. Check alignment frequently and smooth surrounding areas to prevent casting defects.
In Summary
You’ve now got the essential techniques to create professional-quality ring wax models. Remember that mastering these skills takes practice, so don’t get discouraged if your first attempts aren’t perfect. Focus on one technique at a time, keep detailed notes of what works, and always test your settings before starting production pieces. With consistent application of these pro tips, you’ll consistently produce clean, accurate wax models that’ll cast beautifully every time.


Leave a Reply