You’ll achieve perfect satin finishes by mastering seven key techniques: start with proper surface preparation using progressive grits from 220 to 1200, employ hand sanding with rubber blocks for consistent pressure, utilize rotary tumblers with plastic media for gentle abrasion, apply glass bead sandblasting for uniform textures, use Scotch Brite wheels for precision control, incorporate pumice and polishing compounds for refinement, and troubleshoot common issues like uneven pressure. These proven methods will transform your finishing skills completely.
Using Rotary Tumblers With Plastic Media for Even Results

While achieving a perfect satin finish can seem challenging, rotary tumblers equipped with plastic media offer one of the most reliable methods for creating consistently even results on metal and jewelry surfaces.
You’ll find that plastic media provides gentle abrasion without the aggressive action of metal alternatives, giving you controlled surface smoothing that prevents over-polishing.
For best satin finishing, add soap and water to lubricate the media and prevent scratching. This combination promotes smoother textures while protecting your pieces during processing.
Plan for tumbling cycles lasting 1-8 hours depending on your desired finish level and materials.
Remember to regularly clean your media and remove contaminants. Clean media enhances the tumbling process effectiveness and guarantees consistently high-quality results every time.
Hand Sanding Techniques With Progressive Grits
You’ll achieve the best satin finish by starting with coarse 220 or 320 grit sandpaper to eliminate major imperfections.
Then systematically progressing through finer grits up to 1200.
Use a rubber sanding block to maintain consistent pressure across the surface, preventing uneven spots that can ruin your finish.
This progressive approach guarantees you’re building up to that perfect satin sheen without creating scratches or texture variations.
Progressive Grit Selection
When pursuing a flawless satin finish, you must start with a coarser grit like 220 or 320 to eliminate major surface imperfections before systematically progressing through finer grits—typically 400, 800, and finishing with 1200.
Your sand paper selection strategy determines the final surface quality. Change directions between grits to eliminate cross-grain scratches and guarantee complete coverage. Apply consistent pressure while maintaining straight motions to prevent uneven lines.
| Grit | Purpose | Direction Change |
|---|---|---|
| 220-320 | Remove major imperfections | Start with grain |
| 400 | Smooth initial scratches | 45-degree angle |
| 600-800 | Refine surface texture | Cross-grain |
| 1000-1200 | Final smoothing | Return to grain direction |
| 1500+ | Ultra-fine preparation | Light circular motions |
Regularly wipe away dust to assess progress and determine if you need coarser grits for deeper scratches.
Consistent Pressure Control
Pressure control becomes the defining factor between professional-level results and amateur mistakes once you’ve selected your progressive grits.
You’ll need to maintain consistent pressure across the entire surface to avoid uneven spots that compromise your satin finish’s uniformity. Light, steady force prevents dig-in marks while ensuring effective material removal.
Use a sanding block or jig to distribute weight evenly and guide your movements in straight lines. This technique reduces j-hook marks that create visible imperfections. Your hands alone can’t provide the stability needed for professional results.
Clean your workpiece and sandpaper frequently to prevent debris from causing deeper scratches.
Experiment with stroke directions—try linear motions, then circular patterns—to discover what produces the smoothest satin sheen for your specific material and project requirements.
Sandblasting With Glass Beads for Quick Texturing

Glass bead sandblasting delivers one of the fastest methods for creating uniform satin textures across metal and plastic surfaces.
Glass bead sandblasting provides the fastest route to achieving perfectly uniform satin finishes on both metal and plastic surfaces.
You’ll achieve smooth, professional results by propelling glass beads through compressed air at high velocity, effectively abrading surfaces without aggressive material removal.
This environmentally friendly approach offers several advantages:
- Pressure control – Adjust air pressure and distance to customize texture depth and coarseness
- Non-toxic materials – Glass beads eliminate health risks associated with harsh abrasives
- Quick processing – Creates consistent satin finishes faster than manual methods
- Versatile application – Works effectively on various metals and plastics
- Minimal waste – Beads can often be reclaimed and reused
You’ll need proper safety equipment including gloves and goggles to protect against airborne particles during operation.
Applying Scotch Brite Wheels and Abrasive Discs
Since Scotch Brite wheels offer exceptional control over satin finishing, you’ll find them indispensable for achieving professional results on both metal and plastic surfaces.
Choose gray or black wheels for ideal satin textures, as these colors provide the right abrasiveness levels. Apply light, consistent pressure while moving the wheel uniformly across your workpiece to prevent unwanted shine and maintain even texture.
Start with coarser 400-grit discs, then progress through finer grits up to 1200 for smooth results. Organize your abrasives by grit level beforehand for efficient workflow.
Use a flex shaft or Dremel tool with your Scotch Brite wheels for enhanced precision and control.
Monitor your progress closely throughout the process. Excessive pressure causes over-sanding and can damage your piece, so maintain gentle, steady movements for professional-quality satin finishes.
Surface Preparation and Polishing Before Finishing

Proper surface preparation forms the foundation of any exceptional satin finish, determining whether your final result looks professional or amateurish.
Without thorough prep work, you’ll amplify every scratch and imperfection in your final finish.
Here’s your essential preparation checklist:
- Polish thoroughly to eliminate all surface defects before applying any satin finish
- Use a Cratex wheel to clean up scratches and imperfections that could be exaggerated later
- Sand to 600 grit minimum to level the surface and prepare for uniform sheen application
- Consider steel or vibratory tumblers with appropriate media for consistent initial surface preparation
- Clean regularly during the process to prevent larger scratches from contaminating your work
Following these steps guarantees you’ll achieve that nice satin finish you’re after every time.
Alternative Methods Using Pumice and Polishing Compounds
Three simple household items can transform your metalwork into a beautiful satin finish without expensive equipment or specialized tools.
Mix pumice powder with dish soap to create an effective polishing compound that smooths surfaces while adding subtle sheen. For refined results, rub your piece with 2F and 4F pumice in mineral oil, which levels imperfections and enhances appearance.
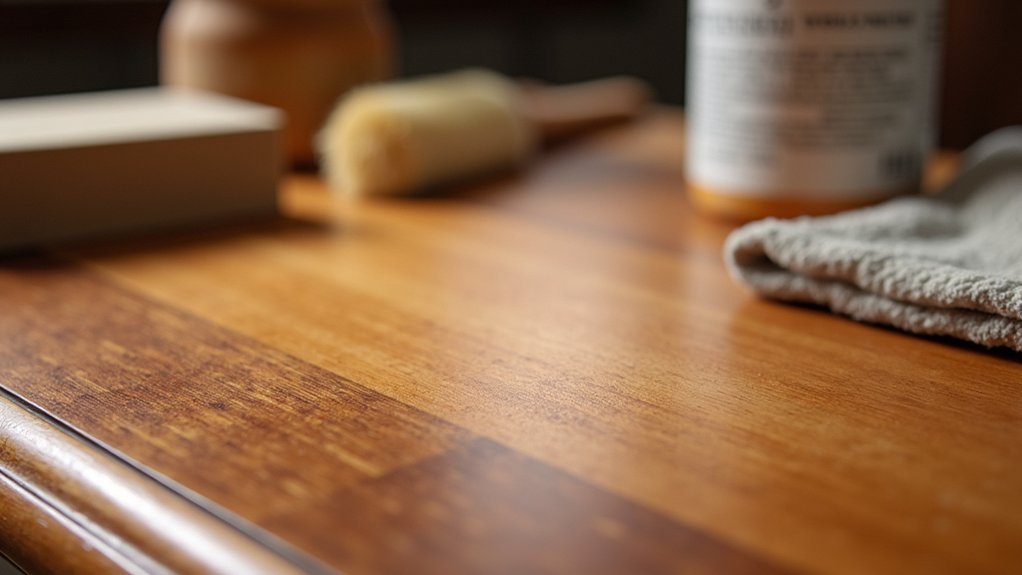
Apply Butcher’s wax as your final step to add protection while maintaining that desired satin look. The wax contains flatting agents that diffuse light without creating unwanted gloss.
You can also use polishing compounds like Fabulustre sparingly for controlled sheen. Don’t forget to use a soft toothbrush with pumice powder for hard-to-reach areas, ensuring uniform finish coverage throughout your entire piece.
Troubleshooting Common Satin Finish Problems
When your satin finish doesn’t turn out as expected, you’re likely dealing with one of three core issues that can derail even the most carefully planned project.
Poor surface preparation, inconsistent application technique, or using the wrong tools will create problems that range from uneven sheen to visible scratches and blotchy areas.
Let’s examine how each of these issues develops and what you can do to fix them before they ruin your finished piece.
Uneven Surface Preparation Issues
Frustration sets in quickly when your carefully applied satin finish reveals an uneven, blotchy appearance that mars the entire project. You can prevent these disappointing results by addressing surface preparation issues before they compromise your finish.
- Polish thoroughly – Remove all defects and imperfections from surfaces before applying satin finishes.
- Maintain consistent pressure – Use even strokes during sanding to avoid creating j-hook marks that cause texture inconsistencies.
- Start with lower grit sandpaper – Remove deeper scratches first to establish a smooth foundation.
- Experiment with sanding directions – Vary your approach to guarantee complete coverage in problem areas.
- Clean frequently – Use a paper towel to remove dust from tools and surfaces, preventing contaminant introduction.
Inconsistent Pressure and Technique
Two primary factors determine whether your satin finish achieves professional-quality results: the pressure you apply during sanding and the consistency of your technique. Inconsistent pressure creates uneven surfaces that compromise your finish quality. You’ll need to maintain light, consistent pressure throughout the entire process to achieve uniform results.
Using a sanding block or jig helps maintain even contact with the surface, reducing j-hook marks from varying angles and pressures. Keep your sanding tool clean and free of loose grit to prevent larger scratches.
| Problem | Solution |
|---|---|
| Uneven pressure | Apply light, consistent force |
| Varying angles | Use sanding blocks/jigs |
| Deep scratches | Check surface regularly |
| Process inconsistency | Document your technique |
Inadequate Tool Selection Problems
Although proper technique matters considerably, selecting the wrong tools will sabotage even your most careful efforts. Inadequate tool selection problems create more headaches than beginners realize, often turning promising projects into frustrating disasters.
Here’s what you’ll encounter with poor tool choices:
- Wrong grit sandpaper creates uneven surfaces that highlight imperfections.
- High-speed rotary tools without proper control generate unwanted shine instead of satin texture.
- Dirty or contaminated tools compromise finish quality and consistency.
- Incompatible materials mixed together ruin the entire surface treatment.
- Aggressive tools like uncontrolled flex shaft attachments destroy your careful preparation work.
You’ll achieve better results by starting with 320-grit sandpaper and progressing gradually to 1200-grit.
Keep your tools clean, maintain consistent pressure, and choose equipment that matches your project’s requirements rather than rushing with inappropriate alternatives.
Frequently Asked Questions
How to Achieve a Satin Finish?
Start by polishing your surface thoroughly to eliminate defects. Use progressive sanding from 320 to 3000 grit, then sandblast with glass beads. Apply satin finish and rub with steel wool.
How to Get an Even Finish With Satin Paint?
You’ll need to sand your surface to 600 grit first. Apply thin, even coats with a high-density foam roller, working in one direction. Don’t overwork the paint, and lightly sand between coats.
How to Make Satin Paint Look Smooth?
Sand your surface to 600 grit before painting. Apply multiple thin coats instead of one thick layer, lightly sanding between each with 400 grit paper. Buff the final coat gently.
What Grit Is Best for Satin Finish?
You’ll want to start with 220 grit if your surface is clean and straight, then progress through 400, 800, 1000, and finish with 1200 grit for ideal satin results.
In Summary
You’ve now got seven proven methods to achieve professional satin finishes. Whether you’re using rotary tumblers, hand sanding, or glass bead blasting, consistent technique is key. Don’t skip surface preparation—it’ll make or break your results. If you encounter problems, revisit your process and adjust accordingly. Practice these techniques on test pieces first. With patience and attention to detail, you’ll master the art of creating beautiful, uniform satin finishes that’ll impress every time.


Leave a Reply