
Start by securing long hair, wearing safety goggles, and setting up proper ventilation with a fire extinguisher nearby. Sand your copper or silver to 300 grit, scrub away contaminants, and rinse thoroughly before applying enamel oil evenly with a clean brush. Use a sifter to distribute powdered enamel, adding more toward edges for smooth finishes. Heat from underneath until glossy, let cool completely, then grind and sand edges. Master these fundamentals to reveal advanced decorative techniques.
Essential Safety Preparations and Equipment Setup
Before you begin your enamel inlay project, you’ll need to establish a safe workspace that protects both you and your surroundings from the inherent risks of torch work.
Start by tying back long hair and securing loose clothing to prevent flame contact. Put on safety goggles to shield your eyes from potential debris and enamel particles.
Set up a well-ventilated area free from flammable materials, and keep a fire extinguisher within reach as a precaution. Familiarize yourself with torch operation before lighting it.
Prepare a clean work surface along with sanitized tools, brushes, and sifters to prevent contamination that could compromise your project’s quality.
These preparations guarantee both safety and professional results.
Metal Surface Preparation and Cleaning Techniques
Success in enamel inlay work depends entirely on achieving pristine metal surfaces that’ll bond flawlessly with your enamel. Proper preparation guarantees professional results and prevents adhesion failures that’ll ruin your project.
Start by sanding the back side of your copper or pure silver to a 300 grit finish, creating ideal texture for enamel bonding. Use pre-enamel surface scrub to eliminate all contaminants, then rinse thoroughly with water and dry completely to prevent moisture interference.
- Sand metal surfaces to 300 grit for perfect texture
- Scrub thoroughly with specialized pre-enamel cleaner
- Rinse completely and confirm surfaces dry completely
- Apply enamel oil evenly using a clean paintbrush
- Verify all pierced holes remain clear for soldering
When applying the enamel oil, use gentle, even strokes for uniform coverage across your prepared surface.
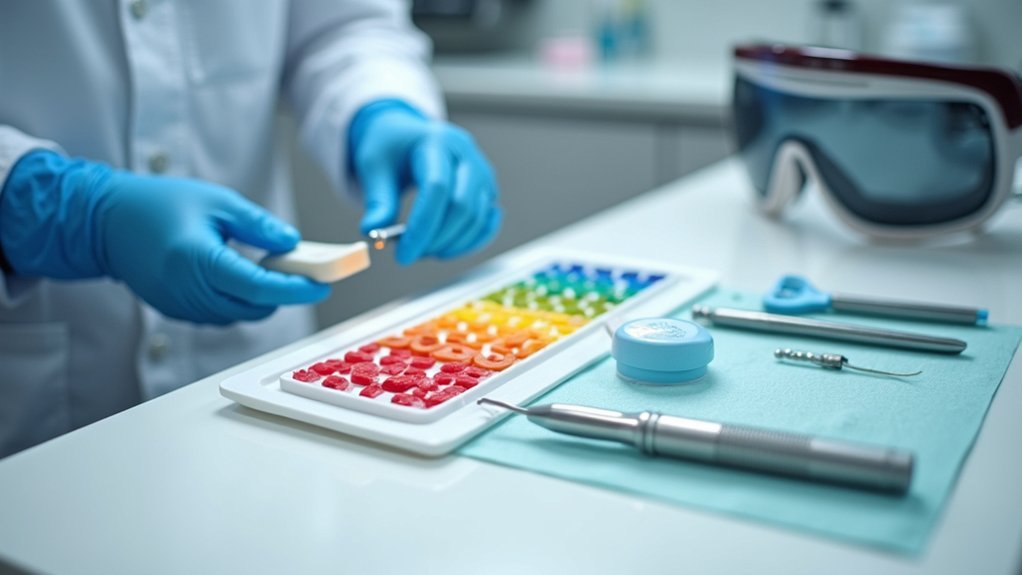
Enamel Oil Application and Color Sifting Methods
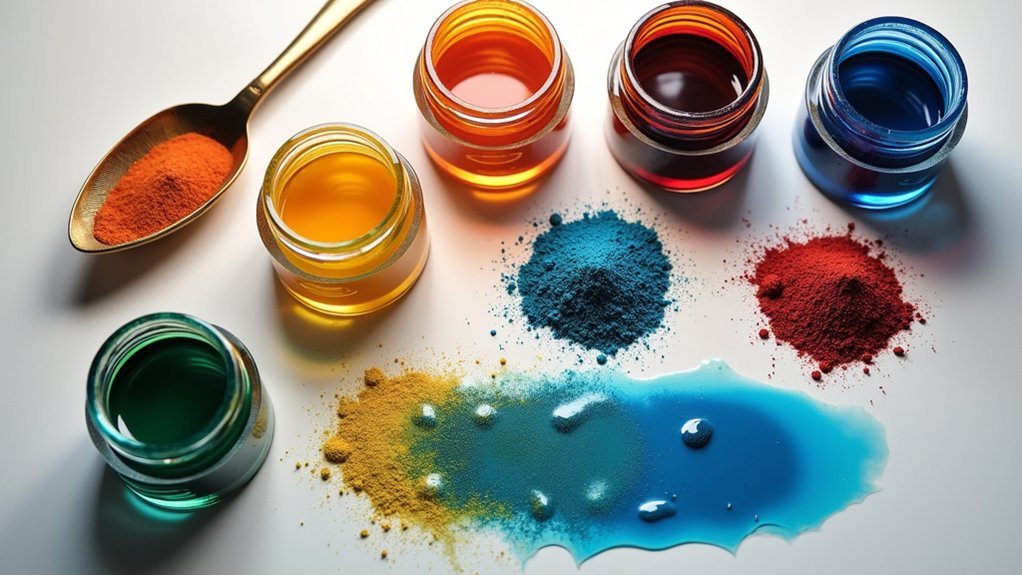
When your metal surface achieves perfect cleanliness, you’ll transform powdered enamel into stunning inlays through precise oil application and strategic color placement.
Apply a thin, even coat of enamel oil using a clean paintbrush to guarantee proper adhesion of powdered glass to your enamel surface. Use a sifter to evenly distribute the enamel, applying more toward edges for smooth finishes.
When working with different sizes of metal pieces, you can use copper as your base material for excellent results. Experiment with layering multiple colors, starting with base coats and gradually adding additional shades.
Document your enamel amounts and types for each application. Ascertain you’re sifting onto clean, dry surfaces to prevent clumping and achieve uniform layers that fuse perfectly during firing.
Advanced Decorative Techniques and Tool Control
As you advance beyond basic color application, mastering specialized tools and decorative techniques will elevate your enamel inlays from simple fills to sophisticated artworks.
The liner tool becomes your precision instrument, allowing you to apply enamel onto surfaces with incredible detail while minimizing clumps and gaps. Control the pressure you apply to maintain consistent lines and achieve professional results.
The fade technique involves layering another layer of contrasting enamel colors to create smooth gradient effects.
When using stencils for intricate patterns, seal edges properly before applying direct flame during firing. Use a small amount of pressure adjustments to control enamel flow effectively.
- Master liner tool pressure control for consistent, detailed lines
- Layer contrasting colors using fade technique for gradient effects
- Seal stencil edges completely to prevent enamel leakage during firing
- Document techniques, enamel types, and results for skill refinement
- Experiment with various decorative methods to develop personal artistic style
Firing Process and Final Edge Finishing
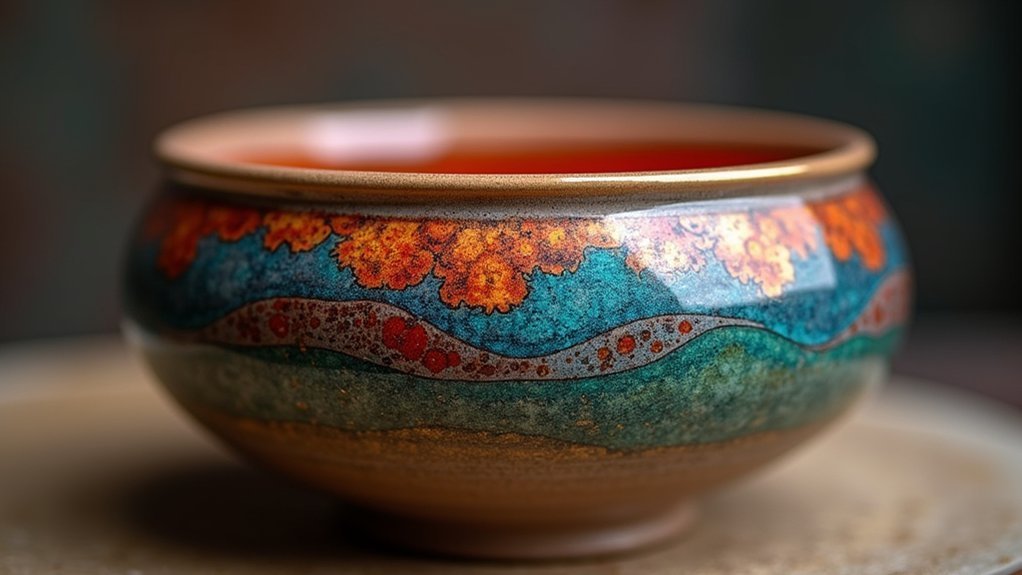
Once you’ve completed your decorative work, the firing process transforms your raw enamel application into a permanent, lustrous surface.
Use your torch to heat the enamel piece from underneath until it becomes smooth and glossy. Watch carefully to avoid burning the metal or enamel during this critical stage.
After firing, let your copper pieces cool completely before handling to prevent cracking.
Once cooled, use a grinding wheel to clean the piece’s back, smoothing any sharp edges for safety and aesthetics.
Take the time to sand the edges post-firing for a clean finish that enhances presentation.
When applying additional coats, sift enamel on paper so you can easily funnel unused material back into containers, minimizing waste while achieving professional results.
Frequently Asked Questions
What Is the Enamelling Process?
You’ll fuse powdered glass onto copper or silver using heat. Start by sanding metal to 300 grit, then clean thoroughly. Apply enamel and heat from underneath until it becomes smooth and glossy.
How to Apply Porcelain Enamel?
You’ll apply porcelain enamel by first brushing on thin enamel oil, then sifting powdered enamel evenly across the surface. Add extra powder to edges, then heat from underneath until glossy.
Can You Enamel Without a Kiln?
You can enamel without a kiln using torch flame enameling. Heat your copper or silver piece from underneath until the enamel becomes smooth and glossy. You’ll have more control over small, detailed projects this way.
How to Prepare Copper for Enamelling?
You’ll sand copper’s back with 300-grit sandpaper, scrub with pre-enamel cleaner while wearing safety gear, rinse thoroughly, dry completely, apply thin enamel oil coat, and clear any pierced holes.
In Summary
You’ve mastered the essential techniques for creating stunning enamel inlays. From proper safety setup through meticulous surface preparation, you’ve learned to control color application and execute advanced decorative methods. Your firing skills and edge finishing techniques will produce professional-quality results. Practice these steps consistently, and you’ll develop the precision needed for flawless inlays. Remember, patience and attention to detail make the difference between good work and exceptional craftsmanship.


Leave a Reply