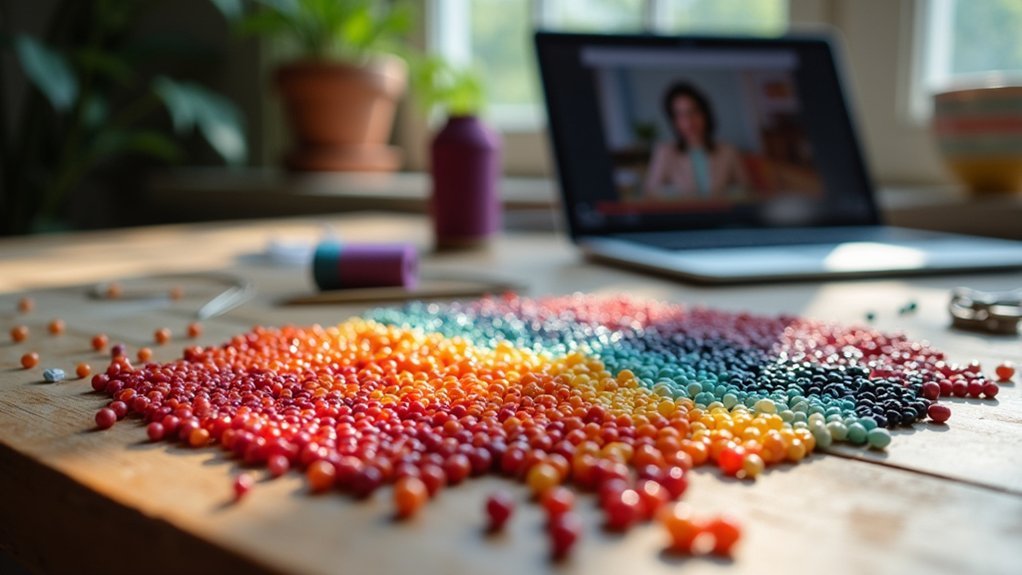
You’ll need essential supplies like a $10 loom, size 10 beading needles, nylon thread, and mixed seed bead packages to start your weaving journey. Begin by cutting 30-centimeter warp threads, securing them with proper tension, and threading your needle with a 10-centimeter tail. Master basic bead placement by positioning thread underneath warp threads, then advance to professional finishing techniques and clasp attachment methods. These foundational skills will reveal countless creative possibilities for your beadwork projects.
Essential Supplies and Tools for Seed Bead Weaving
Before you can create stunning seed bead woven pieces, you’ll need five essential supplies that form the foundation of any successful project.
First, grab sharp scissors for cutting thread cleanly. Next, invest in a loom (around $10) that’ll serve as your weaving base, providing proper tension and organization for your work.
You’ll also need durable nylon beading thread that withstands the weaving process without breaking. Size 10 beading needles are vital since they’re specifically designed to fit through tiny seed beads effectively.
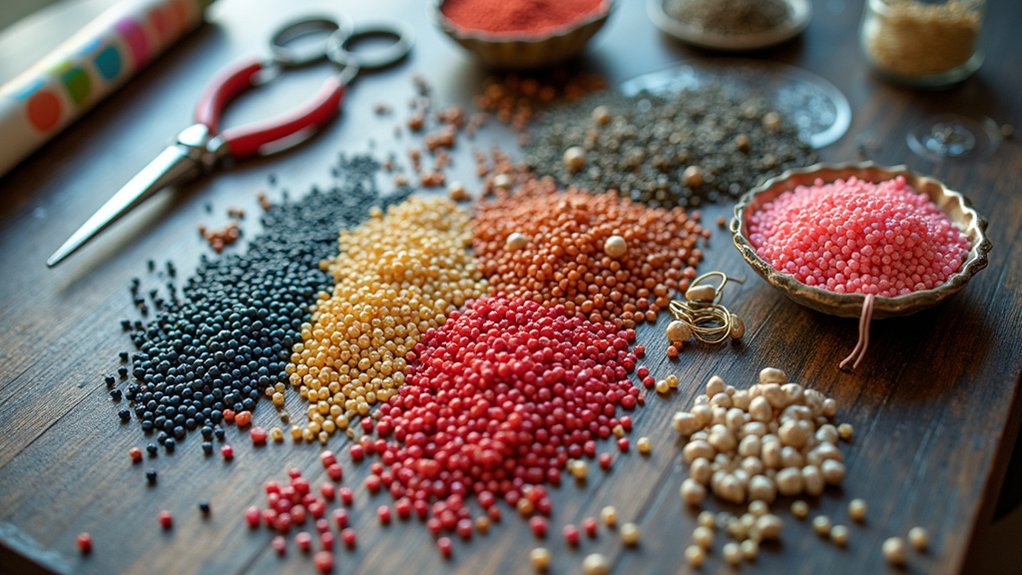
Finally, purchase a mixed package of beads offering various colors and sizes for creative design possibilities.
When preparing your loom, cut warp threads about 30 centimeters long based on your desired bead width. This gives you everything you need to start weaving successfully.
Setting Up Your Loom for Optimal Results
Once you’ve gathered your supplies, proper loom setup determines whether your beadwork turns out beautifully aligned or frustratingly crooked. Here’s what you need to know about threading your loom correctly.
Cut your beading thread to approximately 30 centimeters, matching your design’s width—a 9-bead-wide pattern requires 10 warp threads. Knot one end securely for stability, maintaining consistent tension by pulling the correct end while knotting.
Measure your beading thread to 30 centimeters, ensuring you have one more warp thread than beads in your pattern’s width.
Split the threads in half and loop them over your loom, then tighten the wing nuts to secure them. Adjust tension by ensuring threads are evenly spaced and taut before beading begins.
Double-check that threads align correctly to prevent bead misalignment during weaving. Proper setup saves frustration later.
Threading Techniques and Needle Management

You’ll find that mastering proper needle threading methods can make or break your seed bead weaving experience.
Getting your thread length just right prevents frustrating mid-project interruptions and guarantees smooth, continuous work.
These fundamental skills will save you time and reduce the headaches that come with poorly managed threading techniques.
Proper Needle Threading Methods
Threading your needle correctly sets the foundation for successful seed bead weaving, and mastering this fundamental skill will save you considerable time and frustration throughout your project.
To make threading easier, hold the thread close to the end and wiggle the needle’s eye onto the thread instead of stabbing it through. If you encounter difficulties, try turning the needle to the other side or using the opposite end of the thread.
When adding your first bead, make sure to leave a tail of about 10 centimeters (4 inches) for proper securing without creating a knot.
During beading, maintain needle placement above the warp threads for ideal bead alignment and stability throughout your weaving process.
Thread Length Management
While proper needle threading provides your foundation, managing thread length effectively determines whether your seed bead weaving flows smoothly or becomes an exercise in frustration. When you first started, you might’ve cut thread pieces too short or too long, creating unnecessary complications.
Optimal thread management requires strategic planning:
- Cut your initial thread to 30 centimeters (12 inches) for adequate beading length
- Leave a 10-centimeter (4-inch) tail when adding your first bead for secure anchoring
- Monitor remaining thread constantly to avoid sudden shortages mid-project
- During tapering, gradually reduce beads per row down to three for clean finishing
You’ll prevent tangling by holding thread close to the end while threading.
When nearing completion, backtrack to bury threads without passing through every single bead.
Basic Bead Placement and Securing Methods
You’ll start by loading your beads onto the needle and threading them through the warp with careful attention to their designated positions.
Once you’ve positioned the beads correctly, you’ll secure them by running the thread underneath the warp threads and then back over the top.
This method keeps your beads stable and prevents them from shifting as you continue weaving your pattern.
Threading and Bead Loading
Mastering the fundamentals of threading and bead placement sets the foundation for successful seed bead weaving projects. Proper threading technique makes the entire process smoother and more enjoyable. Instead of forcing thread through the needle’s eye, hold it close to the end and wiggle the needle’s eye onto the thread for easier threading.
When loading beads onto your thread, these essential steps guarantee stability:
- String your first bead securely, leaving a 10-centimeter tail for stability
- Position thread underneath warp threads when aligning beads on the loom
- Keep needle placement above warp threads while sewing for design consistency
- Run thread over aligned beads in their designated spots to secure placement
These techniques create the foundation for beautiful, durable seed bead projects.
Securing Warp Thread Placement
Once you’ve threaded your needle and loaded your first beads, establishing proper warp thread placement becomes your next critical step. Cut your warp threads to match your design’s width, confirming the thread count aligns with your bead count for maximum stability.
You’ll need one secure knot at the end to prevent slipping during work while maintaining consistent tension throughout.
As you progress, run your thread underneath the warp threads for stability and proper bead alignment. Push beads from below to adjust their positions, assuring they sit correctly before securing.
Monitor your working thread length carefully, backtracking to bury excess thread without passing through each individual bead. This technique guarantees clean finishing and professional-looking results for your beadwork project.
Advanced Thread Management and Weaving Patterns

As your seed bead weaving skills develop, thread management becomes the foundation that determines whether your projects maintain structural integrity or fall apart at the seams. Mastering these techniques transforms challenging patterns into fun and easy creative experiences that you’ll confidently tackle.
Proper thread management separates successful seed bead projects from frustrating failures that unravel before completion.
Essential thread management practices include:
- Monitor thread length continuously – Keep at least 10 centimeters when starting and watch for running low mid-project.
- Maintain proper needle placement – Keep your needle above warp threads for smooth movement and perfect alignment.
- Execute clean finishes – Reverse thread direction when ending, backtracking through select beads rather than every single one.
- Secure buried threads – Use friction to lock threads before cutting, ensuring tails are cushioned within your beadwork.
These fundamentals enable you to tackle complex weaving patterns with confidence and precision.
Professional Finishing and Tapering Techniques
When you’re ready to complete your beadwork masterpiece, the finishing technique you choose determines whether your project looks handmade or professionally crafted.
You’ll need to decide between a tapered or abrupt finish. For tapering, gradually reduce beads from nine down to three per row, creating smooth shifts. Secure remaining threads by passing your needle through beads and burying threads within the beadwork for clean results.
An abrupt finish involves cutting threads with long ends, which you’ll bury later for stability.
When releasing work from your loom, carefully loosen wingnuts to prevent damage. For clasp attachment, thread both remaining threads through your needle simultaneously, add two beads and half the clasp, then pass back through beads to secure everything properly.
Clasp Attachment and Final Assembly Methods
Three essential steps will transform your finished beadwork from a loom project into a wearable piece of jewelry.
You’ll need to attach clasps properly to guarantee your piece is both functional and durable.
First, thread two remaining threads through your needle simultaneously. Add two beads and half of your clasp onto the needle, then pass the needle back through the beads to secure everything tightly.
The final assembly process involves:
- Burying threads within the beadwork for a clean, professional finish
- Repeating the clasp attachment on the opposite side for uniformity
- Making sure beads hold the clasp securely without gaps
- Loosening loom wingnuts to release your completed piece
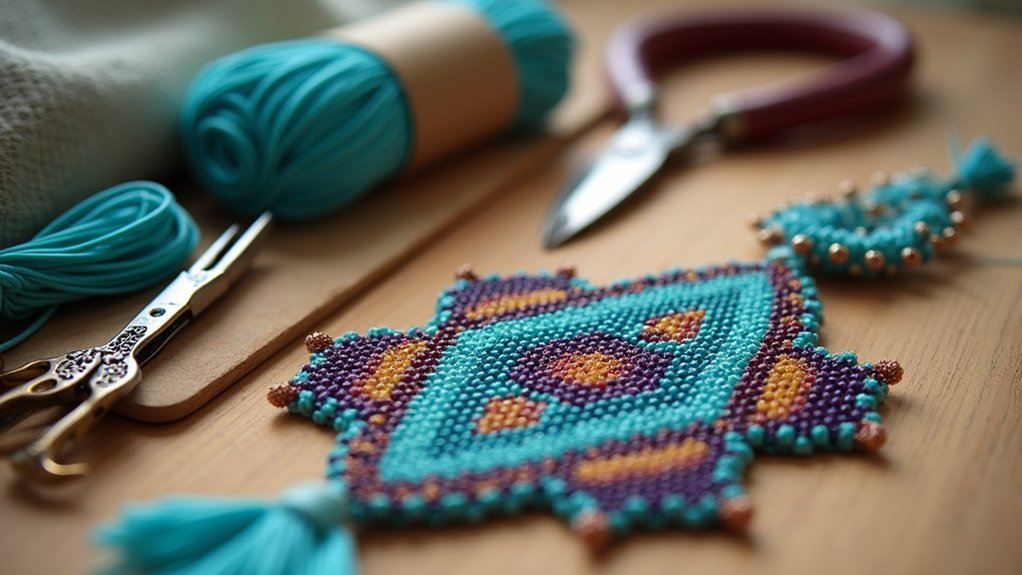
Your beadwork is now ready for wear or additional embellishments.
Frequently Asked Questions
How Long Does It Typically Take to Complete a Beginner Seed Bead Project?
You’ll typically spend 2-6 hours completing your first seed bead project, depending on its complexity. Simple bracelets take about 2 hours, while earrings need 1-3 hours. Your speed increases with practice and experience.
What’s the Best Way to Fix Mistakes Without Starting the Entire Project Over?
You can carefully remove individual beads using needle-nose pliers or a beading awl. Work backward from your mistake, unweaving threads slowly. Don’t pull too hard, or you’ll damage surrounding beadwork and create bigger problems.
How Do I Choose Appropriate Bead Colors That Work Well Together?
You’ll want to use a color wheel to find complementary or analogous colors. Start with two or three shades that you’re drawn to, then test them together before committing to your entire design.
Can I Use Regular Sewing Thread Instead of Specialized Beading Thread?
You shouldn’t use regular sewing thread for seed bead weaving. It’s too weak and will break easily. Specialized beading thread like Nymo or FireLine is stronger, more durable, and designed to handle beads’ sharp edges better.
Where Should I Store Unfinished Projects to Prevent Tangling or Damage?
Store your unfinished projects in clear plastic containers or ziplock bags with compartments. Keep threads taut and secure loose ends with tape. Label each container with project details to avoid confusion later.
In Summary
You’ve now got seven solid tutorials covering everything from basic setup to professional finishing techniques. Don’t worry if your first pieces aren’t perfect—seed bead weaving takes practice to master. Start with simple patterns and gradually work your way up to more complex designs. Remember to keep your tension consistent and take breaks to avoid hand fatigue. With these fundamentals down, you’re ready to create beautiful beaded jewelry that’ll impress everyone.


Leave a Reply