For successful silver casting, maintain precise temperature control throughout the process, from wax handling to metal pouring. Position sprues at the lowest points of your model to optimize metal flow. Use high-quality equipment including a Burno-style crucible and digital scales for consistency. Keep vacuum pressure at 29 inches of mercury to prevent porosity. Clean tools regularly to avoid contamination. Polish with graduated abrasives, starting coarse and finishing fine. These fundamental techniques will transform your casting results dramatically.
Mastering Wax Models for Flawless Silver Casting
When creating the perfect wax model, every detail matters for successful silver casting. Always use separate tools for wax and metal work to prevent contamination. Metal filings in your wax can cause pitting when the molten silver is poured, compromising your final piece.
For hollow beads, construct with water-soluble wax cores and build exterior designs with sheet or wire wax. After soaking in water, the core dissolves cleanly.
Design your wax models with metal flow in mind. Avoid flared shapes and straighten models to guarantee smooth movement of molten silver during casting.
Maintain proper wax pot temperatures to prevent defects, and opt for larger sprues (6 ga instead of 8 ga) for improved metal flow. These casting tips will greatly reduce the risk of incomplete fills.
Essential Equipment and Materials for Successful Pours
Success in silver casting begins with investing in the right equipment. A high-quality Burno-style crucible forms the foundation of your setup, efficiently melting silver while retaining heat during pouring.
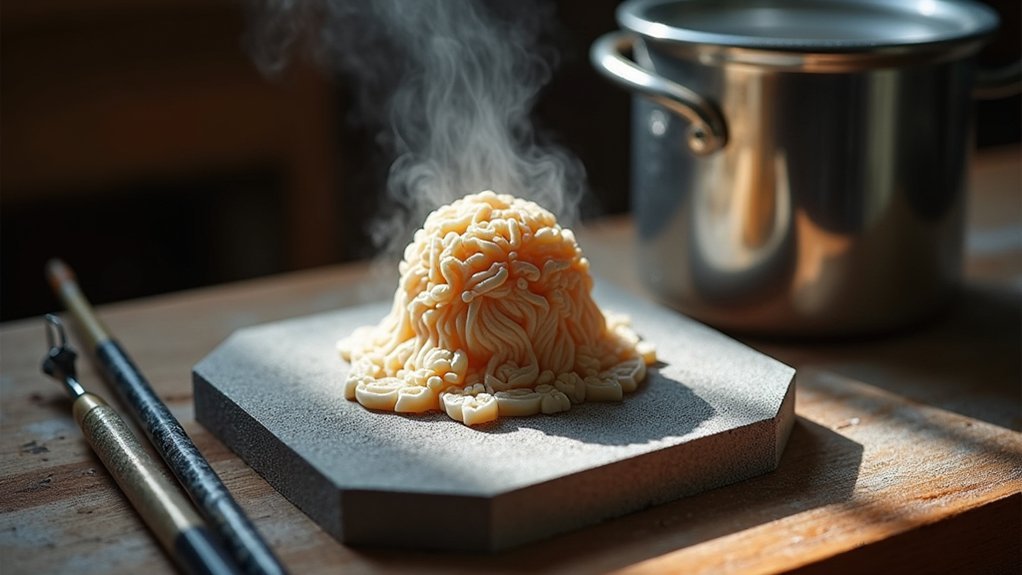
For creating precise wax models, a temperature-controlled wax pot is essential—it maintains ideal melting temperatures and prevents defects in your final pieces.
Cross-contamination can ruin your work, so dedicate separate files for wax and metal. Metal filings in your wax models will cause pitting in castings.
Never mix wax and metal tools—a single metal filing contaminating your wax can create unwanted pitting throughout your casting.
Don’t overlook measurement precision—large digital scales guarantee accurate investment-to-water ratios for consistent results.
During the melting and pouring process, safety comes first. Proper ventilation, heat-resistant surfaces, and appropriate PPE create a secure workspace, protecting you while you transform molten silver into beautiful jewelry.
Proper Sprue Placement for Complete Metal Flow
The difference between a flawless casting and a frustrating failure often lies in how you position your sprues. When planning your jewelry casting, always place sprues at the lowest points of your model to guarantee smooth metal flow throughout the piece.
Avoid positioning sprues at the very top where air pockets can form and prevent metal from reaching delicate areas.
For best results, choose larger sprues (6 gauge instead of 8 gauge) to improve flow and reduce incomplete castings. When working with complex designs, don’t hesitate to use multiple sprues to direct metal into intricate or distant sections.
Remember to align all sprues parallel to the flask for consistent metal movement. Proper sprue placement creates pathways that guide molten silver exactly where you need it, resulting in clean, detailed castings.
Temperature Control Throughout the Casting Process
Temperature control stands as the backbone of successful silver casting, working hand-in-hand with proper sprue placement to create flawless pieces.
You’ll need to maintain consistent wax pot temperatures using a dedicated controller to prevent overheating that compromises model quality.
For ideal casting processes, set your flask temperature around 1000°F, which improves mold filling and reduces porosity issues.
Your burnout procedure should begin at 250°F for at least four hours, then hold at 500°F to accommodate phase transformations, reducing ash and enhancing results.
Careful burnout cycles starting at low temperatures ensure complete investment conversion and maximum ash removal.
When pouring molten metal, verify your molds remain sufficiently hot to prevent premature solidification.
Monitor vacuum pressure carefully, aiming for 29 inches of mercury to verify proper metal flow throughout the mold.
Precise temperature control at each stage dramatically improves your casting outcomes.
Vacuum and Pressure Techniques for Bubble-Free Results
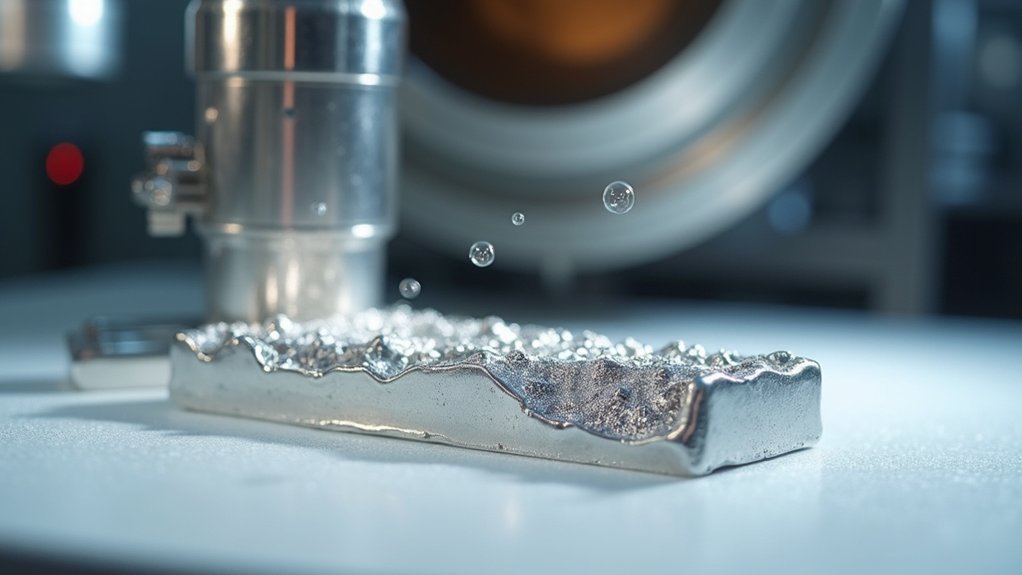
Achieving bubble-free silver castings requires mastery of vacuum and pressure techniques that complement your temperature control efforts. Maintain a vacuum pressure of approximately 29 inches of mercury on your casting machine to prevent air bubbles from becoming trapped in the molten silver.
After pouring, continue applying vacuum for 20-30 seconds to eliminate remaining air pockets and enhance metal flow into intricate mold areas.
You’ll gain better control over the vacuum pressure by using a foot-operated valve, which also helps prevent flasks from cooling too rapidly during casting.
For ideal results, center your sprues parallel with the flask to create a smoother path for the molten silver, reducing turbulence.
Consider two-person casting as a technique to improve efficiency—one person managing the vacuum while the other handles the pouring.
Troubleshooting Common Silver Casting Defects
When you’re facing incomplete fills in your silver castings, check your flask temperature and sprue design first, as inadequate heat or restrictive pathways often cause this issue.
To prevent porosity, you’ll need to maintain proper vacuum pressure around 29 inches and upgrade to larger sprues (6 gauge rather than 8 gauge) for improved metal flow.
Your burnout process is equally critical—start at 250°F with a four-hour hold time to eliminate wax residue that could otherwise create voids in your finished jewelry pieces.
Incomplete Fills Analysis
Why do some silver castings fail to capture every detail of your design? When melting the silver for jewelry making, several factors contribute to incomplete fills that can frustrate even experienced casters.
Your flask temperature is critical—if it’s too low, silver solidifies before reaching intricate areas. Aim for about 1000°F to improve flow.
Don’t underestimate sprue design—use larger 6-gauge sprues instead of 8-gauge and avoid uphill configurations that create blockages.
After pouring, maintain your vacuum for 20-30 seconds to help the molten metal reach distant sections of the mold.
Pay attention to cooling time and verify your silver is adequately heated before pouring to prevent premature solidification.
These adjustments will greatly reduce incomplete fills and help you achieve the fine details your jewelry designs deserve.
Porosity Prevention Techniques
Combating porosity stands as perhaps the most challenging obstacle in silver casting. When those tiny air bubbles infiltrate your pieces, they compromise both structural integrity and aesthetic appeal.
Fortunately, you can implement several proven techniques to minimize this common defect.
- Maintain flask temperature at 1000°F consistently throughout the casting process to create ideal conditions for the molten silver.
- Ensure complete melting in the crucible before pouring—partially melted metal introduces porosity problems immediately.
- Upgrade to 6 gauge sprues instead of 8 gauge to improve metal flow dynamics and reduce trapped air pockets.
- Implement vacuum casting with pressure maintained at 29 inches to extract air bubbles that would otherwise remain trapped.
If porosity persists despite these measures, examine your investment material and burnout procedures, as residual ash often contributes to defects.
Finishing Techniques for Professional Cast Jewelry
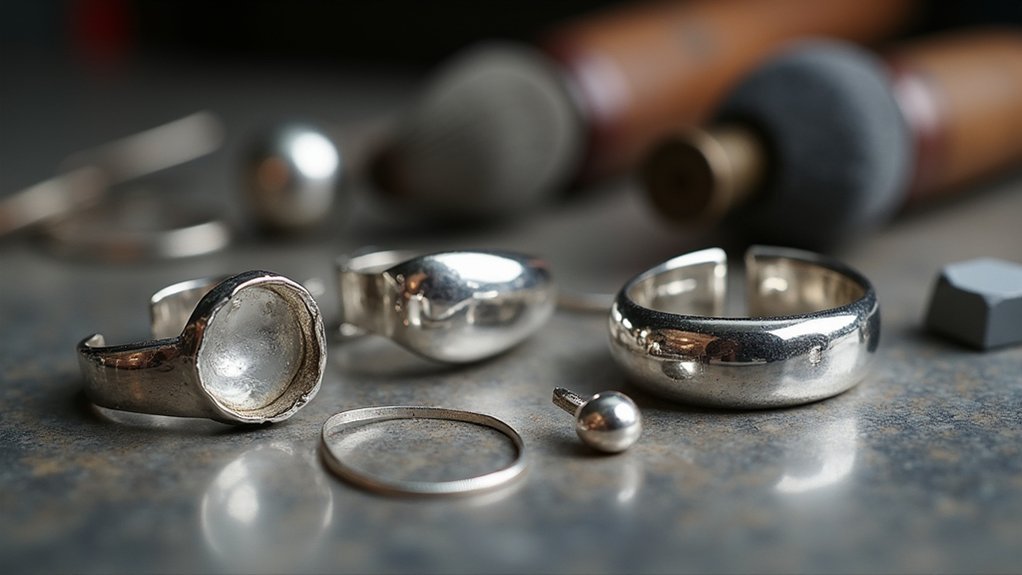
The finishing process transforms your cast silver pieces from rough diamonds to professional jewelry through proper polishing techniques that create a brilliant, eye-catching shine.
You’ll discover how applying patinas can dramatically enhance your work by adding depth and contrast to recessed areas, creating visual interest that plain silver can’t achieve.
Experiment with texture enhancement methods like hammering, stamping, or selective sanding to develop your signature style and make your cast jewelry truly distinctive.
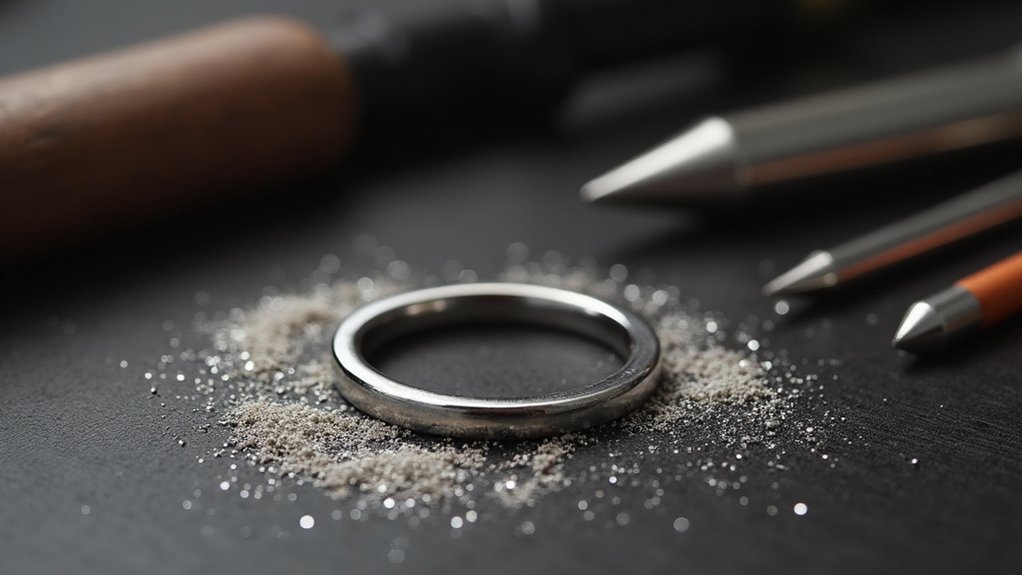
Polishing For Brilliant Shine
Achieving that eye-catching brilliance on your silver jewelry requires methodical polishing techniques that transform a rough cast into a professional masterpiece.
When working with sterling silver, start with coarse abrasives to remove casting flaws before progressing to finer grits.
- Apply silver-specific compounds like rouge or tripoli with a soft cloth or motorized buffer to enhance luster.
- For intricate details, use a Dremel tool with felt buffing wheels, maintaining a light touch to prevent metal overheating.
- Thoroughly clean your piece with mild soap after polishing to remove residual compounds that could cause tarnishing.
- Protect your work by applying an anti-tarnish solution, preserving the brilliant finish you’ve worked so hard to achieve.
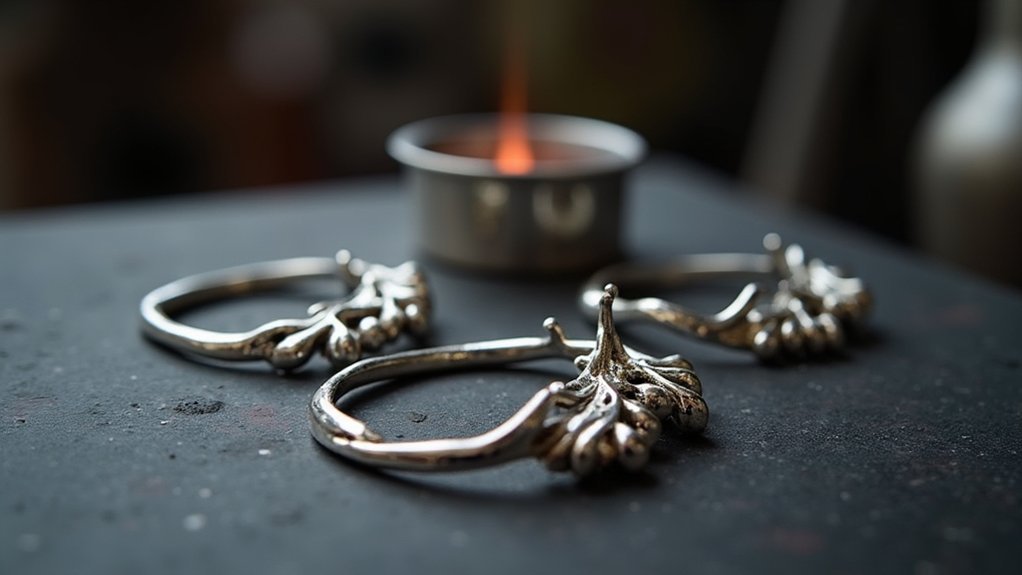
Patina Application Methods
Skilled jewelers often turn to patina techniques when seeking to add depth, character, and age to silver castings. For best results, apply chemical solutions like liver of sulfur in a well-ventilated workspace while wearing protective gloves—an essential safety step in the manufacturing process.
You’ll achieve more vibrant finishes by gently warming your silver piece before application, as heat accelerates the chemical reaction.
Consider your surface treatment carefully; smooth surfaces create uniform coloration, while textured areas develop intriguing variations from golden tones to deep blacks.
Once you’ve achieved your desired effect, immediately seal your work with a protective coating. A thin layer of wax provides excellent protection against tarnishing and preserves your patina’s distinctive finish.
This final step guarantees your artistic efforts remain beautiful long after the casting process ends.
Texture Enhancement Techniques
Beyond patina application, texture serves as your key differentiator in professional silver casting. Elevating your casting quality depends on how effectively you manipulate the metal’s surface to create visual interest and tactile appeal.
- Start with graduated files and abrasives to achieve everything from rustic textures to mirror-polished finishes, working systematically from coarse to fine grits.
- Experiment with mechanical texturing techniques like hammering, sandblasting, or pressing with texture plates to create distinctive patterns.
- Utilize a tumbler with stainless steel shot for uniform polish that removes minor imperfections while enhancing shine.
- Apply a clear protective coating as your final step to preserve your textural work and guarantee your piece maintains its professional appearance.
Remember that contrasting textured areas with polished finishes creates dramatic visual interest in your cast pieces.
Frequently Asked Questions
How to Make Silver Bright in Jewelry?
To make silver bright in jewelry, you’ll need to use a polishing cloth specifically for silver, clean with mild soap, try silver dip solutions, store in anti-tarnish pouches, and apply fine silver polish regularly.
What Temperature Do You Cast Sterling Silver?
You’ll cast sterling silver at 1600-1700°F (871-927°C), while maintaining your flask at 950-1000°F. This temperature range guarantees ideal metal flow and proper filling of your jewelry mold details.
How Much Does Silver Shrink When Cast?
When you cast silver, you’ll experience approximately 1.5-2% shrinkage as the metal cools and solidifies. You’ll need to create your models slightly larger to compensate for this natural contraction in your final pieces.
How Do You Finish Silver After Casting?
You’ll need to remove sprues, file rough edges, clean thoroughly, and polish to a high shine. Start with coarse sanding and progress to finer grits before using polishing compounds or a tumbler for the final luster.
In Summary
Your success in silver casting hinges on technique, precision, and practice. Remember, quality wax models, proper equipment, strategic sprue placement, and careful temperature control all contribute to flawless results. Don’t skip vacuum or pressure techniques—they’re essential for eliminating bubbles. When defects occur, troubleshoot methodically. With these seven tips and dedicated finishing work, you’ll transform your casting challenges into stunning jewelry pieces that truly showcase your craftsmanship.


Leave a Reply