You’ve mastered the art of creating stunning silver clay pieces, but achieving that professional mirror finish remains elusive. The difference between amateur and expert work often lies in polishing techniques that transform dull, fired clay into gleaming precious metal. Whether you’re struggling with scratched surfaces, uneven shine, or details lost to aggressive polishing, these seven proven methods will elevate your craftsmanship and help you discover why preparation matters more than you think.
Prepare Your Greenware Thoroughly Before Firing
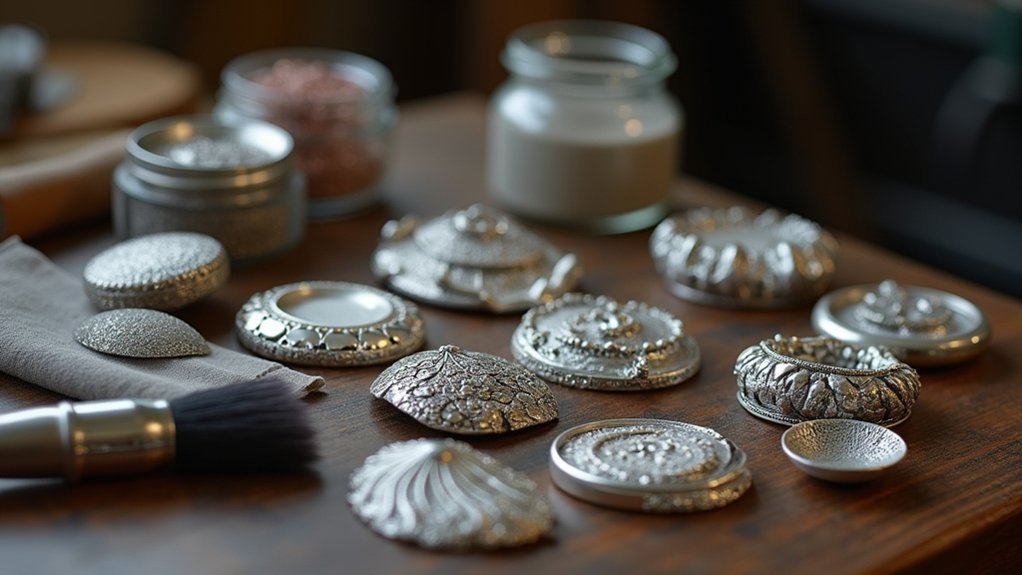
Before you ever place your silver clay piece in the kiln, you’ll set yourself up for success by thoroughly preparing it during the greenware stage. This essential preparation phase dramatically reduces post-firing polish time and effort.
Start by ensuring your piece is completely dry and hard. Then sand the piece using fine grit sanding sponges or polishing papers, beginning with 600 grit and progressing through 2000 grit.
Work gently through each grade systematically—this methodical approach creates an exceptionally smooth surface.
Focus on eliminating all scratches and imperfections during this stage, as these polishing techniques are most effective on unfired clay.
Complete your preparation by wiping the piece with a quality, fiber-free baby wipe to enhance surface quality before firing.
Choose the Right Polishing Method for Your Design
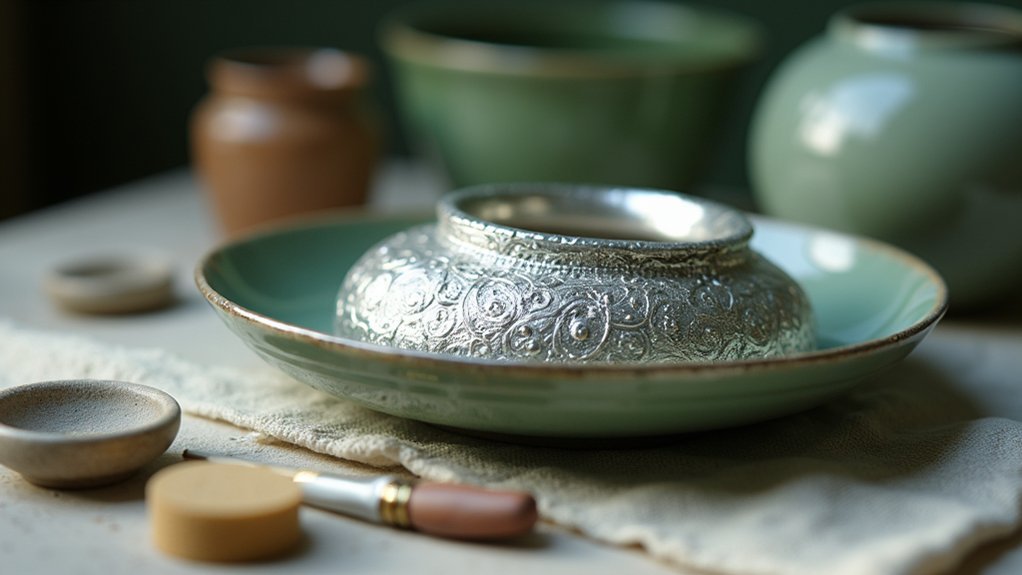
Three primary polishing methods work best for silver clay, and your design’s complexity determines which approach you’ll choose.
For delicate and detailed pieces, hand polishing with fine grit sanding sponges (600 to 2000 grit) preserves intricate details while achieving a mirror shine.
If you’re working with larger batches, tumble polishing efficiently handles multiple pieces simultaneously, though you’ll need initial brushing and regular monitoring to prevent over-polishing that destroys fine details.
Consider burnishing to enhance shine and harden surfaces, particularly for highlighting edges and textures. Use brass brushes on silver for a satin finish without scratching risks.
You’ll achieve superior results by combining techniques—try burnishing followed by hand polishing to maximize both shine and detail preservation for your most important pieces.
Master Hand Polishing Techniques for Delicate Details
You’ll achieve the best results on delicate silver clay pieces by mastering the progressive grit paper method, starting with 600-grit and working systematically through to 2000-grit for a flawless finish.
Always sand in one consistent direction to prevent creating unwanted scratches that can ruin your piece’s appearance.
Focus on preserving your intricate design features by using controlled pressure and specialized tools like wooden buffing sticks for tight spaces.
Progressive Grit Paper Method
Start your progressive grit paper method with 320 or 400 grit sandpaper to tackle initial imperfections on your silver clay piece.
Sand in one direction with this coarsest grit to avoid cross-scratching. These polishing papers effectively remove scratches from the initial surface preparation.
Next, shift to medium grits between 600-800 for further refinement.
You’ll notice the surface becoming smoother as you progress through each stage.
When you reach finer grits from 1000-2000, alternate your sanding directions to minimize visible scratch patterns.
This technique enhances your piece’s overall finish quality.
Always rinse between grit changes to remove debris and prevent particles from scratching your work.
Complete the process with a polishing cloth or pad to achieve that brilliant shine that showcases your intricate details perfectly.
Directional Sanding Techniques
When working with delicate silver clay details, mastering directional sanding becomes essential for preserving intricate patterns while achieving professional results. Start by sanding in one direction with your coarsest grit to effectively remove imperfections. This approach maintains the integrity of delicate details better than random sanding motions.
As you progress to finer grits, alternate your sanding direction with each grit change. This technique guarantees even coverage and prevents cross-scratching that can damage intricate designs. Apply gentle pressure throughout the process, especially on detailed pieces like fingerprint jewelry where patterns must remain crisp.
Use high-quality sanding pads designed specifically for metal clay to achieve superior results. Complete your final sanding stage with a fiber-free baby wipe to remove all residual particles, preparing your piece for the high shine you’ll achieve during firing.
Preserving Intricate Design Features
After establishing your foundation with proper sanding technique, hand polishing becomes your most powerful tool for maintaining the crisp edges and fine textures that make silver clay pieces truly exceptional.
Begin with a brass brush for initial finishing, as it won’t scratch silver surfaces like stainless steel would, keeping your intricate patterns perfectly intact.
For highly textured areas, use a metal burnisher to highlight contrast without introducing unwanted scratches. This technique accentuates your craftsmanship while preserving delicate details.
Always assess your piece regularly during the polishing process—over-polishing quickly erases fine details and diminishes your jewelry’s aesthetic appeal.
Use Burnishing to Enhance Edges and Textured Surfaces

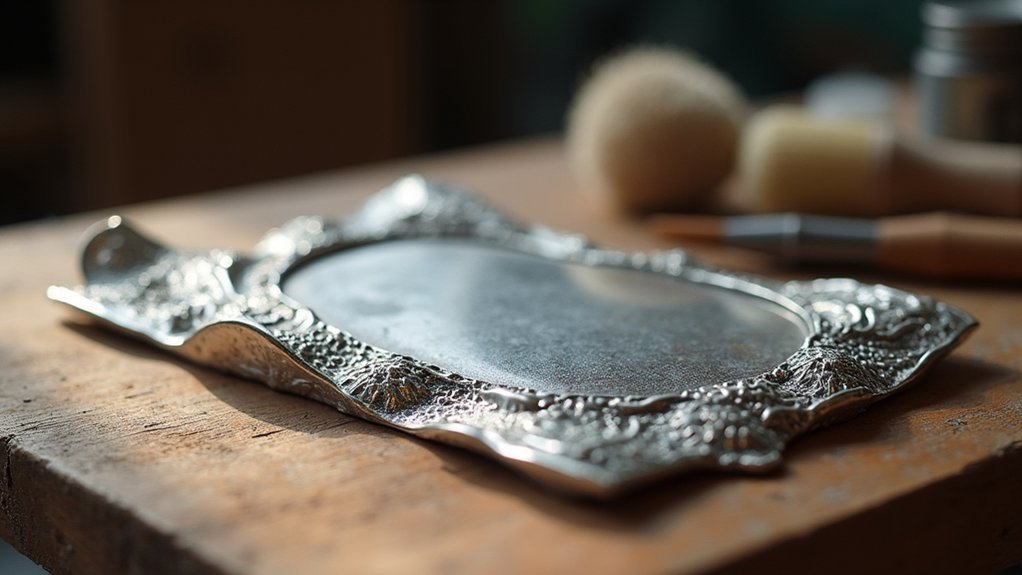
While other polishing techniques focus on broad surface areas, burnishing targets the specific details that make your silver clay pieces truly shine.
This technique hardens your piece’s surface while enhancing edges and textured areas that standard polishing methods can’t reach effectively.
Use a smooth metal burnisher with gentle pressure to avoid scratching.
Focus on edges and intricate textures where you want maximum contrast and definition. The burnisher compacts surface material, improving both durability and aesthetic quality.
Apply burnishing after your initial polishing steps to prevent marks or scratches.
While burnishing works beautifully with hand polishing or tumble polishing, it shouldn’t replace these methods—each contributes uniquely to your final finish.
This targeted approach highlights intricate design details perfectly.
Optimize Tumble Polishing Without Losing Fine Features
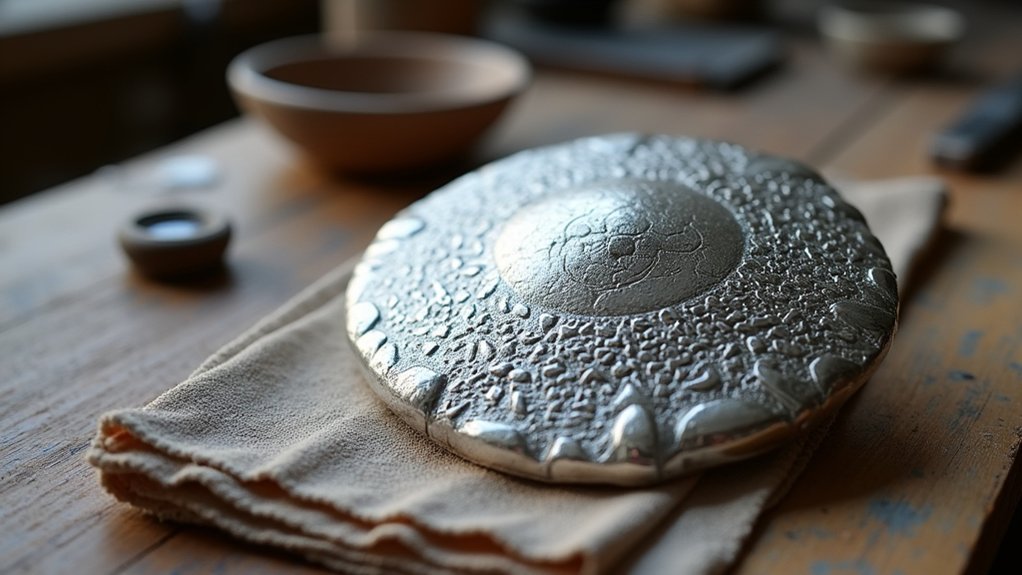
When you’re tumble polishing silver clay pieces with intricate details, you’ll need to master three critical techniques to preserve those fine features.
Start with proper pre-tumble brushing to remove surface debris.
Then implement strategic timing controls to prevent over-polishing.
You’ll also want to establish regular progress monitoring intervals to catch any issues before they compromise your delicate designs.
Pre-Tumble Brushing Essentials
Three critical steps guarantee your silver clay pieces achieve maximum shine without sacrificing delicate details during tumble polishing.
Pre-tumble brushing with a soft brass brush removes surface dust and debris, creating the perfect foundation for effective polishing. You’ll want to brush gently for 5 to 10 minutes, protecting intricate designs while preparing your metal clay for even tumbling results.
Essential pre-tumble brushing techniques:
- Use soft brass brushes instead of stiff ones to preserve fine details
- Brush gently for 5-10 minutes to avoid scratching delicate features
- Remove all surface dust and debris before tumbling begins
- Check pieces regularly during brushing to identify areas needing extra attention
- Ascertain clean starting points for maximum shine enhancement
This careful preparation maintains your piece’s integrity while setting the stage for superior tumble polishing results.
Strategic Timing Controls
Once you’ve completed your pre-tumble brushing, timing becomes your most powerful tool for achieving professional results while preserving intricate details.
You’ll need to check your silver clay pieces every 30 minutes during the tumbling process to monitor shine progression and prevent over-polishing. Tumble polish duration varies considerably—anywhere from 30 minutes to 5 hours—depending on your piece’s size and complexity.
Don’t rely solely on predetermined timeframes; instead, watch for visual cues that indicate ideal shine levels. Be ready to stop earlier than planned if you notice delicate features beginning to soften or lose definition.
This vigilant approach guarantees you’ll achieve the perfect balance between brilliant shine and preserved design integrity.
Regular Progress Monitoring
As your tumbler hums along, you’ll discover that consistent monitoring becomes the difference between perfectly polished pieces and damaged artwork.
Polishing fired silver clay requires vigilant attention to prevent over-processing that destroys intricate details. Check your pieces every 30 minutes to assess shine development and preserve delicate features.
Your monitoring routine should focus on achieving uniform polish while protecting recessed areas from blackening. Use stainless steel shot as your tumbling medium for ideal results without damaging fine details.
Duration varies considerably—from 30 minutes to 5 hours—depending on your design complexity and tumbler specifications.
- Check pieces every 30 minutes during tumbling process
- Monitor for blackness formation in recessed design areas
- Adjust timing based on design complexity and detail level
- Use appropriate stainless steel shot for your metal type
- Stop immediately when desired shine level is achieved
Select Appropriate Tools and Compounds for Your Finish
When you’re ready to achieve professional-quality results with your silver clay projects, selecting the right polishing tools and compounds becomes crucial for success. Choose grease or soap-based compounds like rouge or tripoli, which effectively remove tarnish and create brilliant shine when paired with felt or muslin buffs.
These tools and techniques will help you achieve that coveted mirror finish.
Start with brass brushes for initial finishing to prevent scratches—avoid coarser wire brushes that damage surfaces. Use sanding papers beginning at 320-400 grit, progressing to finer grits before firing.
Incorporate silicone wheels for detailed work and split mandrels for precise sanding.
Maintain your equipment by regularly cleaning polishing shot solutions and raking buffs to prevent cross-contamination and guarantee consistent results.
Avoid Over-Polishing to Preserve Design Integrity
While achieving that perfect shine might tempt you to continue polishing, you’ll risk destroying the very details that make your silver clay piece unique. Over-polishing erases intricate design elements, particularly fine features that disappear under aggressive techniques.
You’ll need to balance achieving desired shine while preserving your artwork’s integrity. Hand polishing gives you precise control over pressure and prevents accidental detail loss. When tumble polishing, check your pieces every 30 minutes to prevent excessive surface compromise.
- Start with coarser grits and progress to finer ones during hand polishing
- Monitor tumbling duration carefully to avoid surface damage
- Combine methods: initial hand polishing followed by gentle tumble finishing
- Check delicate pieces every 30 minutes during tumbling
- Choose hand polishing for intricate designs requiring careful pressure control
Frequently Asked Questions
How Do You Polish Silver Clay?
Start by brushing fired pieces with brass brushes to reveal silver luster. Hand polish using 600-2000 grit papers, progressing from coarse to fine. You can also tumble polish with steel shot for efficiency.
How to Make Silver Clay Smooth?
You’ll sand your greenware silver clay with fine grit sponges, starting at 600 grit and progressing to 2000 grit. Sand in one direction, then wipe with fiber-free baby wipes before firing.
How Do You Keep Silver Clay From Sticking?
You’ll prevent silver clay from sticking by using non-stick surfaces like silicone mats, dusting with cornstarch, keeping hands clean and oil-free, and maintaining proper clay moisture levels throughout your work.
What Should Silver Clay Look Like After Firing?
After firing, you’ll see your silver clay piece appears white and matte with a fine crystalline structure. It’ll lack shine initially but indicates proper sintering without fire scale or oxidation.
In Summary
You’ve now mastered the essential techniques for achieving professional-quality finishes on your silver clay pieces. Remember that patience and practice are your best allies—don’t rush through the polishing stages. Take time to assess each piece’s unique needs and choose your methods accordingly. With consistent application of these seven tips, you’ll create stunning, brilliantly finished silver clay artwork that showcases your craftsmanship and attention to detail.


Leave a Reply