
Creating beautiful wax-carved earrings starts with selecting the right wax type—purple wax offers the best balance of durability and workability for beginners. You’ll need to master symmetry by using measuring tools and keeping center lines visible throughout carving. Keep your designs under 10 grams and 2-3 inches long for comfortable wear. Always file edges smooth and test weight distribution by temporarily attaching models to earring hooks. These foundational techniques will elevate your jewelry-making skills considerably.
Choose the Right Wax Type for Earring Projects
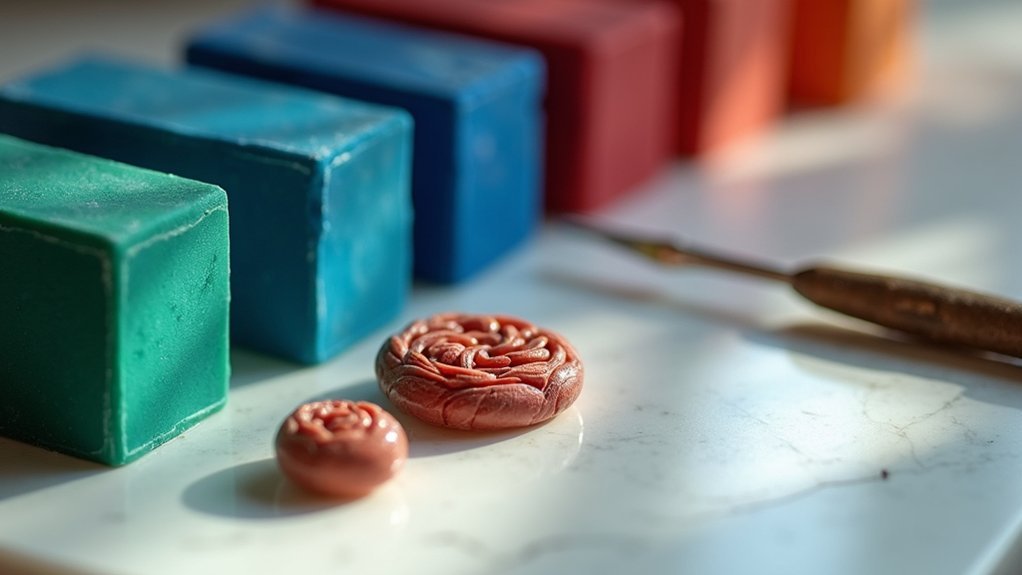
When selecting wax for earring projects, you’ll find that blue wax stands out as the top choice for most carvers. Its exceptional flexibility makes it perfect for intricate designs and detailed work without cracking under pressure.
You’ll appreciate how easily it shapes into delicate earring shapes.
Green wax delivers sharp edges ideal for high-detail pieces, but it’s prone to breakage. Reserve this for advanced projects when you’ve mastered carving techniques.
Green wax creates precision details but breaks easily, making it best suited for experienced carvers with advanced skills.
Purple wax offers excellent durability while maintaining workability, making it versatile for various designs. It won’t compromise strength during complex carving.
Consider wax sheets for lightweight, delicate earrings with raised relief patterns.
Wax tubes streamline your process—you can cut them to size and reuse portions, providing cost-effective design creation.
Master Symmetry Techniques for Matching Pairs
Creating perfectly matched earring pairs requires precise symmetry techniques that’ll save you time and frustration throughout your carving process. Your wax carving skills improve dramatically when you establish proper alignments from the start.
Begin with a detailed design plan sketched for both earrings before touching your wax block. This foundation guarantees proportional consistency throughout your project.
Essential symmetry techniques include:
- Use dividers and measuring tools to mark identical key points on both pieces, maintaining 90-degree angles
- Keep center lines visible until final carving stages to preserve equal dimensions
- Check balance continuously during the carving process, making small adjustments as needed
- Compare completed pieces side by side for final refinements
These methodical approaches ensure a refined match between earrings, elevating your finished jewelry’s professional quality.
Scale Your Design Appropriately for Ear Comfort
After perfecting your symmetry techniques, you’ll need to focus on scaling your earrings to ascertain they’re comfortable for everyday wear.
When creating earrings, scale your design to prioritize ear comfort throughout the wax carving process. Experienced wax carvers recommend keeping total weight under 10 grams for a lightweight design that won’t strain earlobes.
Prioritize comfort over complexity when scaling earring designs—lightweight pieces under 10 grams prevent earlobe strain during extended wear.
Limit length to 2-3 inches maximum to prevent uncomfortable pulling sensations. Width should range between 1/4 inch to 1 inch for ideal visual appeal without overwhelming the ear.
Incorporate ergonomic shapes that follow the ear’s natural curve during your carving process. These design tips guarantee your finished pieces feel as exceptional as they look.
Remember to plan for hypoallergenic materials like surgical steel or gold for posts and hooks, completing your comfortable, wearable jewelry design.
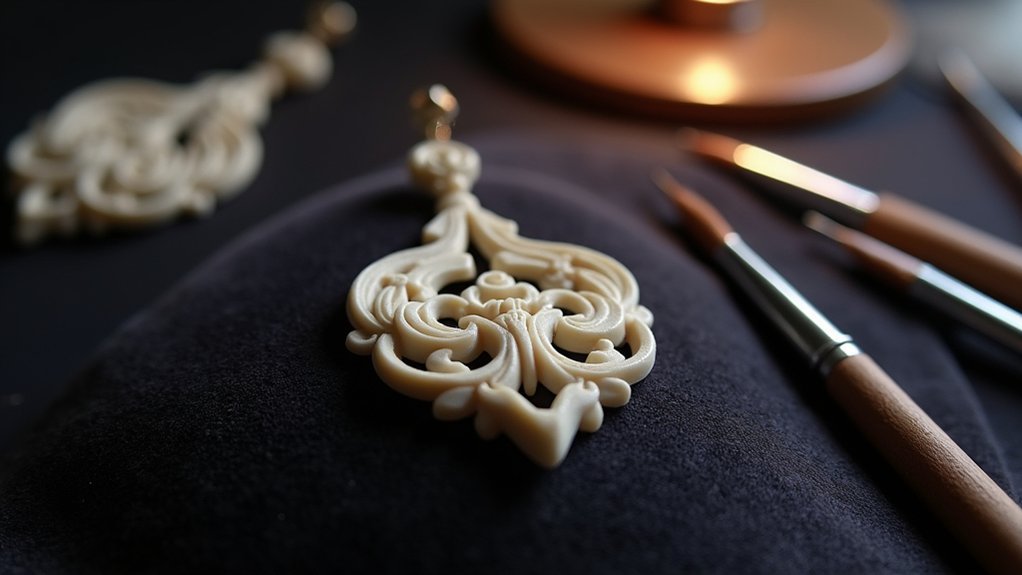
Create Clean Finishing Details Before Casting
The quality of your final cast depends entirely on how well you finish your wax model before sending it to casting.
Working with wax requires detail-oriented precision to create using the best possible techniques. Your carving wax must be polished and finished meticulously before the casting process begins.
- Use wax files to round off all edges, ensuring a smooth changeover from your carved design to the final metal piece.
- Apply fine grit emery paper on flat surfaces to eliminate uneven edges and create clean lines throughout your earring.
- Pass your wax design through a cool flame to remove rough edges and surface imperfections that could affect casting quality.
- Polish the wax model with old tights to achieve a glossy surface that translates into finer details and smoother results.
Tools for wax carving become essential for achieving professional-grade finishing results.
Balance Weight Distribution for Wearable Results

When you’re designing earrings, weight distribution becomes essential for creating pieces that feel comfortable and hang naturally on the ear. You’ll want to keep each earring under 5-10 grams to prevent sagging and discomfort. Focus your wax carving technique on placing heavier elements at the base while keeping lighter components at the top for ideal balance.
| Design Element | Weight Strategy | Thickness Guide |
|---|---|---|
| Hollow forms | Reduces overall weight | 1-1.5mm walls |
| Cut-out designs | Maintains aesthetics | Strategic voids |
| Material distribution | Bottom-heavy balance | Graduated thickness |
Incorporate hollow forms and cut-out designs to achieve lightweight results without sacrificing visual appeal. Maintain 1-1.5mm thickness throughout your wax work for durable yet comfortable wear. Test your weight distribution by temporarily attaching the wax model to an earring hook before finalizing your design.
Frequently Asked Questions
What Is the Difference Between Green and Blue Carving Wax?
You’ll find green wax is harder and more brittle, perfect for intricate details and sharp edges. Blue wax is softer and more flexible, making it forgiving for beginners and easier to manipulate during carving.
How to Smooth Out Wax Carving?
Use a wax file to smooth rough surfaces and tool marks. Apply fine grit emery paper on flat areas. For intricate details, use wax needle files. Pass through cool flame to eliminate imperfections.
What Is the Melting Point of Carving Wax?
Carving wax melts between 130°F to 160°F, depending on the type you’re using. Green wax has a higher melting point than blue wax, so you’ll need to adjust your heating tools accordingly.
What Is the Best Wax for Sculpting?
You’ll find blue wax works best for sculpting if you’re starting out. It’s flexible yet carvable, giving you control without breaking easily. Green wax’s better for intricate details once you’ve developed your skills.
In Summary
You’ve got the foundation for creating stunning wax-carved earrings that people will actually want to wear. Remember, there’s no substitute for practice when you’re perfecting symmetry and proportions. Don’t rush the finishing details – they’re what separate amateur work from professional pieces. Keep weight distribution in mind throughout your carving process, and you’ll consistently produce earrings that look beautiful and feel comfortable for hours of wear.


Leave a Reply