To solder earring posts perfectly, you’ll need a soldering torch, cross lock tweezers, flux, and quality solder. Clean both the post and earring back thoroughly, then apply flux generously to both pieces. Pre-dry the flux until it turns crusty white. Position the solder to touch both components, directing heat toward the larger earring back for even distribution. Use tweezers for stability and quench in water when complete. Mastering these fundamentals opens the door to professional-quality results.
Essential Tools and Materials for Post Soldering
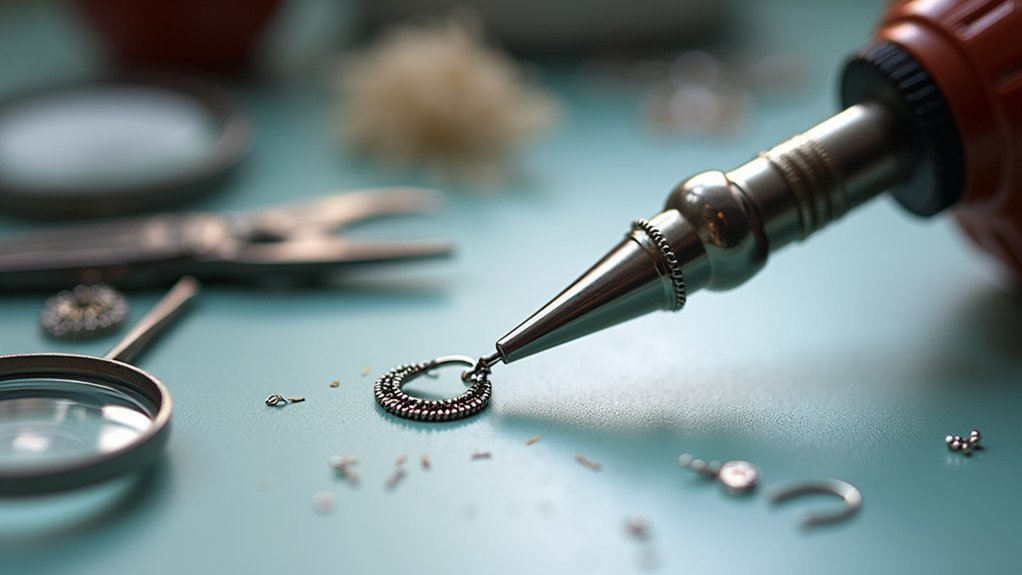
Before you can successfully solder earring posts, you’ll need to gather the right tools and materials for a clean, professional result. Your essential toolkit includes a soldering torch for controlled heating, cross lock tweezers to stabilize the pieces during work, and a soldering block that provides a stable surface while protecting your workbench.
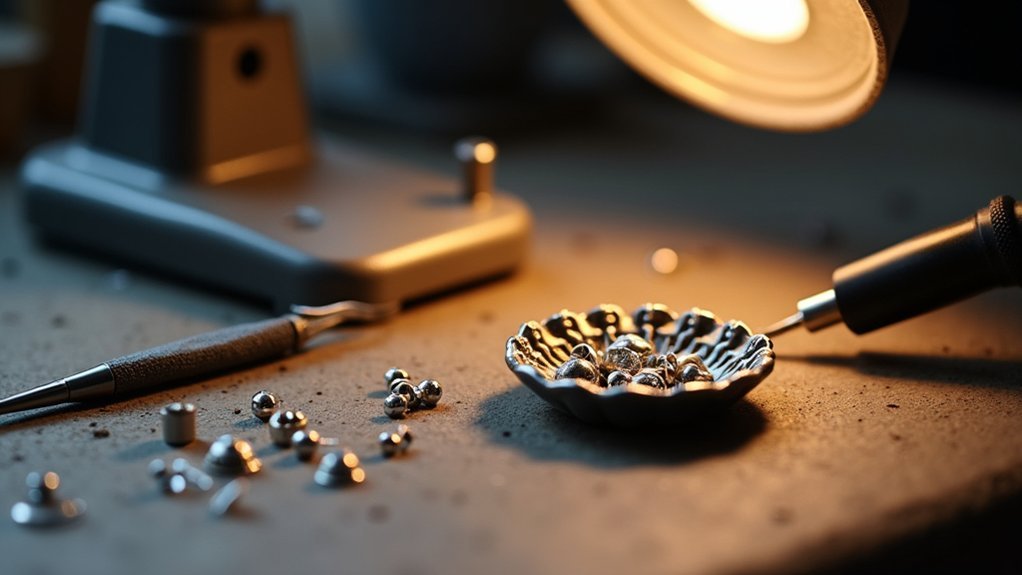
Select high-quality solder in small pieces to guarantee effective bonding between the post and earring back. You’ll also need flux, which promotes proper solder flow and prevents oxidation when applied to both surfaces before heating.
Don’t forget a pickle pot for post-soldering cleanup—it efficiently removes oxidation and flux residue after quenching, leaving your finished earrings clean and professional-looking.
Preparing Your Workspace and Components
Now that you’ve assembled your tools and materials, proper workspace setup becomes your next priority for achieving clean, reliable solder joints.
Start by securing your soldering pan and positioning cross lock tweezers across the solder block for stability. Lay the tweezers on the pan’s edge to maintain a stable grip while managing your torch.
Clean both the earring back and post thoroughly, then apply flux to both components where solder flows will occur.
Pre-dry the flux by heating gently until it turns crusty white, eliminating moisture that could interfere with bonding.
Select an appropriately sized solder piece that’ll touch both the post and earring back simultaneously. This careful preparation guarantees ideal heat distribution and creates the foundation for a professional-quality solder joint.
Proper Flux Application and Drying Techniques
You’ll need to apply flux generously on both the earring back and post to create ideal adhesion during soldering.
Once applied, gently heat the flux to pre-dry it and remove any moisture that could cause unpredictable solder movement.
Watch for the flux to turn crusty white, which signals that all moisture has evaporated and you’re ready to proceed with the actual soldering process.
Applying Flux Correctly
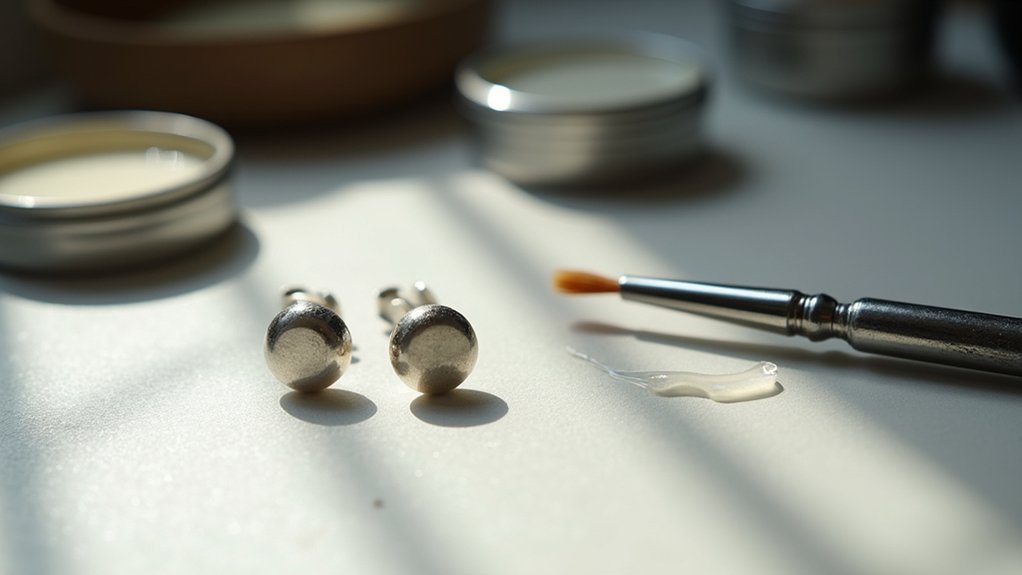
Setting up for successful soldering starts with proper flux application on both the earring post and the back of the earring.
You’ll want to coat each piece of metal evenly to guarantee proper adhesion and prevent oxidation during heating. Once you’ve applied the flux, pre-dry it completely by heating gently until all moisture evaporates.
Watch carefully as the flux heats up – it should turn a crusty white color, signaling that moisture’s gone and you’re ready to proceed. Don’t rush this step, as any remaining moisture will cause your solder to behave erratically.
Proper flux preparation creates the foundation for a clean, strong bond between your earring components.
Heat Drying Process
Once your flux application is complete, the heat drying process becomes critical for achieving professional results. You’ll need to pre-dry the flux by heating it gently to eliminate any moisture that could cause unpredictable solder movement.
Watch carefully as you apply heat – properly dried flux transforms to a crusty white color, signaling it’s ready for soldering. This visual cue confirms moisture has evaporated completely.
| Temperature Stage | Flux Appearance | Action Required |
|---|---|---|
| Initial heating | Clear/translucent | Continue heating gently |
| Moisture evaporating | Bubbling/foaming | Maintain steady heat |
| Ready state | Crusty white | Begin soldering process |
Remember to heat both the earring post and the back side evenly. This preparation guarantees ideal solder flow and creates the strongest possible bond between components.
Heat Management and Solder Positioning
You’ll need to pre-dry your flux completely before applying heat to guarantee the solder flows smoothly and creates a clean joint.
Once the flux turns crusty white, you’ll know the moisture has evaporated and it’s time to direct your heat toward the larger metal piece—the earring back.
This technique encourages the solder to flow toward the heat source, creating a stronger bond between both components.
Pre-Drying Flux Properly
Before placing any solder, you’ll need to pre-dry the flux to eliminate moisture that can disrupt proper solder flow. This vital step guarantees your earring posts will bond securely without interference from trapped water vapor.
The pre-drying process creates ideal conditions for successful soldering:
- Heat the flux gradually until it transforms into a crusty white appearance
- Watch for complete moisture evaporation before proceeding with solder placement
- Verify the surface texture changes from glossy to matte white finish
- Allow the flux to cool slightly while maintaining its dried state
You don’t need a lot of heat for this step—moderate, consistent temperature works best.
Once you’ve achieved that characteristic crusty white color, your flux is properly prepared. This foundation sets you up for clean solder flow and strong joints between posts and earring backs.
Directing Heat Flow
Two critical factors determine successful solder flow: heat direction and strategic solder placement.
Position your solder so it touches both the earring back and post, creating ideal contact points for heat transfer. Don’t apply heat directly to the solder—instead, concentrate your torch flame on the larger metal piece. This technique draws the solder toward the heat source, ensuring it flows exactly where you need it.
Use cross lock tweezers to stabilize both components while directing heat. You won’t need a lot of solder for earring posts—just enough to create a strong bond.
Watch your flux carefully as you heat; when it turns crusty white, you’ll know the joint has reached the proper temperature for the solder to flow smoothly and create a professional connection.
Achieving Perfect Solder Flow
Perfect solder flow requires meticulous preparation and precise heat application to create a strong, clean bond between your earring post and backing.
You’ll need to follow specific steps to guarantee the solder moves correctly and forms a durable connection.
- Apply flux to both surfaces – Coat the earring back and post thoroughly, then pre-dry the flux to eliminate moisture that could disrupt solder movement.
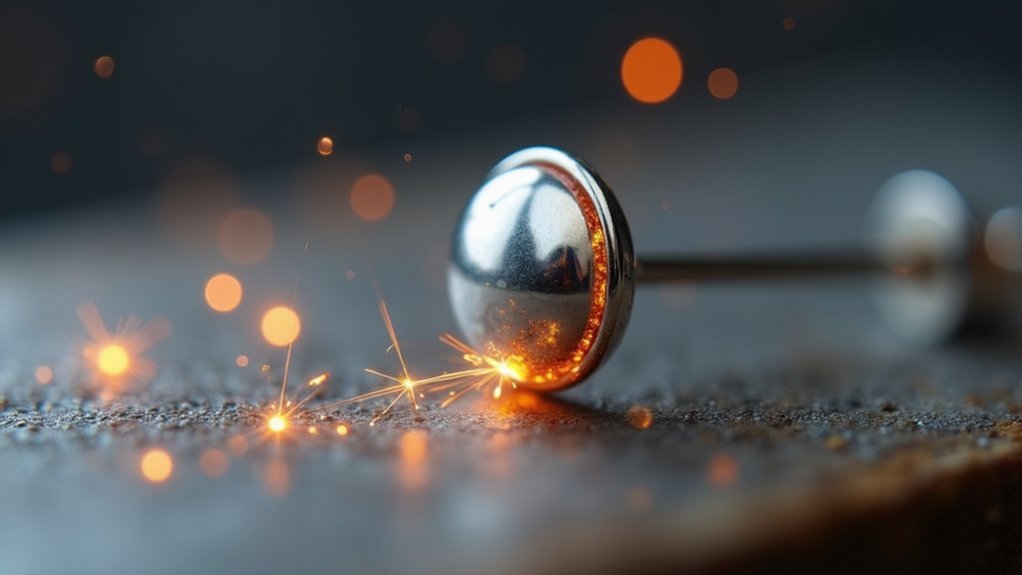
- Heat the larger piece first – Direct your torch toward the earring back to encourage solder flow toward the heat source.
- Watch for proper flow indicators – The solder should form a ball and flow smoothly when it reaches ideal temperature.
- Complete the process quickly – Quench immediately in water, then clean in pickle pot to remove oxidation.
Post-Soldering Cleanup and Finishing
Once your solder has flowed properly and you’ve quenched the earring in water, the real work of creating a professional-looking piece begins. The rapid cooling prevents warping and sets your joint permanently.
Next, place your cooled earring into a pickle pot. This acidic solution removes oxidation and flux residues that accumulated during heating. Don’t skip this step—leftover flux can compromise your finish.
After pickling, rinse thoroughly with clean water to neutralize any remaining acid. Inspect your solder joint carefully for gaps or rough spots. Sand these areas smooth if needed.
Finally, polish your earring to achieve that professional shine. Start with coarser compounds and progress to finer ones. This final step transforms your functional solder joint into a beautiful, wearable piece.
Frequently Asked Questions
How to Solder on an Earring Post?
Apply flux to both the earring back and post. Use cross lock tweezers to hold them together. Pre-dry the flux, add solder, then heat until it flows between both pieces.
Are Earring Posts Supposed to Be Bent?
You shouldn’t bend earring posts unless absolutely necessary for proper alignment. If you must bend them, do so gently to avoid breaking the metal or compromising the post’s structural integrity.
How to Fix an Earring Post That Fell Off?
Clean both surfaces with gentle abrasive, apply flux, position the post with tweezers, place solder at the joint, heat until it flows, then quench in water and clean thoroughly.
How Do You Get Solder to Stick to Silver?
You’ll get solder to stick to silver by thoroughly cleaning the surface, applying flux to prevent oxidation, pre-drying the flux completely, and using proper heat management while maintaining direct contact.
In Summary
You’ve mastered the fundamentals of soldering earring posts perfectly. With your essential tools ready, workspace prepared, and proper flux application, you’ll achieve consistent results every time. Remember to manage your heat carefully and position solder precisely for ideal flow. Don’t skip the cleanup process—it’s what separates amateur work from professional-quality pieces. Practice these techniques regularly, and you’ll develop the muscle memory needed for flawless post attachment on every project.


Leave a Reply