
You’ll need to properly prepare your metal surface by cleaning and lightly roughening it, then apply counter enamel to the back for thermal balance. Master the sifting technique using 40 mesh for base coats and 100 mesh for detailed work, keeping enamel hydrated throughout. Use wet packing for precision areas, work in ventilated spaces with safety gear, and fire at 1450-1500°F following the three-stage timing process. These fundamentals will elevate your enameling craftsmanship considerably.
Preparing Your Metal Surface for Optimal Enamel Adhesion
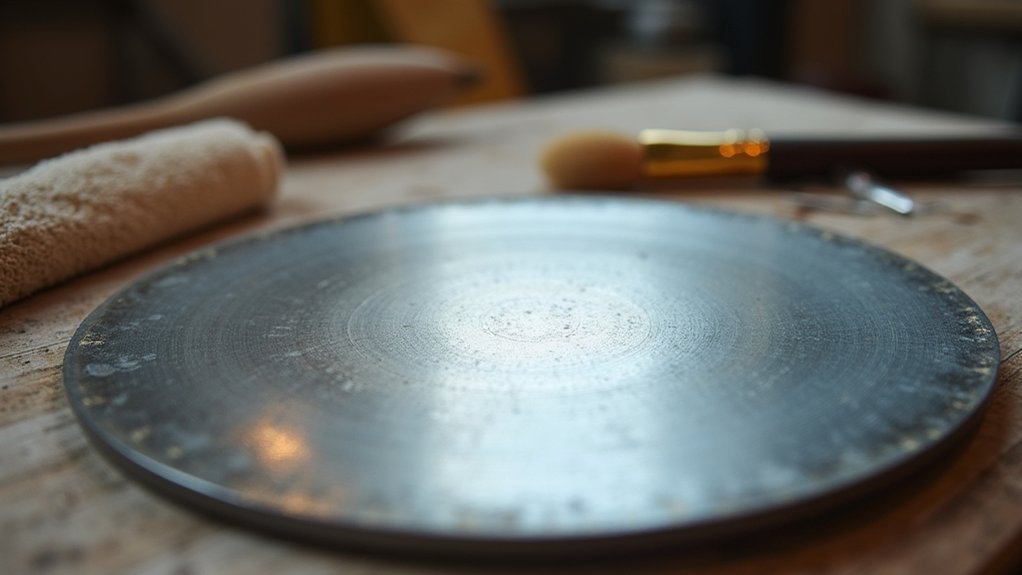
Before you can achieve stunning enamel results, you must start with a properly prepared metal surface. Clean the metal surface thoroughly to remove grease, dirt, and oxidation that can prevent ideal enamel adhesion.
Next, roughen the metal surface slightly using fine abrasive or sandpaper to enhance mechanical bonding. Always verify your metal is completely moisture-free before application, as water interferes with firing results.
For professional application tips, apply counter enamel on the back to balance thermal expansion and prevent cracking during cooling.
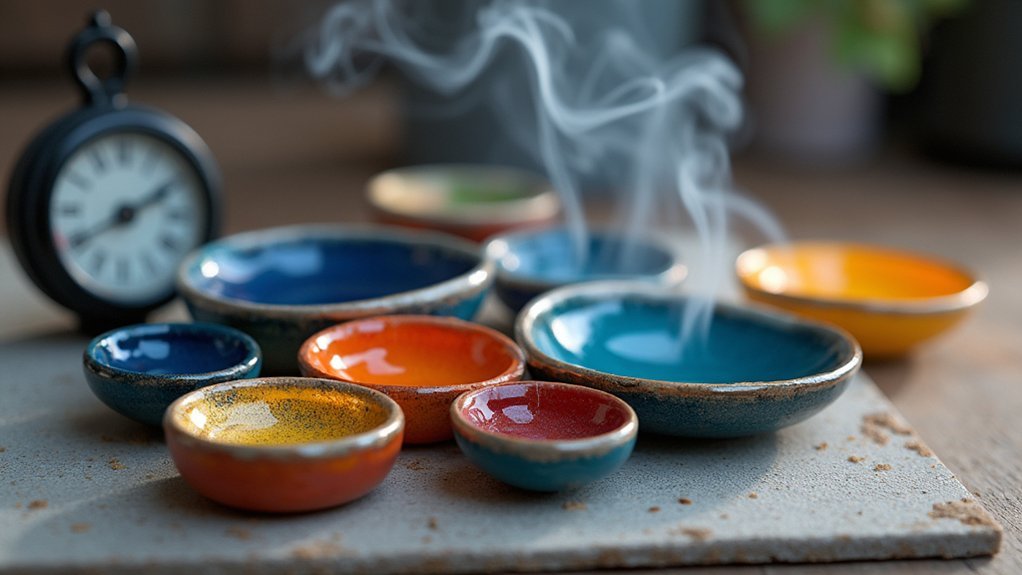
Select compatible enamels based on your metal type—this compatibility is essential for achieving both a strong bond and vibrant finish.
These preparation steps form the foundation for successful Thompson enamel jewelry creation.
Mastering the Sifting Technique for Even Coverage
Once you’ve prepared your metal surface, achieving professional-looking enamel jewelry depends on mastering the sifting technique for uniform coverage. You’ll need careful attention to mesh size and application methods for ideal results.
| Mesh Size | Application | Technique |
|---|---|---|
| 40 mesh | Base coat | Even, consistent layer |
| 100 mesh | Stenciled designs | Outer edge to center |
| Any mesh | General use | Keep enamel hydrated |
| All sizes | After sifting | Return excess material |
Always wear a dust mask when sifting to protect your health from fine particles. Keep your enamel hydrated throughout the process to prevent airborne dust and promote better adhesion. For stenciled work, start from the outer edges and move inward to maintain design integrity. After you’ve applied the enamel, return any excess to its container for consistency and efficiency.
Wet Packing Method for Precision Detail Work

The wet packing method transforms precision detail work in cloisonné and champlevé enameling by allowing you to fill small, defined areas without contaminating surrounding spaces.
The wet packing method delivers unmatched precision in cloisonné work by preventing enamel contamination between delicate cell boundaries.
When you apply enamel using this Thompson Enamel technique, you’ll achieve exceptional control over jewelry enamel placement.
Use a spatula or paintbrush to carefully position the wet enamel mixture. Clear fire diluted with distilled water enhances adhesion before firing. Maintaining proper hydration prevents airborne particles during application.
- Precision placement: Target specific cells without overflow into adjacent areas
- Enhanced adhesion: Clear fire solution secures enamel positioning
- Controlled hydration: Prevents dust while maintaining workability
- Safety protection: Wear protective eyewear during application
- Proper drying: Remove excess moisture using heat lamps before firing
This wet packing technique guarantees professional results in detailed enamel work.
Essential Safety Gear and Workspace Setup
Professional enamel work requires proper safety measures and workspace setup to protect your health while achieving excellent results.
You’ll need essential safety gear including a dust mask when sifting enamel to prevent inhaling fine particles, and protective eyewear or safety goggles to shield your eyes from enamel dust and splashes during application and firing.
Always work in a well-ventilated area to minimize exposure to dust and fumes. Consider installing a fume extraction system if available.
Maintain a clean workspace by regularly wiping down surfaces to prevent cross-contamination of enamel colors and guarantee safe conditions.
Keep all enamel materials away from children and pets, and wash your hands thoroughly before eating to avoid accidental ingestion.
Firing Temperature Control and Timing Guidelines
While proper safety measures form the foundation of successful enameling, mastering firing temperature control and timing will determine the quality of your finished pieces.
For metal enameling, you’ll need firing temperatures between 1450-1500°F, while glass enameling requires approximately 1430°F. The firing process for metal includes three distinct stages: wet sugar (40-45 seconds), orange peel (55 seconds to 1 minute), and full gloss (1.5-2 minutes).
- Monitor your pyrometer’s accuracy to prevent enamel cracking and guarantee proper fusing.
- Hold glass pieces at 900-1000°F during the cooling process before returning to room temperature.
- Adjust firing times based on piece size and technique (typically 1-5 minutes for metal).
- Watch for visual cues during each firing stage.
- Schedule glass firing carefully to accommodate longer cooling periods.
Frequently Asked Questions
How to Apply Enamel to Jewelry?
You’ll hydrate your enamel with distilled water, then sift it evenly from outer edges inward using 80 mesh techniques. For small areas, wet pack carefully, remove excess moisture, and dry before firing.
What Is the Firing Temperature for Thompson Enamel?
You’ll fire Thompson Enamel at 1450°F to 1500°F for metal applications, while glass enamels mature around 1430°F. You can adjust within the 1300°F to 1500°F range based on your piece’s size and thickness.
Can You Enamel Without a Kiln?
You can enamel without a kiln using a torch that reaches 1450-1500°F. You’ll need to monitor heating stages carefully and use a trivet for even heat distribution while practicing torch control.
How to Apply Porcelain Enamel?
You’ll start with 80 mesh enamel sifted through a 40 mesh sifter for base coats. Use distilled water for wet application, apply thin alternating layers with Klyr-fire, then fire at 1450-1500°F.
In Summary
You’ve now got the foundation for creating stunning Thompson enamel jewelry pieces. Remember, proper surface preparation sets you up for success, while mastering sifting and wet packing techniques gives you control over your designs. Don’t skip the safety gear—it’ll protect you throughout the process. Keep practicing temperature control and timing, as these skills develop with experience. Start with simple projects and gradually work toward more complex pieces as your confidence grows.

Leave a Reply