Torch fired enamel creates stunning jewelry through the magical transformation of powdered glass at 1500°F. You’ll achieve vibrant colors and unique textures that can’t be replicated, even by yourself. The process allows for creative techniques like quench crackling and selective enameling that make each piece one-of-a-kind. Different metals enhance color possibilities—copper adds depth while silver creates subtle yellowing effects. Discover how these distinctive characteristics can elevate your artistic expression to new heights.
The Magic Behind Torch Fired Enamel Artistry
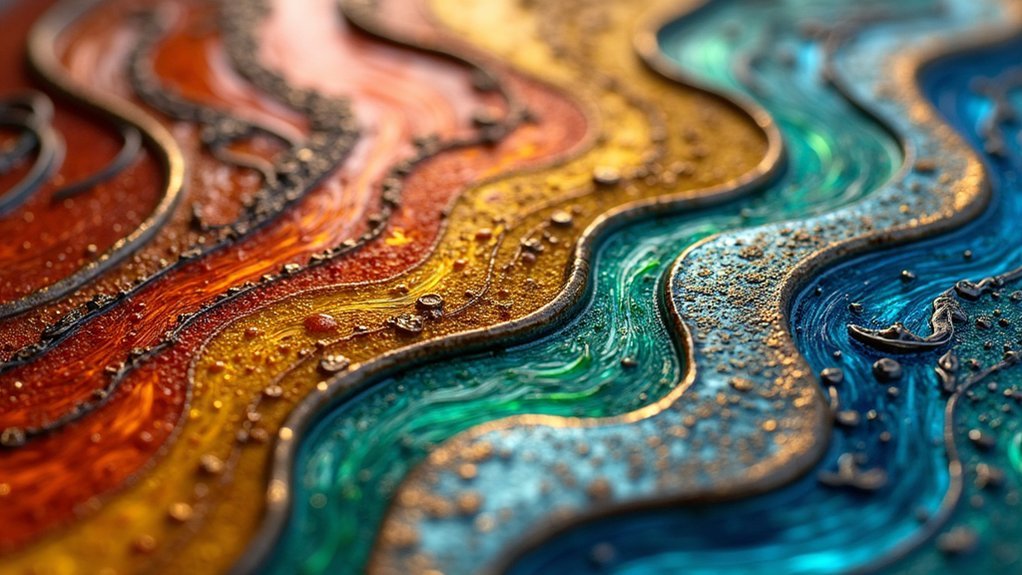
How does a simple powdered glass transform into a luminous, vibrant jewel? It’s the mesmerizing alchemy of Torch Fired Enamel that turns ordinary metal into wearable art.
When you apply colorful enamel powders to metal and subject them to temperatures around 1500 degrees Fahrenheit, magic happens in seconds.
You’ll witness powders melting into glossy surfaces that showcase depth and character impossible to achieve through other jewelry-making techniques.
The process invites experimentation—layering transparent enamels over textured surfaces reveals intricate patterns beneath, while overburning creates unexpected color shifts.
Embrace the unexpected—where textured metal and molten glass dance together to reveal nature’s hidden artistry beneath the flame.
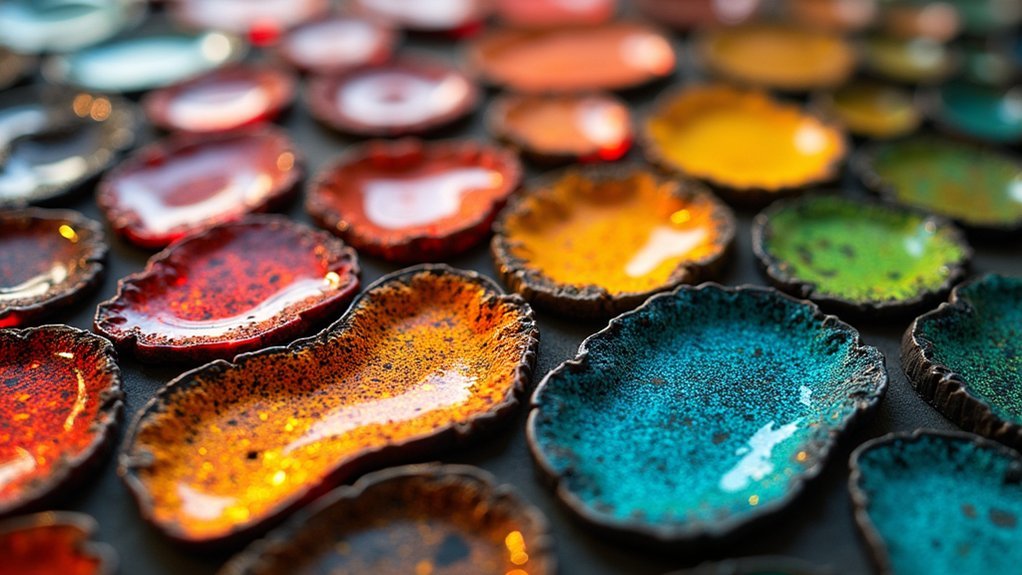
Artists like Colleen Ewart use multiple coats and larger chunks to develop distinctive speckled designs that catch the light.
Every piece tells a unique story through its colors and textures, each one impossible to exactly replicate.
Essential Tools and Materials for Torch Fired Enameling
Success in torch fired enameling begins with assembling the right equipment and materials. Your acetylene/air torch provides the controlled torch flame needed to transform powdered glass into vibrant jewelry.
| Essential Item | Purpose |
|---|---|
| Acetylene Torch | Precise heat control for melting enamels |
| Thompson Enamels | Both transparent and opaque enamels in various colors |
| 20 Gauge Metal | Clean base for enamel adhesion |
Don’t overlook safety equipment—protective goggles and heat-resistant surfaces are non-negotiable when working with high temperatures. For creative design options, incorporate 2mm enamel threads and millefiori glass wafers to add texture and detail to your pieces. Remember that cleanliness isn’t optional—properly prepared metal surfaces guarantee your enamel adheres properly and creates flawless results.
Color Theory and Selection for Vibrant Enamel Jewelry
While mastering the technical aspects of torch firing is essential, understanding color theory transforms ordinary enamel work into extraordinary jewelry art.
Your metal choice greatly impacts color outcomes—fine silver tends to yellow transparent enamels unless you apply a clear base coat first, while copper enhances vibrancy and depth.
Transparent enamels create stunning complexity when layered over colored bases, adding dimension that single applications can’t achieve.
Reds and pinks produce particularly beautiful results due to germanium oxide formation during firing. For consistent, bold designs, opaque colors maintain their true hue more reliably than transparent options.
Try experimenting with contrasting dark and light layers to develop unique textural effects in your pieces.
This strategic approach to color selection will elevate your torch-fired enamel jewelry from basic to breathtaking.
Preparing Metal Surfaces for Optimal Enamel Adhesion
With your color palette selected, your attention must now turn to the foundation of successful enameling: proper metal preparation. For ideal enamel adhesion, you’ll need to thoroughly clean your metal pieces to remove oils, dirt, and oxidation.
Start by roughening the surface with fine grit sandpaper or a metal file—this increases the surface area for enamel to bond securely.
Verify your metal is completely dry after cleaning, as moisture will interfere with adhesion during firing.
Consider using a torch to lightly heat the metal before applying enamel; this creates a stronger bond as the enamel melts.
For best results, choose compatible metals like fine silver or Argentium, which provide excellent adhesion and enhance color vibrancy in your finished jewelry pieces.
Mastering Torch Techniques for Even Application

The torch becomes your primary artistic tool once you’ve prepared your metal surfaces properly. To achieve stunning results, you’ll need to heat the metal evenly from underneath, creating a smooth foundation for your enamel application. This consistent heating prevents bubbling and uneven melting that can ruin your piece.
Control your flame precisely to manipulate the enamel, allowing you to create raised effects and intricate layering that enhances your jewelry’s visual appeal.
You’ll find that experimenting with different gas types—natural gas versus acetylene—significantly impacts both the cleanliness of your flame and the resulting enamel colors.
For detailed work, practice direct application of liquid enamel with your torch at the perfect temperature. This technique allows you to achieve fine detailing and intricate patterns that make torch-fired pieces truly distinctive.
Creating Texture and Dimension With Layering Methods
Mastering torch techniques opens the gateway to the artistic depth possible in enamel jewelry.
When you layer opaque and transparent enamels, you’ll create textural patches that add visual interest and depth to your designs. Try contrasting dark and light colors to highlight dimensionality and make your pieces truly pop.
You can push boundaries by overburning certain areas, which produces unique spotty textures as enamels move beyond their glassy state.
Selective enameling using binders gives you precise control over placement, allowing for intricate patterns and varied surface effects.
Don’t overlook the potential of combining techniques—metal stamping into hot enamel creates impressions that enhance texture.
Each layering approach contributes to a multi-dimensional result that transforms simple metal into jewelry with enchanting complexity and character.
Special Effects: Overburning and Quench Crackling
You’ll discover that overburning enamels past their glassy state creates dramatic copper reactions, especially with colors like egg yellow and robins egg blue that develop unique spotty designs.
Quench crackling, where you rapidly cool hot pieces in water, produces striking crackle patterns that add visual interest to your jewelry (always wear eye protection for this technique).
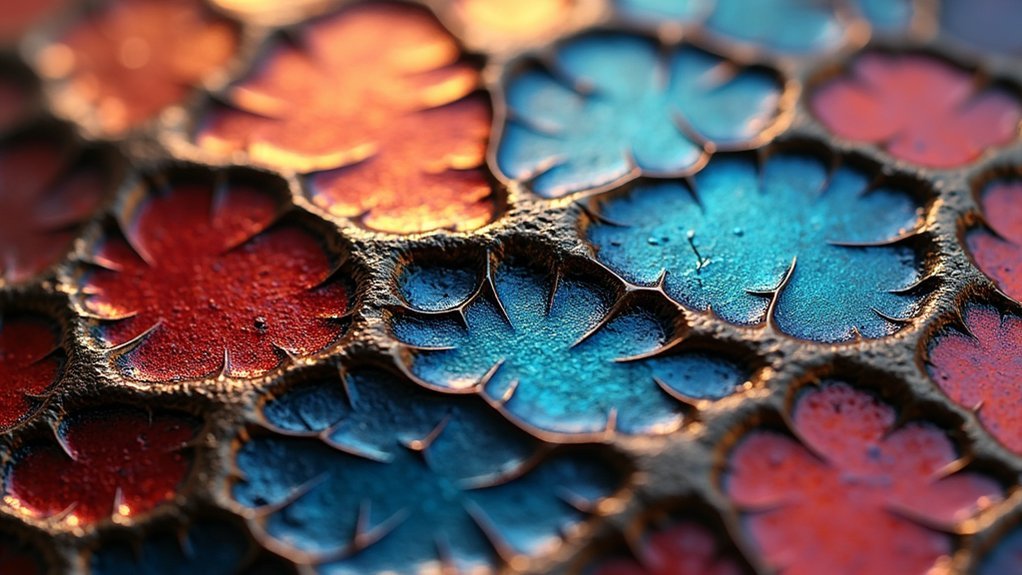
Dramatic Copper Reactions
When pushed beyond conventional enameling techniques, copper reveals its most dramatic and unpredictable character through processes like overburning and quench crackling.
As you apply torch heat to copper, it becomes a dynamic canvas that interacts with your enamels in fascinating ways.
Watch how copper creates unique patterns when introduced to molten enamel, adding depth and complexity to your jewelry pieces.
These copper reactions often produce striking textures when you deliberately overheat transparent enamels, causing them to melt and expand in unexpected directions.
You’ll notice particularly impressive transformations with colors like egg yellow and robin’s egg blue, which undergo remarkable shifts during the torch-fired enamel techniques.
Crackle Pattern Creation
Creating intentional crackle patterns adds another dimension to your torch-fired enamel repertoire. Through techniques like quench crackling, you’ll produce distinctive surface cracks by rapidly cooling hot enameled pieces in water. Always wear eye protection when attempting this dramatic effect!
Overburning offers another creative approach, pushing enamels beyond their glassy state to achieve spotty, textured surfaces with unexpected color variations.
| Technique | Best Colors | Results |
|---|---|---|
| Overburning | Egg yellow, Robin’s egg blue | Muddy, varied textures with unique patterning |
| Quench crackling | Opaque base layers | Intentional fracture lines adding depth |
| Combined methods | Contrasting opaque/transparent | Complex textural patches with dynamic visual interest |
Experiment by layering different enamel types to create complex effects. These techniques encourage artistic exploration and help develop your signature style in torch-fired jewelry.
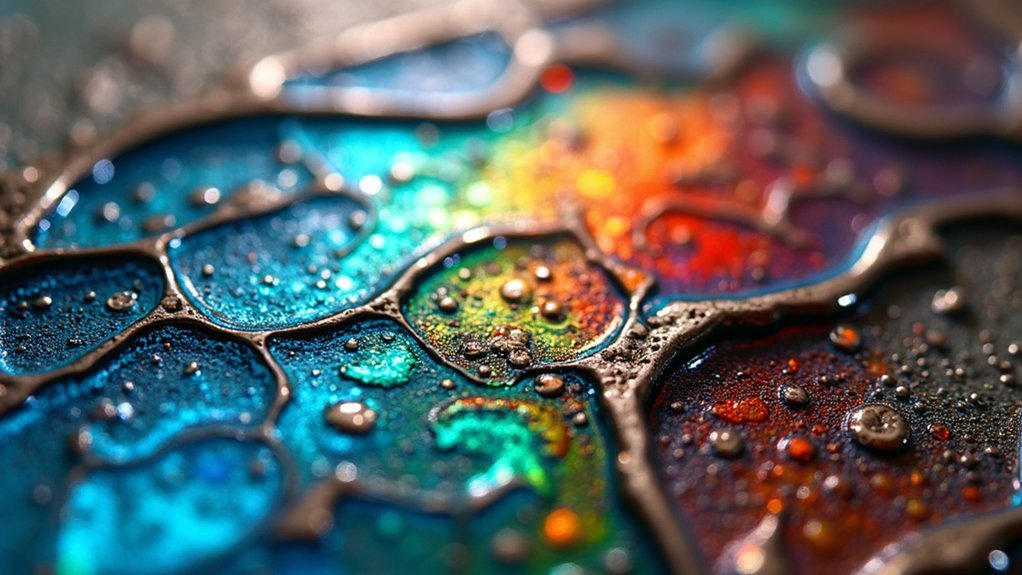
Color Transition Effects
Although basic enameling produces vibrant, solid colors, mastering special effects like overburning and quench crackling opens up a world of enchanting color shifts.
When you deliberately overburn enamels past their glassy state, you’ll discover remarkable color change effects that transform your jewelry pieces into one-of-a-kind works of art. Egg yellow shifts dramatically when overburned, while robins egg blue creates unexpected spotty patterns that add character to your designs.
- Experiment with layering opaque and transparent enamels to achieve depth and textural variations
- Try quench crackling by rapidly cooling hot pieces in water for intentional cracking patterns (always wear protective gear!)
- Use selective enameling with binders to control placement, creating distinctive lines and patterns
You’ll find these techniques particularly effective when contrasting colors, allowing you to express your artistic vision through stunning visual changes.
Incorporating Millefiori and Enamel Threads for Detail
You’ll find that layering millefiori with enamel threads creates complex visual depth impossible to achieve with single-application techniques.
When cutting canes, try varying the thickness to produce different expansion rates during firing, resulting in more dynamic patterns across your jewelry surface.
The heat from your torch can deliberately blend colors at thread intersections, producing unique fusion effects where the molten materials meet and intermingle.
Layering Techniques
Three distinct layering methods transform torch-fired enamel jewelry from simple pieces into works with remarkable depth and visual interest.
When you’re working with torch-fired enamel, you’ll discover that strategic layering creates dimensional effects that catch light and intrigue viewers.
- Place millefiori beneath transparent enamel layers to create vibrant patterns that appear to float within the piece.
- Strategically position 2mm enamel threads between layers for raised textural elements that add tactile dimension.
- Direct your torch flame intentionally to control how materials melt and blend, producing unique artistic outcomes.
Cane Cutting Methods
Mastering cane cutting techniques elevates your torch-fired enamel jewelry by introducing intricate patterns and precise details impossible to achieve through other methods.
When you slice pre-made glass canes like millefiori into small pieces, you’ll create stunning visual effects that transform your enameled jewelry. Millefiori canes expand during heating, producing vibrant, detailed patterns that become focal points in your designs.
Try combining these cut pieces with 2mm enamel threads to add dimension and texture. You’ll find that careful placement of threads creates interesting raised effects, especially when you direct your torch flame strategically during firing.
The beauty of cane cutting methods lies in their versatility—you can combine different colors and shapes endlessly, making each piece of torch-fired jewelry uniquely yours.
This technique offers unlimited creative possibilities that will distinguish your work.
Color Fusion Effects
When applied with strategic precision, millefiori and enamel threads create mesmerizing color fusion effects that transform ordinary metal surfaces into vibrant artistic expressions.
You’ll find these tiny glass wafers expand when heated, while the 2mm enamel threads can be manipulated by flame direction to achieve raised patterns and textural interest.
- Combine transparent and opaque enamels with millefiori to produce unexpected contrasts and visual depth
- Direct your torch flame strategically to control how enamel threads melt and flow across your piece
- Apply liquid enamel for precision detailing, creating intricate designs that complement both millefiori and thread elements
The Role of Argentium Versus Fine Silver in Enameling
The choice between Argentium and fine silver can dramatically impact your enameling results.
When working with Torch-Fired Enamel Techniques, Argentium’s germanium content offers significant advantages. It resists tarnishing and enhances the transparency of your enamels, creating more vibrant colors—particularly noticeable in reds and pinks due to germanium oxide formation.
Unlike fine silver, which tends to yellow when heated, Argentium maintains color integrity throughout the firing process.
You’ll also save time since Argentium typically doesn’t require a clear base coat; the enamel adheres securely without the risk of popping off.
Even the back of your pieces will look more professional, as Argentium retains its cleanliness and shine.
These properties make Argentium the superior choice for creating stunning torch-fired enamel jewelry with true color brilliance.
Counter Enamel Considerations for Durability
Successful torch fired enamel jewelry depends heavily on proper counter enameling techniques to guarantee long-term durability. When you apply enamel to thin metal substrates, balancing equal amounts on both sides prevents cracking and popping during firing. This vital step manages thermal stress as your piece heats and cools, particularly important when working with Argentium silver.
The delicate dance of thermal management through counter enameling protects your jewelry from stress fractures and ensures lasting beauty.
- Thicker enamel applications absolutely require counter enameling to distribute stress evenly and prevent future damage.
- Clean, properly prepared surfaces on the back of your piece assure proper adhesion of counter enamel.
- While thin coats might seem acceptable without backing, your jewelry’s longevity markedly improves with properly balanced counter enameling.
Remember that skipping this step often leads to defects that compromise both aesthetics and durability—cutting corners in counter enameling inevitably means compromising your finished piece’s quality and lifespan.
Finishing Techniques to Enhance Enamel Brilliance
Brilliant, eye-catching enamel jewelry emerges from meticulous finishing techniques that elevate your work from merely colorful to truly spectacular. Polishing and buffing your pieces after firing brings out vibrant colors and creates that coveted glass-like sheen that collectors adore.
Apply a clear base coat before enameling to prevent fine silver colors from yellowing, ensuring a brighter finish. When you thoroughly clean metal surfaces before application, you’ll achieve better adhesion and enhanced brilliance in your final piece.
For added dimension, try applying transparent enamels over stamped impressions to highlight textures.
Don’t shy away from intentional quench crackling techniques—these create unique visual interest that makes each piece distinctively yours.
These finishing techniques transform ordinary metal into jewelry with extraordinary brilliance and character.
Troubleshooting Common Enameling Challenges
Every torch-fired enamel journey encounters obstacles, but knowing how to address them transforms frustration into artistic growth.
When facing color consistency issues, remember that fine silver tends to yellow reds and pinks—apply a “clear for silver” base coat to minimize this effect. Monitor firing times carefully to prevent overburning, especially with egg yellow and robins egg blue, which can quickly turn muddy.
- Counter enamel both sides of thicker pieces equally to prevent cracking from uneven expansion
- Create textural interest through layering enamels, combining opaque and transparent colors for visual depth
- If attempting quench crackling for unique patterns, always wear proper eye protection—safety first!
Mastering these challenges doesn’t just solve problems—it expands your creative possibilities, turning technical hurdles into signature design elements in your torch-fired jewelry.
From Beginner to Advanced: Building Your Enameling Skill Set
While the journey from novice to expert enamelist may seem challenging, it’s actually a series of manageable steps that build upon each other naturally.
Start by mastering the fundamentals in Barbara Lewis’s guide “Mastering Torch-Fired Enamel Jewelry,” which outlines essential enamel types and applications.
Dedicate time to perfecting basic jewelry-making techniques like proper metal cleaning and even enamel application to achieve vibrant colors and strong adhesion.
As your confidence grows, experiment with layering transparent and opaque enamels to create distinctive textures and depth.
Ready for more? Incorporate advanced techniques such as quench crackling and selective enameling to add intricate designs and artistic elements.
Connect with fellow enamelists through workshops and community discussions to gain valuable feedback and fresh inspiration for your evolving torch-fired creations.
Frequently Asked Questions
Why Is Enamel Jewelry so Expensive?
Your enamel jewelry costs more because it’s handcrafted with premium materials, requires specialized equipment, and demands significant expertise. Artists invest years mastering these techniques, creating unique pieces that can’t be mass-produced.
What Is Torch Fired Enamel?
Torch fired enamel is a technique where you apply powdered glass to metal, then heat it with a torch until it melts and fuses, creating a colorful, glass-like surface on your jewelry pieces.
Why Is Enamel Used in Jewelry?
Enamel adds vibrant colors and durability to your jewelry pieces. You’ll love how it creates a glass-like protective finish while allowing for artistic expression through various techniques and color combinations.
How Long Does Enamel Jewelry Last?
Your enamel jewelry can last a lifetime when properly cared for. It’s incredibly durable since the enamel is permanently fused to metal at high temperatures, creating a scratch-resistant, fade-proof finish that maintains its beauty.
In Summary
When you’ve mastered torch fired enameling, you’ll reveal endless creative possibilities. You’ve learned about essential tools, color theory, and proper techniques that transform simple metal into luminous jewelry. Don’t be discouraged by initial challenges—they’re part of your artistic journey. With practice, you’ll soon create stunning pieces that showcase your unique style and craftsmanship. The magic of fused glass on metal awaits your personal touch.


Leave a Reply