
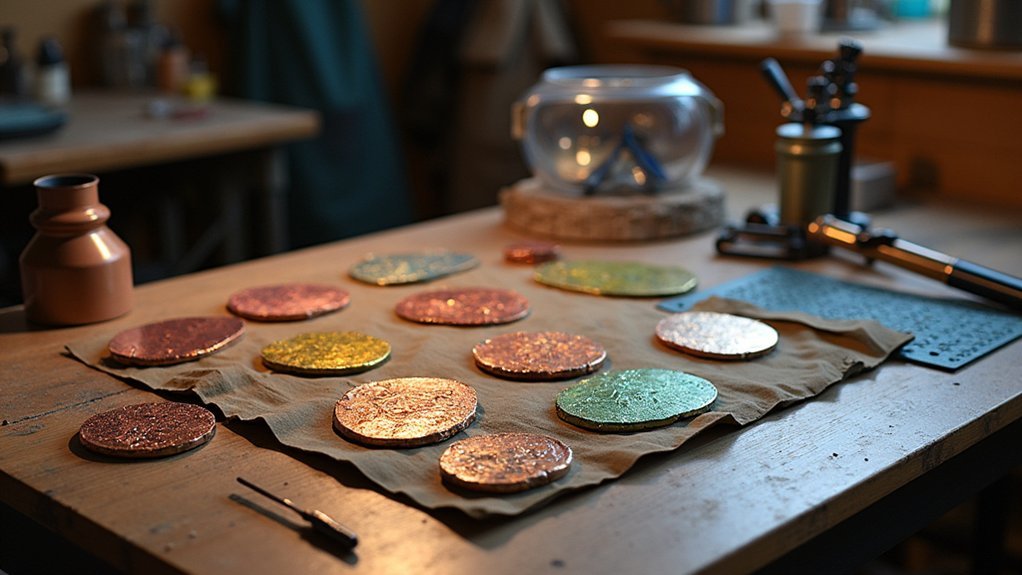
Torch fired copper enamels are a jewelry-making technique where you apply powdered glass to copper surfaces and heat them with a handheld torch to create a permanent, colorful glass coating. You’ll need copper that’s at least 24 gauge thick to prevent warping during firing. The process involves cleaning the copper, applying enamel powder about three grains thick, then heating it through distinct stages until you achieve a smooth, glass-like finish that protects against oxidation while adding vibrant colors. This thorough guide will show you everything you need to master this beautiful craft.
Understanding Torch Fired Copper Enamels and Their Properties

When you heat powdered glass on copper’s surface, you’re creating torch fired copper enamels—a fusion that transforms fragile glass particles into a durable, protective coating. This process creates a glass-like finish that’s both decorative and functional, protecting your copper from oxidation and wear.
You’ll need copper that’s at least 24 gauge thick to prevent warping during heating. Apply enamel powder about three grains thick for ideal coverage without compromising the piece’s integrity.
For best results, use 24-gauge copper minimum and apply enamel powder three grains thick to avoid warping and maintain structural integrity.
The firing process involves distinct stages: sugar, orange peel, and full fuse, each representing different melting levels.
Don’t forget counter enamel on the back—it balances expansion rates between metal and glass, preventing cracks and ensuring your finished piece remains durable and beautiful.
Essential Materials and Tools for Torch Enameling
Success in torch enameling depends on gathering the right materials and tools before you begin your project.
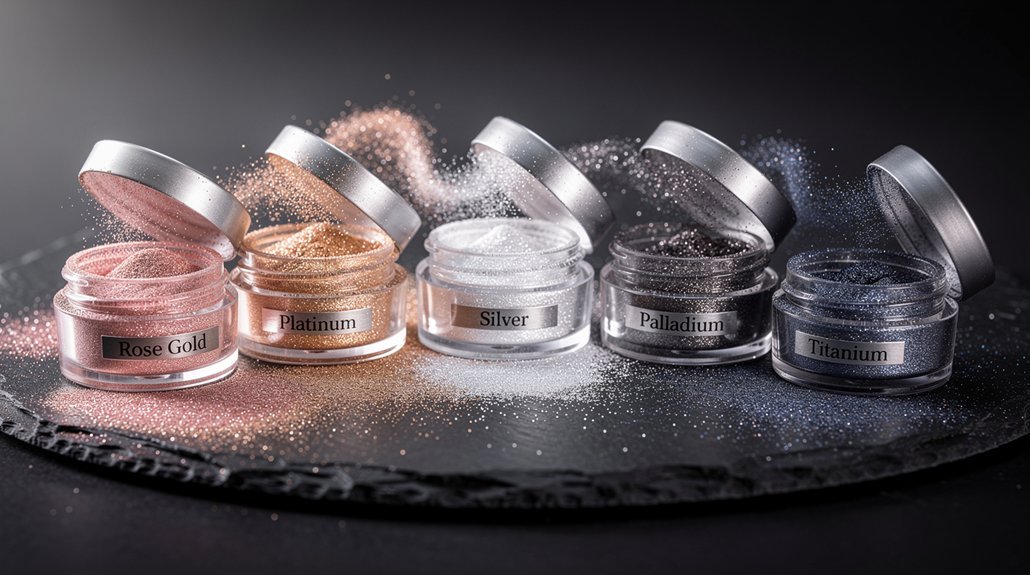
You’ll need copper pieces that are at least 24 gauge thick, as heavier metals produce superior results. Essential supplies include enamel powder, which is finely ground glass that creates your colorful finish.
A light holding agent like thin glue or spray secures the powder to your metal surface during application. You’ll apply the enamel using a sifting technique for even distribution across the copper.
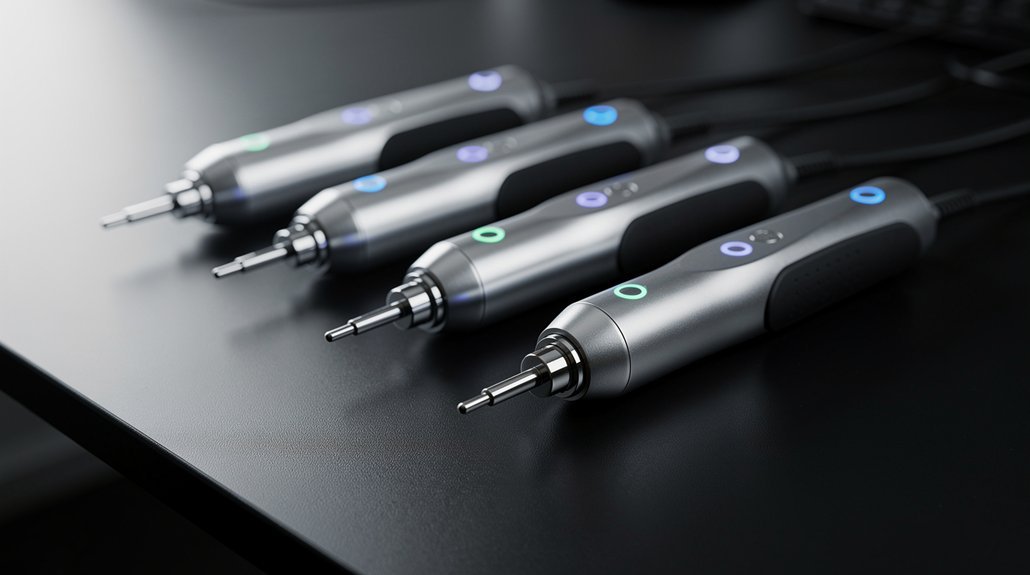
For firing, use a pistol or butane torch to achieve precise heat control.
Don’t forget safety equipment—wear safety goggles and a respirator mask to protect against lead-based toxins and inhalation risks while handling enamel powder.
Safety Precautions and Workspace Setup Requirements
Before you begin torch firing copper enamels, you’ll need to establish a safe workspace that protects both you and your surroundings.
Start by ensuring proper ventilation and donning essential safety gear like goggles and a respirator to guard against toxic fumes and airborne particles.
You’ll also want to prepare heat-resistant surfaces and remove any fire hazards from your immediate work area.
Ventilation and Toxin Protection
Although torch-fired copper enameling creates beautiful artistic pieces, it also releases potentially harmful fumes and particles that require serious safety consideration.
You’ll need proper ventilation to protect yourself from lead-based toxins that escape during the heating process. Set up your workspace near an open window or use an exhaust fan to maintain adequate airflow throughout your work area.
When sifting enamel powder, you should consider wearing a respirator mask to prevent inhaling fine particles that can irritate your respiratory system.
These microscopic particles pose health risks when breathed in repeatedly over time. Don’t underestimate the importance of fresh air circulation – it’s your primary defense against toxic exposure.
Prioritize ventilation as an essential safety measure, not an optional convenience.
Heat-Resistant Surface Preparation
Three critical elements form the foundation of safe torch-fired enameling: protecting your work surface, securing your equipment, and eliminating fire hazards. You’ll need a heat-resistant surface to shield your workbench from intense torch temperatures that can easily damage standard materials.
| Surface Type | Heat Rating | Cost | Durability | Availability |
|---|---|---|---|---|
| Ceramic tiles | High | Low | Excellent | Common |
| Fire bricks | Very high | Medium | Superior | Specialty stores |
| Steel plates | High | Medium | Good | Hardware stores |
| Kiln shelves | Very high | High | Excellent | Art suppliers |
| Concrete blocks | Medium | Low | Fair | Hardware stores |
Inexpensive ceramic tiles offer the best value for beginners. Position your tripod securely with the mesh firing screen accessible above your torch, ensuring stable equipment placement throughout your enameling sessions.
Personal Safety Equipment
Proper personal safety equipment stands as your primary defense against the inherent dangers of torch-fired enameling.
You’ll need safety goggles to shield your eyes from flying debris and harmful fumes generated during the heating process. Make sure you’re working in a well-ventilated area since enamel powders often contain lead-based toxins that pose serious health risks when inhaled.
Consider wearing a respirator mask, especially when sifting enamel powder, to minimize inhalation exposure. Your personal safety equipment should also include heat-resistant gloves when handling hot materials.
Keep flammable materials away from your workspace and use a tripod with mesh firing screen for secure positioning. These precautions aren’t optional—they’re essential for protecting yourself from burns, toxic exposure, and respiratory damage.
Preparing Copper Surfaces for Enamel Application

You’ll achieve professional results by properly preparing your copper surface before applying enamel.
Start by selecting copper that’s at least 24 gauge thick, then clean it thoroughly with an oil-free copper cleaner to remove any residues.
Apply a light holding agent to the clean, dry surface to guarantee your enamel adheres properly during firing.
Cleaning Copper Surfaces
Before you can achieve stunning torch-fired enamel results, you must meticulously prepare your copper surfaces to guarantee perfect enamel adhesion.
Start by thoroughly cleaning copper surfaces using an oil-free copper cleaner that effectively removes residues and oxidation that could compromise your enamel’s bond.
You’ll want to use tweezers when handling copper pieces during the cleaning process to prevent fingerprints and contamination on surfaces meant for enameling.
Make sure your copper pieces are at least 24 gauge thickness for best results, as heavier gauge copper provides better structural support.
Once cleaned, apply a thin layer of holding agent like light glue to guarantee even enamel application and prevent bubbling during the firing process.
Choosing Proper Gauge
Thickness matters considerably when selecting copper for torch-fired enameling projects.
You’ll want to choose copper that’s at least 24 gauge for ideal results. Heavier gauges work even better because they provide increased durability and superior heat retention during the firing process.
Thicker copper pieces won’t warp as easily under the intense heat of torch firing, giving you more consistent results. The added mass also helps distribute heat more evenly across the surface, preventing hot spots that could damage your enamel work.
When you’re working with proper gauge copper, you’ll find that applying a holding agent becomes more effective.
The substantial surface provides better adhesion between the copper, holding agent, and enamel layers, resulting in a more professional finished piece.
Applying Holding Agents
Once you’ve selected the right copper gauge, proper surface preparation becomes your next priority. Start by thoroughly cleaning the copper with an oil-free copper cleaner to remove residues that interfere with enamel adhesion. Next, apply a holding agent like light glue in a thin layer to guarantee the enamel bonds properly to the copper surface.
| Step | Action | Purpose |
|---|---|---|
| 1 | Clean copper surface | Remove oils and residues |
| 2 | Apply thin holding agent layer | Guarantee proper enamel adhesion |
| 3 | Allow complete drying | Prevent firing complications |
The holding agent must dry completely before firing to avoid bubbles that disrupt the enamel’s finish. Use tweezers to handle the metal piece during application, preventing direct contact that could affect adhesion quality.
Proper Techniques for Applying Enamel Powder
While applying enamel powder might seem straightforward, achieving professional results requires careful attention to technique and timing.
You’ll want to use tweezers to securely hold your metal piece throughout the process. When sifting the powder, maintain control to create a thin, even layer—aim for three grains thick to achieve that smooth, glass-like finish after firing.
Apply the enamel in a circular motion, ensuring complete surface coverage while preventing excessive buildup that could cause cracking. Watch for visible copper spots and address them immediately.
Once you’ve applied your holding agent, let it dry completely before firing to prevent bubbles and inconsistencies. When it’s time to fire, use a spatula to lift the piece rather than your fingers to maintain the enamel layer’s integrity.
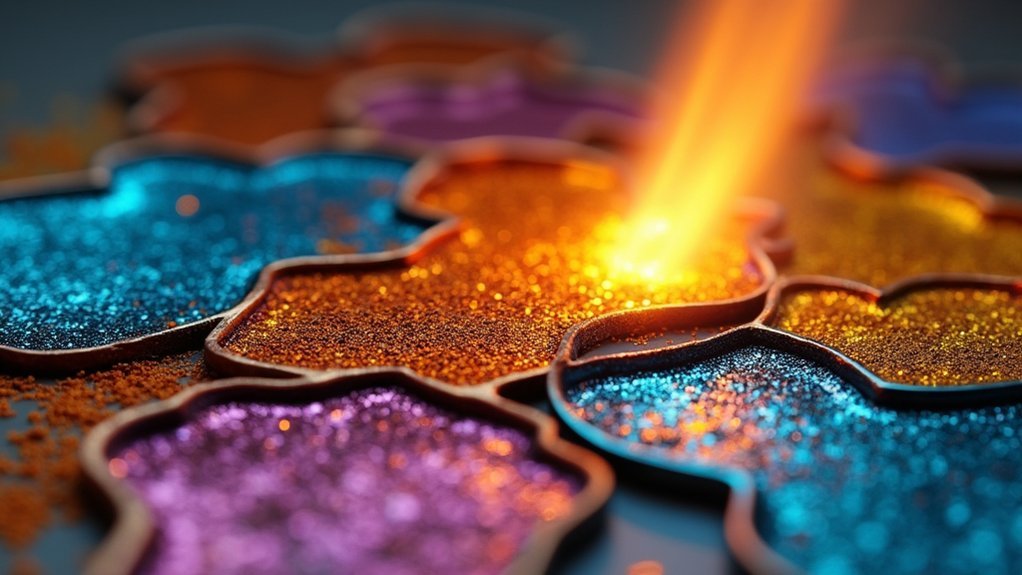
The Four Critical Heating Stages During Firing
With your enamel properly applied and dried, successful firing depends on recognizing four distinct heating stages that occur as you apply torch heat.
The “sugar” stage appears first, where fine granules indicate initial melting.
Next comes the orange peel stage, displaying a bumpy yet glossy surface as fusion begins. Your goal is reaching “full fuse,” where the powdered glass completely melts into a smooth, shiny finish that’s properly adhered to the copper.
Watch carefully to avoid the final “over fired” stage, which creates quality-compromising pits and imperfections from excessive heat.
- Monitor visual changes closely as each stage shifts quickly under torch heat
- Practice recognizing the orange peel texture before advancing to full fuse
- Remove heat immediately upon achieving the desired smooth, glossy finish
Mastering the Torch Firing Process

You’ll need to master the four distinct heating stages to achieve professional results with your torch-fired copper enamels.
Your firing technique determines whether the enamel reaches the ideal “full fuse” stage where it becomes smooth and glossy.
Practice controlling your torch movement and heat application to shift smoothly through each stage without overheating or underfiring your piece.
Four Heating Stages
Four distinct heating stages define the torch firing process in copper enameling, and recognizing each stage’s visual cues is essential for achieving professional results.
You’ll watch your enamel transform through predictable phases as heat builds.
The first stage appears “sugar-like” with a grainy texture. Next comes “orange peel,” where you’ll notice bumpy, shiny surfaces as melting begins.
The coveted “full fuse” stage delivers smooth, glossy perfection—your layers of enamel have properly bonded. However, excessive heat creates the “over fired” stage with unwanted pits and imperfections.
Key firing considerations include:
- Protecting uncoated metal areas with ball clay to prevent blackening
- Monitoring visual changes closely during each heating phase
- Stopping at full fuse to avoid over firing damage
Proper Firing Technique
Understanding these heating stages sets the foundation, but mastering torch firing technique requires precise control of your flame and timing.
You’ll need to apply enamel evenly onto the metal surface, maintaining a consistent three-grain depth to prevent cracking during expansion. Always use a holding agent and let it dry completely before firing to avoid bubble formation.
Counter enameling is essential—apply enamel to both sides of your copper piece to balance thermal expansion and prevent warping.
Move your torch in steady, circular motions, maintaining consistent distance from the work surface. Watch for the visual cues as your enamel progresses through each heating stage.
Stop at the full fuse stage when the surface becomes smooth and glossy, indicating complete particle fusion.
Building Multiple Enamel Layers for Depth and Color
When you’re ready to create stunning visual depth in your torch-fired copper enamels, building multiple layers becomes your most powerful technique.
You’ll achieve the richest, most textured appearance by applying two to three layers of enamel, with each layer approximately three grains thick for proper fusion and visual impact.
Counter enameling is essential—you must apply enamel on the back of your copper piece to balance expansion rates and prevent cracking during firing.
Here’s your layering strategy:
- Allow each piece to cool completely before applying the next layer
- Apply three grains thickness per layer for ideal fusion
- Experiment with different color combinations for unique effects
This methodical approach guarantees proper adhesion while creating vibrant, one-of-a-kind pieces that showcase the full potential of torch-fired enameling.
Preventing Common Issues Like Cracking and Overfiring
Although torch-fired copper enameling offers incredible creative possibilities, you’ll encounter two primary challenges that can ruin your work: cracking and overfiring. Preventing common issues like cracking and overfiring requires careful attention to thickness and timing.
Maintain equal enamel thickness on both sides of your metal piece to prevent stress-related cracking. Counter enameling—applying enamel to both surfaces—balances expansion rates during firing and reduces warping risks.
Counter enameling both surfaces creates balanced expansion rates, preventing stress cracks and warping during the firing process.
Always let your holding agent dry completely before firing, as trapped moisture creates bubbles that cause defects.
Monitor your firing stages closely, watching for the shift from “sugar” to “orange peel” to “full fuse.” When small pits appear, you’ve overfired.
Apply thin, even layers and avoid excessive buildup to maintain control throughout the firing process.
Design Possibilities and Creative Applications
With proper firing techniques mastered, torch-fired copper enamels open up extraordinary artistic possibilities that expand far beyond basic color application.
You can create stunning visual effects by layering different colors and experimenting with various textures through sifting and sprinkling techniques.
Your creative toolkit expands dramatically with these applications:
- Intricate detailing – Use stringers, metal pieces, and rubber stamps to add precise patterns and textures to your enamel surface
- Depth building – Apply multiple enamel layers to achieve rich color depth and complex visual effects that captivate viewers
- Professional finishing – Seal your colored designs with clear enamel for protection while adding a glossy finish that enhances vibrancy
Remember to balance enamel layers on both sides of your copper piece, ensuring crack prevention while maintaining design harmony throughout your artistic process.
Finishing Techniques and Post-Firing Care
Once your torch-fired enamel piece has completed its firing cycle, the finishing process becomes essential for achieving professional results and ensuring long-lasting durability.
Allow your piece to cool for about one minute before handling to prevent thermal shock damage.
Patience during cooling prevents costly thermal shock that can crack or damage your carefully crafted enamel work.
File the edges of your piece to remove oxidation and stray enamel bits that formed during firing.
For enhanced color vibrancy, apply a clear enamel layer over your design as a protective seal after initial firing.
Clean your tools and workspace regularly to avoid contamination that affects future applications.
Store your finished pieces in cool, dry locations to prevent scratches and preserve enamel surface integrity.
Frequently Asked Questions
What Is Torch Fired Enameling?
You’ll apply powdered glass enamel to metal surfaces and use a torch flame to fuse it, creating a durable glass-like finish through controlled heating stages from sugar to full fuse.
What Is Copper Enameling?
You’ll fuse powdered glass onto copper surfaces using high heat, creating durable, colorful finishes. You’re fundamentally melting glass enamel into the copper’s surface, forming a permanent bond that’s both decorative and protective.
What Are the Three Types of Enamel?
You’ll work with three distinct enamel types: opaque enamels that provide solid color coverage, transparent enamels that let underlying metal show through, and opalescent enamels that create shimmering, color-changing effects.
Can You Enamel Without a Kiln?
You can enamel without a kiln using a torch. Heat the metal directly with a butane torch, watch for color changes, and counter enamel the back to prevent cracking.
In Summary
You’ve discovered torch fired copper enamels open endless creative possibilities for your artistic projects. With proper preparation, technique, and safety measures, you’ll create stunning pieces that showcase vibrant colors and unique textures. Remember to work systematically through each layer, maintain consistent heating, and don’t rush the process. Your patience and practice will reward you with beautiful, durable enamel work that’ll last for years to come.
Leave a Reply