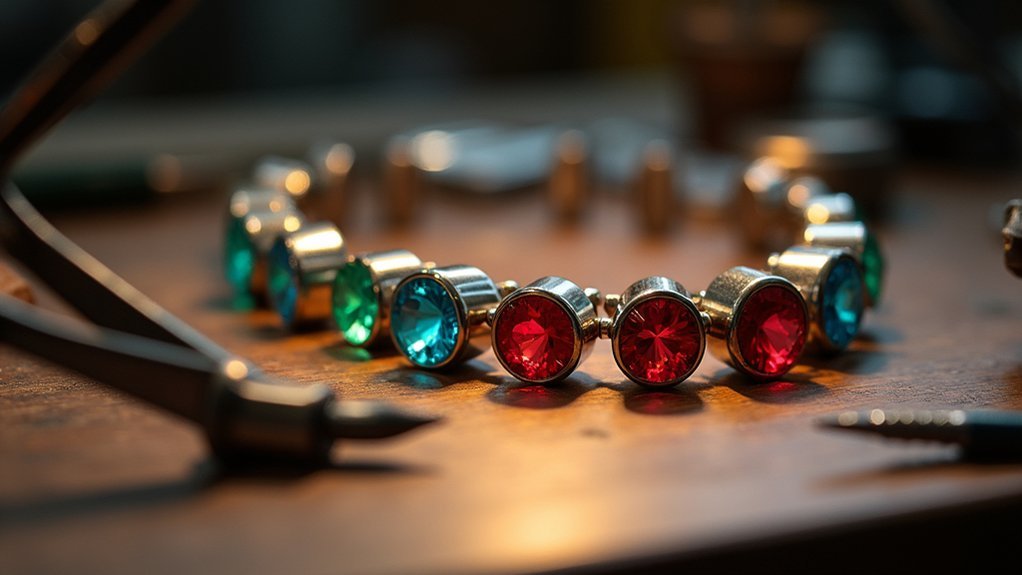
To set gemstones in tube settings, you’ll need sterling silver tubing with proper clearance, soldering equipment, and setting tools. Cut your tube slightly longer than the gemstone height, then solder it to a metal base sheet. Use a setting bur to create a seat inside the tube, place your stone, and compress the metal around it using a setting pusher at 45°. Burnish the edges for security and polish for a professional finish that’ll showcase advanced techniques.
Essential Tools and Materials for Tube Setting
Success in tube setting begins with gathering the right tools and materials before you start your project.
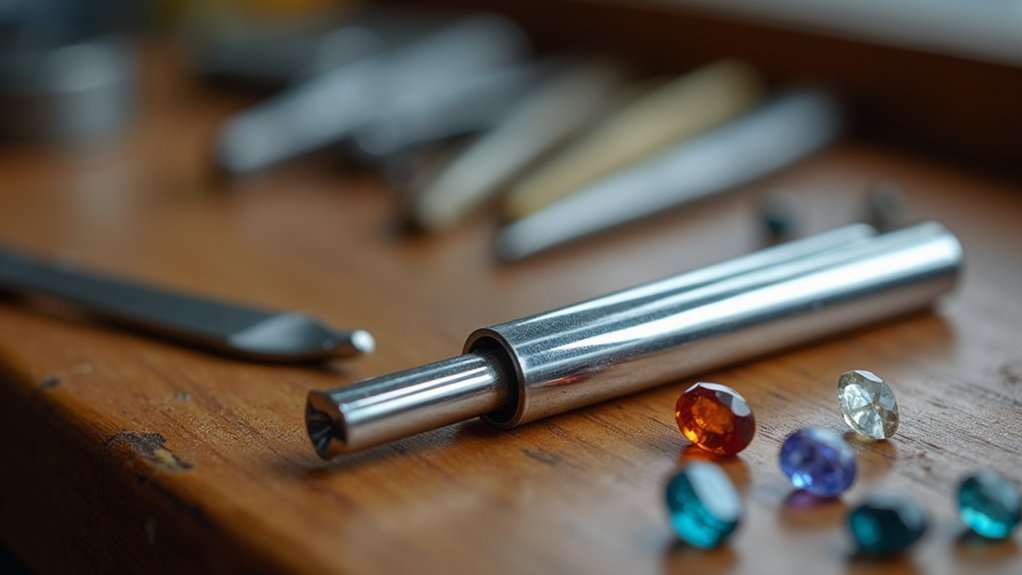
You’ll need a basic ring band and sterling silver tube measuring 2.5mm ID and 3.5mm OD, paired with a 3mm faceted gemstone like pink cubic zirconia. A caliper gauge guarantees precise measurements for proper fit between your gemstone and tube dimensions.
Your essential tools include soldering equipment: a gas torch, solder, and flux to securely attach the tube to your ring band.
For finishing work, gather sandpaper and a polishing mop with rouge compound to enhance the setting’s appearance.
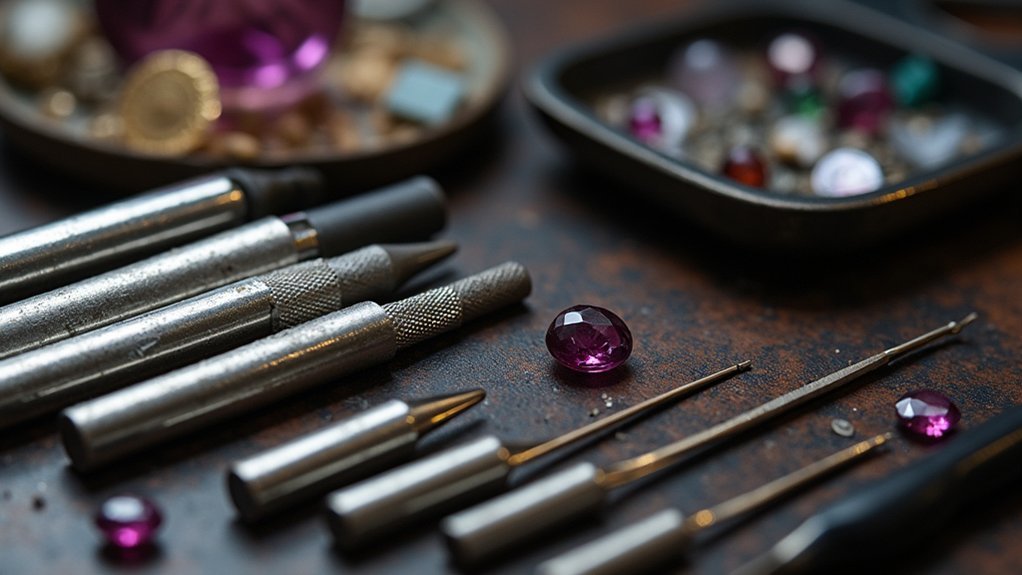
Finally, you’ll require specialized setting tools including a setting burr, square pusher, and burnishers to create a secure seat and complete the gemstone setting process effectively.
Selecting the Right Tube for Your Gemstone
Once you’ve assembled your tools and materials, choosing the proper tube becomes your next priority. The internal diameter determines whether your gemstone will fit securely in the tube setting. You’ll need at least 0.5mm clearance between the stone’s diameter and the tube’s interior for ideal placement.
Proper tube selection requires measuring your gemstone’s diameter and adding at least 0.5mm clearance for secure, ideal stone placement.
For a 3mm faceted gemstone, select sterling silver tubing with a 2.5mm internal diameter and 3.5mm outer diameter. This combination provides excellent support while maintaining visual appeal.
Key considerations for tube selection:
- Length: Choose tubing slightly longer than your gemstone’s height
- End finish: Sand or file tube ends flat for proper stone seating
- Material compatibility: Verify the tube material complements your gemstone type
- Diameter ratio: Maintain proper internal-to-external diameter proportions for structural integrity
Preparing and Cutting the Tube to Size
You’ll need to measure your gemstone’s diameter precisely using calipers to determine the correct tube size.
Cut the sterling silver tube slightly longer than your gemstone’s height, ensuring you’ve got enough material to work with.
Create perfectly level ends by using a tube cutter or jeweler’s saw, then finish with careful filing and sanding for clean, even surfaces.
Measuring Gemstone Diameter Accurately
Precise measurement of your gemstone’s diameter forms the foundation of successful tube setting work.
You’ll need accurate measurements to select proper tubing size and create a secure, professional-looking setting. Using the wrong measurements leads to loose stones or damaged gems from overly tight fits.
When measuring gemstone diameter, you must use precision tools and proper technique to guarantee ideal results:
- Use a brass slide-gauge or degree gauge for the most accurate diameter measurements
- Measure at the stone’s widest point, typically the girdle area
- Take multiple measurements from different angles to account for any irregularities
- Record your measurements immediately to avoid errors during tube selection
These careful measurements directly determine your tube size selection, with tubing needing to be at least 0.5mm larger than the measured gemstone diameter for proper accommodation.
Cutting Tube Length Properly
Three critical measurements determine successful tube cutting: your gemstone’s height, the tube’s internal diameter, and the final length needed for proper stone retention.
When cutting tube length properly, you’ll need to cut the tube slightly longer than your gemstone’s height to allow for secure setting. Score the tube at your desired length first, then make a straight cut using either a tube cutter or jeweler’s saw for precision.
Use a caliper gauge to measure the required length accurately, ensuring consistent sizing across multiple pieces.
After cutting, you must sand or file both tube ends until they’re completely even and flat. This prevents gaps during setting.
Finally, smooth all edges with sandpaper to remove sharp points that could damage your gemstone during the setting process.
Creating Level Tube Ends
Two fundamental steps guarantee your tube ends remain perfectly level throughout the cutting process.
First, you’ll need to verify both ends are even and flat by carefully sanding or filing them down before making any cuts. This creates the foundation for creating level tube ends that’ll properly cradle your gemstone.
Second, measure your desired tube length slightly longer than your gemstone’s height, then score the tube precisely at this measurement point.
Essential steps for perfectly level tube ends:
- Sand or file both tube ends until completely flat and even
- Measure precisely – make tube slightly longer than gemstone height
- Score carefully along your measured line for accurate cutting
- Use proper tools like tube cutters or mitre vices for straight cuts
Creating a Proper Base With Metal Sheet
Creating a solid foundation begins with selecting the right metal sheet thickness—0.7mm provides the ideal balance between strength and workability for your tube setting.
Start by piercing a 5x5mm square from your metal sheet to create the foundation where you’ll solder the tube. This opening serves as your attachment point.
Precision piercing creates your foundation—cut a precise 5x5mm square opening for optimal tube attachment and solder adhesion.
Clean the metal sheet thoroughly using a brass brush to remove any oils or oxidation that could prevent proper solder flow.
Next, check that your tube fits flush against the metal surface without any gaps. If you notice spacing issues, adjust the tube’s position or file the contact points until you achieve a perfect fit.
Mark the solder seam location on the shank before assembly to guarantee accurate positioning during the soldering process.
Soldering the Tube to the Base
Position your tube precisely on the prepared base and apply flux generously to both surfaces—this guarantees the solder will flow evenly and create a strong bond.
The soldering process requires careful heat control and proper preparation to achieve professional results.
Heat your metal with a gas torch until the solder becomes tacky, then strategically place solder pallions on the shank.
Continue heating until the solder melts completely, securing the tube firmly to the base. The flux will help draw the molten solder into the joint.
- Clean both surfaces thoroughly with a brass brush before applying flux
- Position the tube flush against the base to eliminate gaps
- Place solder pallions strategically around the shank for even distribution
- Quench immediately after soldering, then pickle to remove oxidation and flux residue
Preparing the Ring Shank for Mounting
You’ll need to identify where the tube setting will attach to your ring shank by marking the exact solder seam location with your caliper gauge.
Score lines around this marked area to establish the boundaries of your mounting surface.
File this designated area flat and smooth it with sandpaper to create the ideal surface for strong solder adhesion between the tube and shank.
Mark Solder Seam Location
Before mounting your tube setting, precision becomes critical when marking where the solder seam will join the tube to the ring shank. You’ll need to mark solder seam location with absolute accuracy to guarantee proper alignment and a professional finish.
Use a caliper gauge to measure and mark the exact position where your tube setting will attach. This precise measurement eliminates guesswork and prevents costly mistakes during the soldering process.
- Score precise lines on the shank at your marked location to create reference points
- File between the scored lines to establish a flat, even mounting surface
- Smooth the filed area with sandpaper to remove rough edges and debris
- Center the tube carefully on the marked location, checking alignment from multiple angles
This methodical approach guarantees ideal solder flow and adhesion.
File Flat Mounting Area
A perfectly flat mounting surface acts as the foundation for your tube setting’s secure attachment to the ring shank. Use your caliper gauge to score precise lines marking where the tube will sit. This guarantees you’ll file flat mounting area within the correct boundaries for ideal placement.
File between the scored lines, removing metal to create an even surface that’ll accommodate your tube setting. Work methodically to maintain consistent depth across the entire area.
Once you’ve achieved the desired flatness, smooth the filed surface with sandpaper to eliminate rough edges that could compromise your solder joint.
Test-fit your tube against the prepared area, making adjustments until it sits flush. Clean the mounting surface thoroughly with a brass brush, removing all debris and oxidation for superior solder flow.
Attaching the Tube Setting to the Ring
Once you’ve prepared your tube setting, attaching it securely to the ring shank requires careful preparation and precise soldering techniques.
Select a 0.7mm thick metal sheet and pierce a 5x5mm square opening for your bezel setting base, ensuring the tube will sit flush. Clean both surfaces with a brass brush to promote ideal solder flow.
- Apply flux to both the tube and metal sheet before positioning
- Center the tube straight and secure before heating begins
- Heat with a gas torch until solder becomes tacky consistency
- Place solder pallions strategically on the shank for secure attachment
After soldering, quench the piece and pickle it thoroughly to remove any oxidation or flux residue.
This cleaning step prepares your bezel setting for the final stone-setting process.
Cutting the Perfect Seat for Your Stone
Creating the perfect seat for your gemstone requires precision measurements and careful bur selection. Start by measuring your gemstone’s diameter accurately, then guarantee your tubing is at least 0.5mm larger for a secure fit during setting.
Select a setting bur that’s slightly smaller than the gemstone diameter to create a precise, snug seat within the tubing. Drill straight down into the tubing with your setting bur, leaving minimal metal to securely hold the stone without obstruction.
Position your gemstone so the girdle rests on the seat while guaranteeing the culet doesn’t protrude beyond the tubing’s bottom for a clean finish. Throughout the seating process, regularly check the fit to avoid cuts that are too deep or shallow, maintaining proper alignment and stability.
Proper Stone Placement and Alignment
Once you’ve cut your seat, you’ll need to focus on achieving perfect stone placement within the tube setting.
Start by checking that your stone sits level and secure in the prepared seat, ensuring the girdle makes even contact all around.
Proper alignment at this stage prevents complications during the final securing process and guarantees a professional-looking result.
Checking Stone Level
How can you guarantee your gemstone sits perfectly level within its tube setting? Checking stone level requires systematic observation and adjustment throughout the setting process.
You’ll need to continuously verify alignment from multiple angles, ensuring the stone remains centered and stable.
- Check from above – Verify the stone’s surface sits flush with the tube’s edge, with enough metal around the diameter of the stone.
- Examine side angles – Look for gaps between one side and the opposite side to detect tilting.
- Test stability – Apply gentle pressure from underneath while holding the stone to confirm secure placement.
- Use proper tools – Position your bezel pusher at 45° angles, repeat this process on another piece if making multiple jewelry pieces.
Make sure your stone maintains level positioning before finalizing the bezel setting for professional jewelry making results.
Creating Proper Seat
Position your gemstone-setting bur against the tube’s interior and drill steadily downward to establish the foundation for your stone’s seat.
Select a bur that’s slightly smaller than your gemstone’s diameter to guarantee precise placement. Apply beeswax or cutting lubricant while drilling to prevent metal buildup and create smooth surfaces.
Drill straight down into the tubing, maintaining consistent pressure and speed. The depth should position your stone’s girdle perfectly on the seat with adequate bezel lip remaining above.
Stop frequently to test-fit your gemstone, checking that it sits level and makes even contact around the entire circumference.
The properly cut seat will cradle your stone securely while allowing the remaining tube height to form the bezel that’ll hold everything in place permanently.
Maintaining Even Contact
After creating your seat, carefully place the gemstone into the tube with its girdle resting directly on the prepared surface.
You’ll need to verify the stone’s top aligns flush with the tube’s edge for ideal positioning. Apply gentle pressure while checking alignment from multiple angles to confirm even placement.
Use a pusher at a 45° angle, alternating sides to distribute pressure evenly around the stone. This technique helps maintain consistent contact with the tube walls throughout the setting process.
- Check stone alignment from multiple angles before applying pressure
- Use 45° pusher technique alternating sides for even pressure distribution
- Inspect position continuously during setting to prevent shifting
- Verify flush alignment between stone top and tube edge
Continuously monitor the stone’s position, correcting any shifts before finalizing your setting.
Securing the Gemstone With Setting Tools
Secure your gemstone by grasping a setting pusher at a 45° angle and applying controlled pressure to alternate sides of the stone, ensuring it sits level within the tube setting.
Use a setting burr to drill a precise seat that creates a snug fit and prevents movement after installation.
Next, employ a burnisher to push down the metal around the gemstone evenly. This creates a secure fit while minimizing tool marks on your piece.
Follow with a square pusher to distribute pressure uniformly around the stone, ensuring the metal forms a tight bezel without damaging the gemstone.
Throughout the process, regularly check your stone’s alignment to maintain an even, stable position that enhances the overall aesthetic of your finished piece.
Burnishing and Work Hardening Techniques
Burnish the metal edges systematically around your gemstone to create a smooth, compressed finish that locks the stone securely in place.
Apply even pressure as you work around the entire circumference to prevent uneven metal distribution that could compromise the setting’s integrity.
Work hardening naturally occurs as you deform the metal during burnishing, increasing its strength but reducing malleability. This process actually benefits your setting by creating a firmer hold on the gemstone.
- Use a square pusher and burnisher for maximum control and polished results
- Apply consistent, even pressure around the stone’s girdle to maintain uniform distribution
- Anneal the metal periodically during complex settings to relieve stress and prevent cracking
- Work systematically in small sections to guarantee complete coverage without overworking any area
Finishing and Polishing the Setting
Once you’ve successfully burnished the tube setting, clean up any tool marks or imperfections that remain on the metal surface.
Use fine sandpaper or an emery stick to buff the tube sides, creating a smooth finish that eliminates visible scratches. The burnishing process you’ve completed has already enhanced stone security and hardened the silver for better stability.
Now perform a final polish using a polishing mop with rouge compound to achieve a brilliant shine on both the tube setting and surrounding areas.
Apply the final polish with a polishing mop and rouge compound for a brilliant shine across the tube setting and surrounding metal surfaces.
Carefully inspect your work for sharp edges or rough spots that could snag clothing or cause injury.
Document the finishing techniques you’ve used for future reference, ensuring you’ll maintain consistent quality standards in your subsequent tube setting projects.
Troubleshooting Common Tube Setting Problems
When tube setting problems arise, they’re often preventable with proper preparation and technique. Start by ensuring your tube’s internal diameter exceeds your gemstone by at least 0.5mm for a snug fit without damage.
If your metal becomes work-hardened, anneal it properly before proceeding with soldering and setting.
Common solutions include:
- Use setter’s shellac or petroleum jelly to stabilize stones that pop out during pressure tests
- Apply hammer and punch technique when tube edges move inwards during setting
- Create pockets with a ball bur before using setting burs if wall thickness causes seating issues
- Check annealing quality if metal feels too hard or resistant during the setting process
These troubleshooting steps will help you achieve professional tube setting results consistently.
Frequently Asked Questions
How to Set a Stone in a Tube Setting?
You’ll size the tube’s internal diameter 0.5mm larger than your stone, create a seat with a setting burr, insert the gemstone, push metal around it using a square pusher, then burnish and polish.
What Is the Most Secure Gemstone Setting?
You’ll find the bezel setting offers maximum security for your gemstones. The thin metal rim completely encircles your stone, preventing rocking or loosening that’s common with prong settings.
How Do You Set Gemstones in Resin?
You’ll mix resin according to instructions, pour a thin layer into your mold, let it become tacky, position gemstones carefully, then pour more resin over them until they’re completely covered and secure.
What Is the Process of Gemstone Setting?
You’ll select your setting type, prepare the metal seat, position the gemstone carefully, and secure it using appropriate tools. Finally, you’ll polish the setting and check for sharp edges to guarantee safety.
In Summary
You’ve mastered the fundamentals of tube setting gemstones. With practice, you’ll develop the precision needed for clean cuts, secure soldering, and proper stone placement. Remember that consistent burnishing creates durable settings, while careful finishing work elevates your pieces. Don’t get discouraged by initial mistakes—they’re part of learning this technique. Keep refining your skills with different stone sizes and tube materials to expand your jewelry-making capabilities.


Leave a Reply