You’ll achieve perfect gemstone brilliance by selecting stones with Mohs hardness ratings of 6 or higher, like agate and jasper, then progressing systematically through four grit stages: coarse (60/90), medium (120/220), pre-polish (600), and final polish. Choose the right tumbler type—rotary for rounded stones or vibratory for faster results—and match your polishing compounds to specific stone types. Proper technique, consistent monitoring, and regular maintenance will transform rough specimens into mirror-like gems that showcase their natural beauty for years to come.
Selecting the Right Gemstones for Tumbling Success
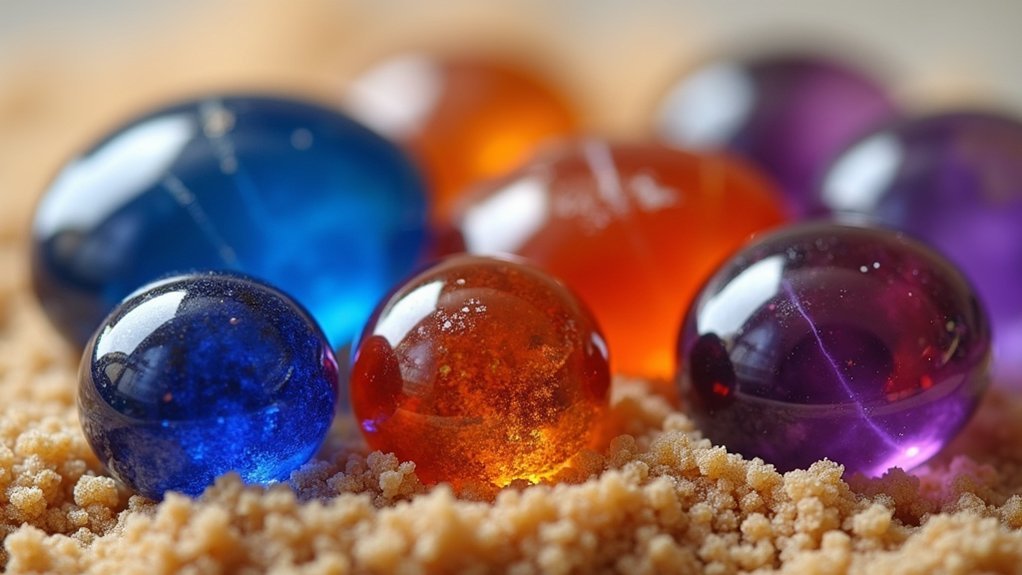
Three essential factors determine your tumbling success before you even start the machine: hardness, quality, and compatibility.
You’ll want to focus on the best rocks for tumbling by selecting stones with Mohs hardness ratings of 6 or higher. Agate, jasper, and quartz are excellent choices that’ll withstand the tumbling process effectively.
Always choose clean, uncracked specimens since flaws will compromise your final results.
Search for rounded agate nodules in streambeds for ideal quality. Consider variety kits like the Gemstones of The World Tumbler Refill Kit, which includes over 20 different stone types including amethyst, garnet, and rose quartz.
Remember that compatibility matters—obsidian requires gentler methods to prevent scratching, while jasper’s various colors and patterns offer versatile aesthetic possibilities for your collection.
Essential Equipment and Setup for Rock Tumbling
You’ll need the right tumbler and grit selection to transform rough stones into polished gems.
Choose between rotary tumblers for rounded stones or vibratory models for faster results with angular shapes.
Stock up on four essential grit stages: coarse (60/90), medium (120/220), pre-polish (600), and final polish to achieve professional-quality results.
Tumbler Types and Features
The foundation of successful rock tumbling begins with selecting the right tumbler for your needs.
You’ll encounter two primary types: rotary and vibratory rock tumblers. Rotary tumblers rotate around a central axis, making them perfect for coarse grinding, though they require longer processing times. Vibratory tumblers use rapid vibrations to create rolling motion, delivering faster polishing results.
Consider these essential features when choosing your tumbler:
- Adjustable speed settings – Fine-tune your tumbling process based on stone hardness
- Noise-dampening technology – Transform your workspace into a peaceful polishing sanctuary
- Proper barrel capacity – Match your tumbler size (3-12 pounds) to your stone volume for ideal results
High-quality tumblers combine these features to guarantee you’ll achieve stunning, professional-grade results every time.
Grit Selection Basics
Once you’ve selected your ideal tumbler, proper grit selection becomes your next priority for achieving brilliant results. Understanding grit selection basics guarantees your rock tumbling process delivers polished perfection.
Start with coarse grit (60/90) for initial grinding to shape rough stones. Progress to medium grit (120/220) for smoothing surfaces, then advance to pre-polish (600) preparing gems for final buffing.
Use 4 tablespoons of coarse and medium grit per batch in 3-pound barrels. Increase to 6 tablespoons for pre-polish and final polish stages guaranteeing thorough processing.
Include tumbling media like plastic pellets to protect stones and enhance action. Experiment with different polishing compounds – cerium oxide and aluminum oxide create various finishes depending on your gemstone type.
Understanding Grit Progression and Media Selection
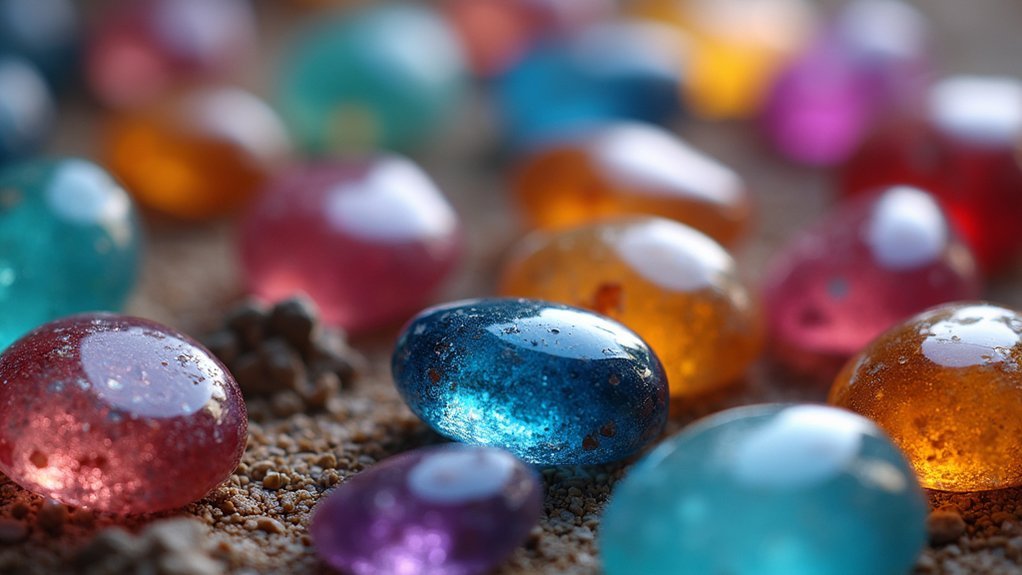
You’ll achieve the best results by progressing systematically from coarse 60/90 grit silicon carbide through medium, pre-polish, and final polish stages.
Your choice of polishing media—whether cerium oxide or aluminum oxide—directly impacts your gemstones’ final brilliance and surface quality.
You must match your grit selection and polishing compounds to your specific stone types, as different materials respond better to certain media combinations.
Coarse to Fine Progression
Mastering grit progression forms the backbone of successful gem tumbling, as each stage systematically transforms rough stones into polished treasures.
You’ll begin with 60/90 grit silicon carbide to shape stones and eliminate major imperfections. This coarse stage handles the heavy lifting in your tumbling and polishing techniques.
Next, you’ll shift to 120/220 medium grit, smoothing surfaces for ideal preparation. The 600 grit pre-polish step refines everything, eliminating scratches that could compromise your final results.
Your progression creates emotional rewards:
- Anticipation builds as each stage reveals hidden beauty beneath rough exteriors
- Pride swells when witnessing dramatic transformations from dull to brilliant
- Satisfaction peaks as ultra polish compounds deliver that coveted high-gloss finish
Media Compatibility Assessment
Three critical factors determine your media selection success: gemstone hardness, mineral composition, and desired finish quality.
You’ll need to match your polishing media carefully—cerium oxide works best for harder stones like quartz, while aluminum oxide suits softer materials. Before starting any batch, test your chosen media on sample stones to confirm compatibility and prevent damage.
Different gemstones respond uniquely to specific compounds, so you can’t use a one-size-fits-all approach.
Polishing Techniques for Stunning results require understanding each stone’s characteristics. Softer stones like marble need gentler media, while harder specimens can handle more aggressive compounds.
Always assess how your chosen grit interacts with the mineral structure. This preliminary testing saves you from ruining valuable specimens and guarantees you’ll achieve the brilliant finish you’re seeking.
Polishing Compound Selection
Four distinct grit stages transform rough stones into polished gems, each serving a specific purpose in achieving that mirror-like finish you’re after.
Start with coarse grit (60/90) for initial grinding, progress to medium grit (120/220) for smoothing, then move to pre-polish (600) for preparation before your final ultra polish stage.
Your polishing compound selection directly determines your gemstones’ final brilliance. Cerium oxide and aluminum oxide deliver exceptional results across various stone types.
Consider these emotional rewards:
- Watch dull rocks transform into breathtaking treasures
- Feel pride as friends admire your stunning creations
- Experience joy sharing beautiful gems with loved ones
Use 6 tablespoons of polishing compound per 3-pound barrel during pre-polish and final stages.
Always verify media compatibility with your specific gemstones for best enhancement.
Mastering Coarse Grit Stage Techniques
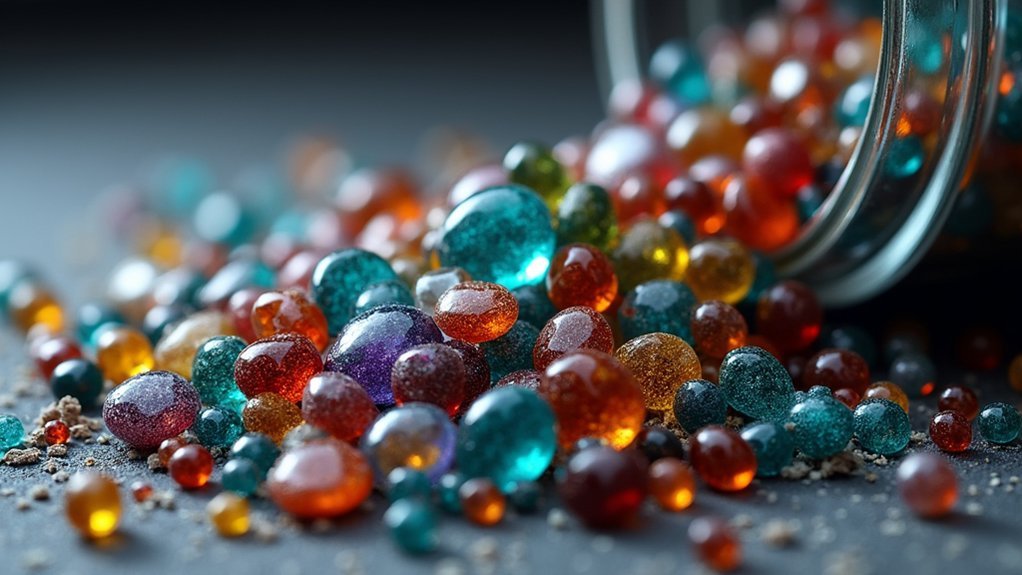
When you begin the coarse grit stage, you’ll set the foundation for beautifully polished gemstones. Start by inspecting your stones carefully, making certain they’re clean and crack-free to prevent damage during tumbling.
Load approximately 3 pounds of gemstones into your barrel, adjusting quantities for smaller units to maintain effective action.
Add 4 tablespoons of 60/90 grit silicon carbide for ideal grinding results. This abrasive removes rough surfaces and shapes your stones properly. Run the tumbler for several weeks, checking progress periodically to determine the right change timing to medium grit.
Silicon carbide grit transforms rough stone surfaces through weeks of careful tumbling and progress monitoring.
Monitor your gemstones closely throughout this phase, watching for excessive wear or damage. Proper technique during coarse grit tumbling guarantees smoother finishes in later stages, making this foundation step absolutely critical for success.
Perfecting Medium Grit Smoothing Methods
After you’ve completed the coarse grit stage, you’ll need to master medium grit smoothing to eliminate those rough scratches and prepare your gems for polishing.
Your success depends on selecting the right 120/220 grit silicon carbide, determining ideal tumbling duration based on your stones’ hardness, and applying proper surface preparation techniques.
These three elements work together to guarantee you’re creating the smooth foundation that’s essential for achieving that brilliant final polish.
Medium Grit Selection Tips
Why does selecting the right medium grit make such a dramatic difference in your gemstone tumbling results? The medium grit stage transforms rough, coarse-ground stones into smooth masterpieces ready for polishing.
You’ll want to choose 120/220 grit silicon carbide for maximum surface refinement.
When selecting your medium grit, consider these essential factors:
- Material hardness – Harder gemstones require longer tumbling periods (up to two weeks) with consistent medium grit application.
- Surface quality goals – Higher quality finishing demands precise grit selection that’ll eliminate scratches from coarse grinding.
- Batch consistency – Using exactly 4 tablespoons per batch ensures even distribution and uniform results across all stones.
Your medium grit choice directly impacts the final polish quality, so don’t compromise on this critical stage.
Optimal Tumbling Duration
How long should you tumble your gemstones during the medium grit stage? You’ll need 7 to 10 days of continuous tumbling for ideal results. This duration effectively reduces scratches and prepares your stones for pre-polish.
However, you must adjust based on gemstone hardness – softer stones require shorter periods to prevent damage, while harder varieties can handle the full duration.
Check your gemstones every few days to monitor progress. You’re looking for consistent smoothness without over-polishing.
Remember, you’re using 120/220 grit silicon carbide at approximately 4 tablespoons per batch during this stage.
Once you’ve achieved the desired smoothness, thoroughly rinse your gemstones to remove all residual grit before moving to the next phase. Proper tumbling duration guarantees your stones shift seamlessly to pre-polish.
Surface Preparation Techniques
The success of your medium grit stage depends heavily on proper surface preparation techniques that guarantee uniform smoothing across all gemstones.
You’ll achieve excellent results by using 120/220 grit silicon carbide, which effectively removes scratches while preparing stones for pre-polishing. Tumbling duration varies from several days to weeks, depending on your gemstone’s hardness and characteristics.
Essential preparation techniques include:
- Monitor progress regularly – Watch your precious stones transform before your eyes
- Load gemstones with proper spacing – Prevent heartbreaking clumping that ruins results
- Clean thoroughly after smoothing – Experience the satisfaction of pristine, ready-to-polish gems
You must check progress frequently and adjust tumbling time accordingly.
After achieving satisfactory smoothness, clean your gemstones completely before advancing to pre-polish stage for enhanced brilliance.
Pre-Polish Stage Preparation and Applications
Once you’ve completed the initial shaping and smoothing stages, your gemstones need careful preparation before entering the pre-polish phase.
Pre-polish stage preparation requires thorough cleaning to remove all debris and contaminants that could interfere with polishing effectiveness. You’ll want to inspect each stone carefully, ensuring surface imperfections are addressed before proceeding.
Meticulous cleaning and inspection during pre-polish preparation directly determines whether your gemstones will achieve maximum brilliance or require frustrating rework.
Using 600 grit silicon carbide works exceptionally well during this stage, refining surface texture and enhancing clarity. However, you should experiment with different grit compounds to determine what works best for your specific gemstone types. Compatibility varies greatly between materials, affecting your final results.
The shift from pre-polish to final polishing must be seamless. Improper preparation leads to dull finishes and requires additional work later, ultimately compromising your stones’ brilliance.
Achieving Mirror-Like Finishes With Final Polish
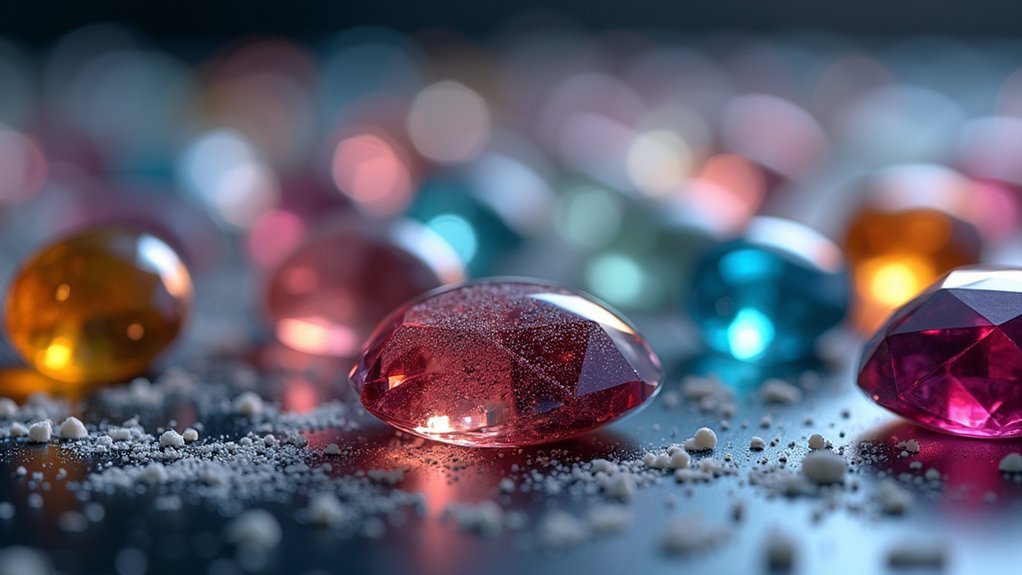
When you’re ready to transform your prepared gemstones into brilliant, mirror-like treasures, the final polish stage becomes your most critical step. Add 6 tablespoons of ultra polish to achieve that coveted high-gloss finish.
Before starting, verify your stones are completely clean and debris-free to prevent scratching.
- Cerium oxide and aluminum oxide deliver stunning mirror-like results that’ll make your heart race
- Careful monitoring prevents over-polishing that could steal your gemstone’s natural magnificence
- Burnishing techniques create breathtaking brilliance that reveals every mesmerizing color and pattern
Monitor your tumbling intensity closely during the final polish, adjusting time based on your desired shine level.
Don’t hesitate to experiment with different polishing compounds—you might discover unique finishes that showcase your gems’ hidden beauty in extraordinary ways.
Working With Delicate Stones Like Obsidian and Opal
Two extremely fragile stone types—obsidian and opal—demand your gentlest touch and most careful attention during tumbling. These delicate materials require specialized techniques to prevent damage while achieving stunning results.
| Stage | Obsidian | Opal |
|---|---|---|
| Equipment | Vibratory tumbler preferred | Vibratory tumbler preferred |
| Starting Grit | Coarse grit for surface imperfections | Skip coarse, start with medium |
| Pre-Polish | Standard fine grit progression | Specialized compounds essential |
| Monitoring | Watch for scratching and bruising | Prevent crazing and over-polishing |
| Media | Ample cushioning media required | Gentle media to protect iridescence |
Start obsidian tumbling with coarse grit, then progress through finer stages. For opals, use pre-polish compounds before final polishing to maintain their unique iridescent qualities without compromising integrity.
Tumbling Hard Materials Including Agate and Jasper
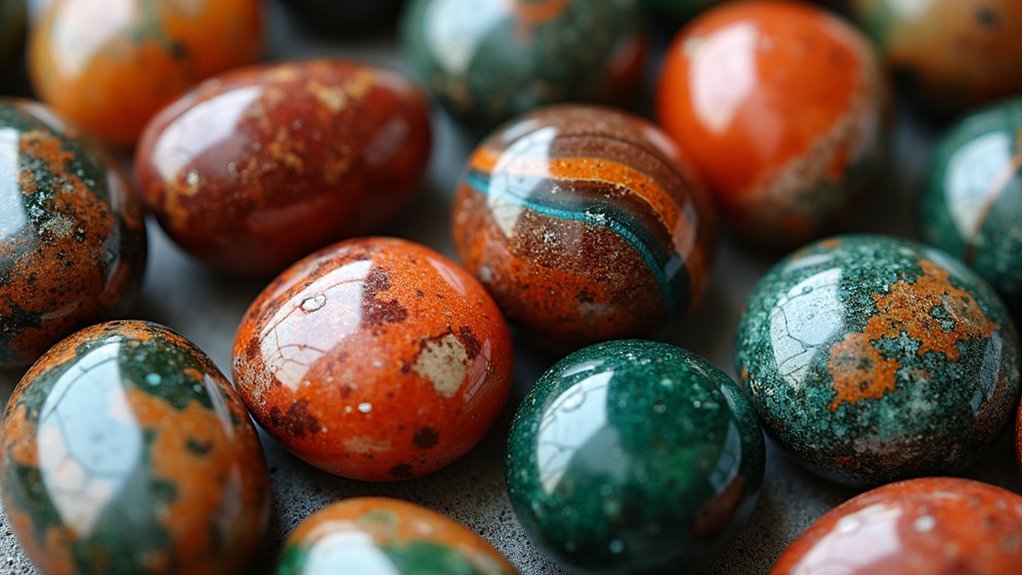
Unlike delicate stones that require cautious handling, agate and jasper represent the workhorses of rock tumbling—their exceptional hardness ratings of 6 to 7 on the Mohs scale make them nearly indestructible during aggressive polishing cycles.
You’ll achieve stunning results by starting with coarse 60/90 grit for several weeks before progressing through finer stages. These resilient materials let you experiment boldly without fear of damage.
Consider these exciting possibilities:
- Hunt for jasper treasures in Arizona, California, or Madagascar for endless tumbling projects
- Transform rough specimens into gleaming masterpieces using aggressive techniques you’d never attempt with softer stones
- Create breathtaking collections by experimenting with different polishing compounds to enhance natural patterns
Don’t skip the vital 600-grit pre-polish stage—it’ll remove surface imperfections and prepare your stones for that coveted mirror-like finish that showcases their inherent beauty.
Advanced Burnishing and Lapping Techniques
After completing your initial polishing stages, you’ll discover that advanced burnishing and lapping techniques represent the pinnacle of gemstone finishing—transforming already smooth surfaces into breathtaking mirrors that capture and reflect light with stunning brilliance.
Burnishing uses specialized media like cerium oxide or aluminum oxide in your tumbler, creating that coveted mirror-like finish that elevates your gemstone’s brilliance markedly.
Lapping requires flat surfaces and precision tools to achieve razor-sharp facet edges and perfectly even surfaces. You’ll need meticulous pressure control and careful movement monitoring.
Both techniques demand patience—over-polishing destroys detail and alters your gemstone’s shape. Experiment with different speeds and durations for each unique stone type, as ideal results vary greatly between materials.
Troubleshooting Common Tumbling Problems
Even with mastery of advanced finishing techniques, you’ll encounter frustrating setbacks that can derail your tumbling projects. Common issues plague even experienced gem enthusiasts, but you can solve them with targeted adjustments.
When your gemstones lack that coveted shine, extend polishing time or adjust your grit size during pre-polish and final stages. If you’re finding scratches marring your stones, add more plastic pellets to cushion impacts during tumbling.
Watch for these critical warning signs:
- Powdery residue – Switch to coarser grit immediately
- Overly rounded stones – Reduce coarse grit stage time drastically
- Inconsistent polish – Clean debris buildup before starting new batches
Prevention beats correction every time. Monitor your tumbler regularly and maintain ideal polishing conditions throughout each stage.
Maintaining Your Tumbled Gemstones for Long-Lasting Brilliance
Once you’ve achieved that perfect polish on your tumbled gemstones, proper maintenance becomes essential for preserving their stunning appearance.
Store your stones in a cool, dry place away from direct sunlight to prevent fading and damage. Regular cleaning with mild soap and water keeps them brilliant—avoid harsh chemicals that dull surfaces. After cleaning, gently buff with a soft cloth or microfiber towel to enhance shine and remove residues.
Periodically inspect your gemstones for wear or damage, addressing issues early to prevent extensive repairs.
Consider re-polishing every few years using appropriate compounds like cerium oxide to restore original brilliance. These simple maintenance steps guarantee your tumbling efforts continue paying dividends for years to come.
Frequently Asked Questions
What Crystals Cannot Be Tumbled?
You can’t tumble soft crystals like gypsum or selenite, brittle stones such as opal and fluorite, porous rocks like pumice, or delicate minerals including turquoise and malachite that’ll fade.
How Do You Get High Shine on Tumbled Rocks?
You’ll achieve high shine by progressing through coarse to fine grits, thoroughly cleaning stones between stages, using cerium oxide for final polishing, and incorporating a pre-polish step to eliminate surface imperfections.
Can You Put Gemstones in a Tumbler?
You can put gemstones in a tumbler, but choose harder stones like agate, jasper, and quartz. Verify they’re crack-free before tumbling and adjust techniques based on each stone’s hardness for best results.
How Long Does It Take to Tumble Gemstones?
You’ll need several weeks to tumble gemstones completely. Each stage takes 7-14 days, with coarse grit requiring 4-6 weeks alone. Softer stones like Jasper finish faster than harder stones like Agate.
In Summary
You’ve mastered the art of tumbling gemstones from rough rocks to brilliant treasures. With proper equipment, grit progression, and patience, you’ll consistently produce stunning results. Remember to match your techniques to each stone’s hardness, troubleshoot issues quickly, and maintain your finished gems properly. Your dedication to these proven methods will reward you with beautifully polished gemstones that’ll showcase nature’s hidden beauty for years to come.



Leave a Reply