You’ll need essential lapidary tools including a trim saw, grinding wheel, and polishing wheel, plus safety gear. Start by thoroughly cleaning your turquoise rough and inspecting for natural characteristics. Cut carefully with a diamond-tipped blade, then shape using coarse grit on a wet grinding wheel. Progress through finer grits (120, 220, 400) before final polishing with compounds. Complete the process by applying JB Weld backing for stabilization and durability. Master these techniques to reveal professional-quality results.
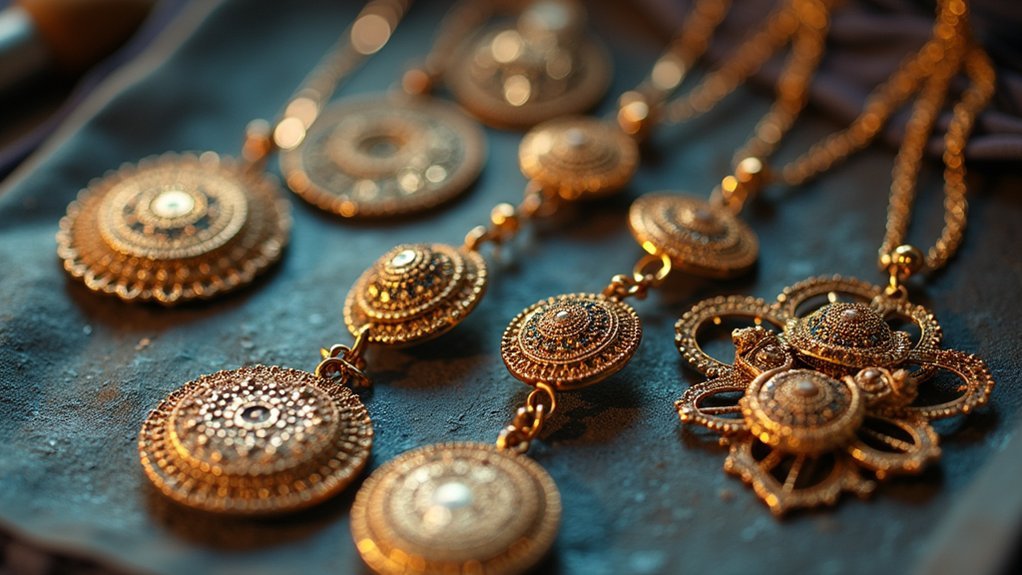
Essential Tools and Materials for Turquoise Lapidary
Success in turquoise lapidary work depends on having the right tools and materials before you begin your project.
Proper preparation with quality lapidary tools and materials forms the foundation of every successful turquoise jewelry making project.
You’ll need essential tools and equipment including a trim saw for cutting rough stones and a grinding wheel for shaping. A polishing wheel provides the final smooth, shiny finish your turquoise pieces require.
Always wear protective gear like safety glasses, dust masks, and gloves to protect against harmful dust and debris.
A dop stick helps you securely hold stones during shaping and polishing, ensuring precise control throughout your jewelry making process.
Different abrasive grits are important for various stages—coarser grits for initial shaping, finer ones for finishing.
Consider your stone type carefully, as some turquoise requires stabilization treatment to prevent cracking and enhance durability.
Preparing and Cleaning Your Turquoise Rough
Three critical steps prepare your turquoise rough for successful lapidary work. Begin by thoroughly rinsing your stones with water to remove debris, then dry them completely to prevent contamination during shaping.
Next, arrange your turquoise pieces with back sides facing up to maintain proper orientation throughout your project.
Essential preparation includes:
- Inspect each piece for natural veins, matrix, or inclusions that could affect stability
- Clean surfaces using soft brushes or cloths to eliminate dust and particles
- Set up wax paper and tape as your work surface for easier stone flattening
- Identify any structural weaknesses before beginning the cutting process
- Verify complete dryness before applying any backing materials
Proper cleaning creates the foundation for effective polishing techniques and professional results in your finished pieces.
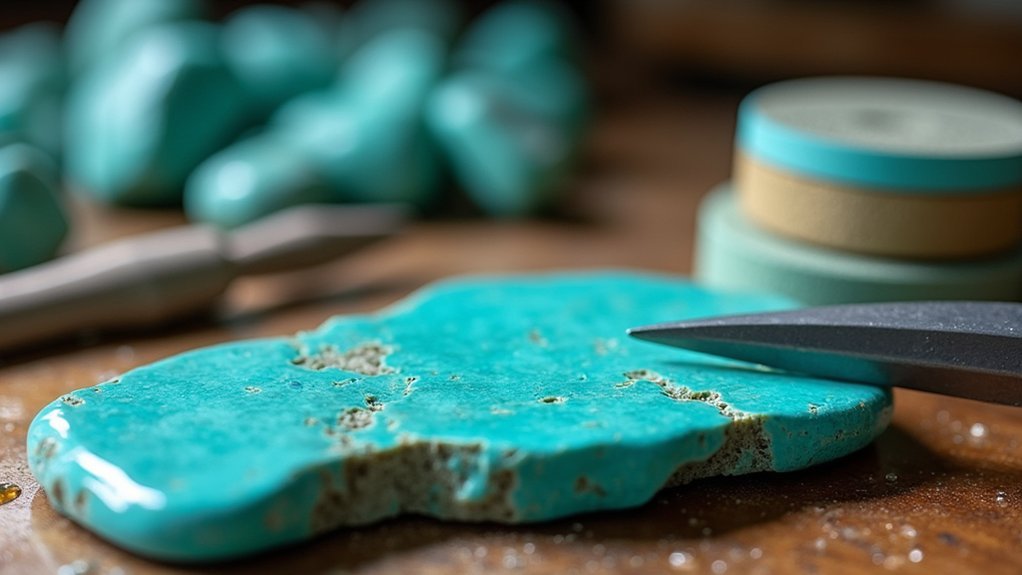
Cutting and Initial Shaping Techniques
Transform your cleaned turquoise rough into workable pieces by starting with a trim saw equipped with a diamond-tipped blade.
You’ll need safety goggles and a dust mask for protection during cutting. Remove excess material systematically, working around natural veins and matrix patterns that’ll influence your final design.
Next, attach your turquoise to dop sticks for secure handling during shaping. Use a grinding wheel with coarse grit initially to remove rough edges, then progress to finer grits for smoother surfaces.
These faceting techniques require consistent speed and pressure—let the tools work rather than forcing the stone. Pay close attention to the turquoise’s natural characteristics, as matrix lines can cause fractures if you’re not careful during the grinding process.
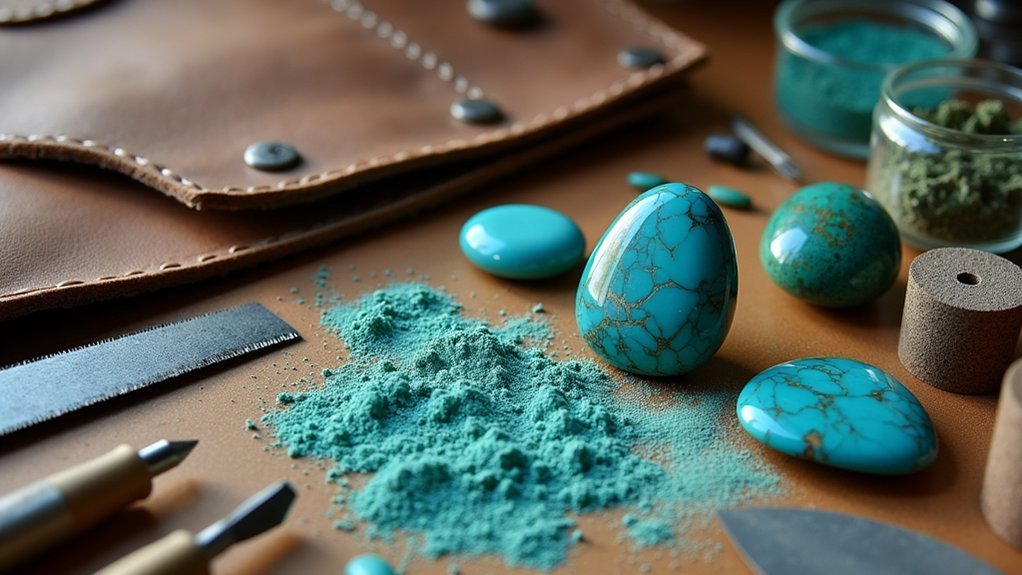
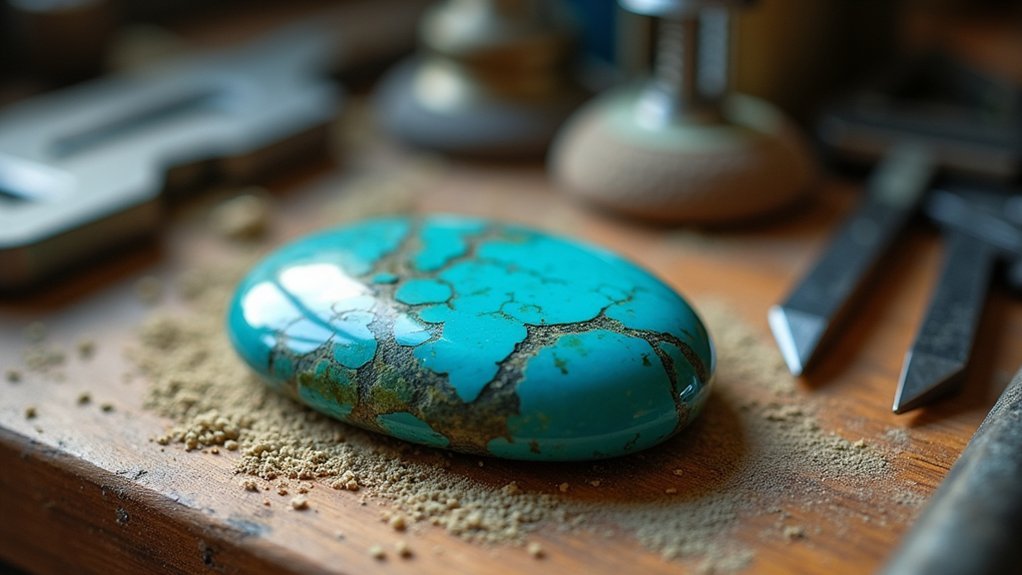
Grinding and Progressive Polishing Methods
Once you’ve completed the initial shaping, you’ll move into the critical grinding phase that determines your turquoise’s final surface quality. This systematic process transforms rough stone into polished gemstone through careful progression.
Start your grinding with coarse grit on a wet grinding wheel, maintaining consistent moisture to prevent overheating and cracking. Here’s your step-by-step approach:
- Begin with coarse grit to remove rough edges and achieve desired shape
- Progress through finer grits: 120, 220, and 400 for surface refinement
- Apply consistent pressure throughout grinding to avoid uneven surfaces
- Clean turquoise between stages to remove residual grit and prevent scratches
- Switch to polishing wheel with compounds like cerium oxide or diamond paste
Regular assessment during polishing guarantees ideal results.
You’ll achieve that coveted smooth finish by methodically advancing through each grit level while maintaining proper technique.
Backing and Stabilization Process
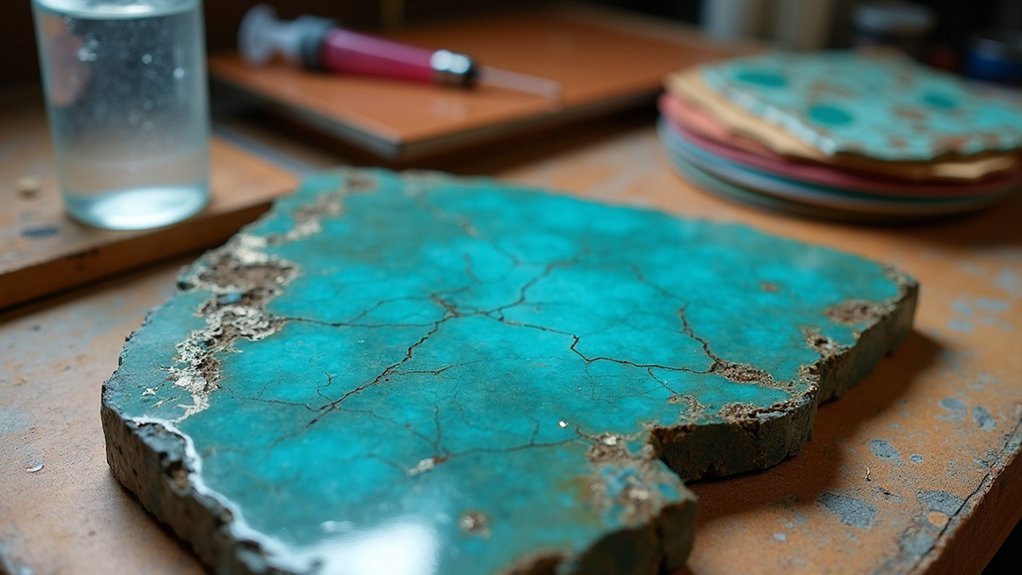
After achieving that perfect polished surface, you’ll need to strengthen your turquoise through proper backing and stabilization.
Start by thoroughly cleaning your stones, ensuring they’re completely debris-free and dry. Place the turquoise face down on your work surface.
Mix JB Weld by combining equal parts of components A and B until you achieve a consistent grey color. The mixture should have an icing-like consistency for ideal application.
Using a popsicle stick, apply the epoxy evenly across the stone’s back surface.
Place your backed stones flat on wax paper to prevent sliding during the drying process. Allow overnight curing for proper hardening.
Once partially set, trim excess edges and carefully peel stones from the wax paper. Remove any residue for a clean finish that’ll protect your turquoise during jewelry making.
Frequently Asked Questions
What Are Lapidary Techniques for Beginners?
You’ll start with marking cuts on easy stones like agates, then practice sawing with diamond blades, grinding with varying grits, and polishing. Always wear safety gear and practice on scraps first.
How Do You Process Turquoise?
You’ll clean the turquoise thoroughly, then cut it with a trim saw. Shape it carefully using grinding wheels, considering natural veins. Polish with compounds and wheels, then apply backing for stability.
What Is the Scratch Test for Turquoise?
You’ll scratch turquoise’s surface using a metal file or knife to test authenticity. Real turquoise produces distinct powder marks due to its 5-6 Mohs hardness, while imitations won’t show similar results.
Who Should Not Wear Turquoise Stone?
You shouldn’t wear turquoise if you’re allergic to copper or nickel, have sensitive skin, certain medical conditions like eczema, or you’re pregnant and following traditional advisories against it.
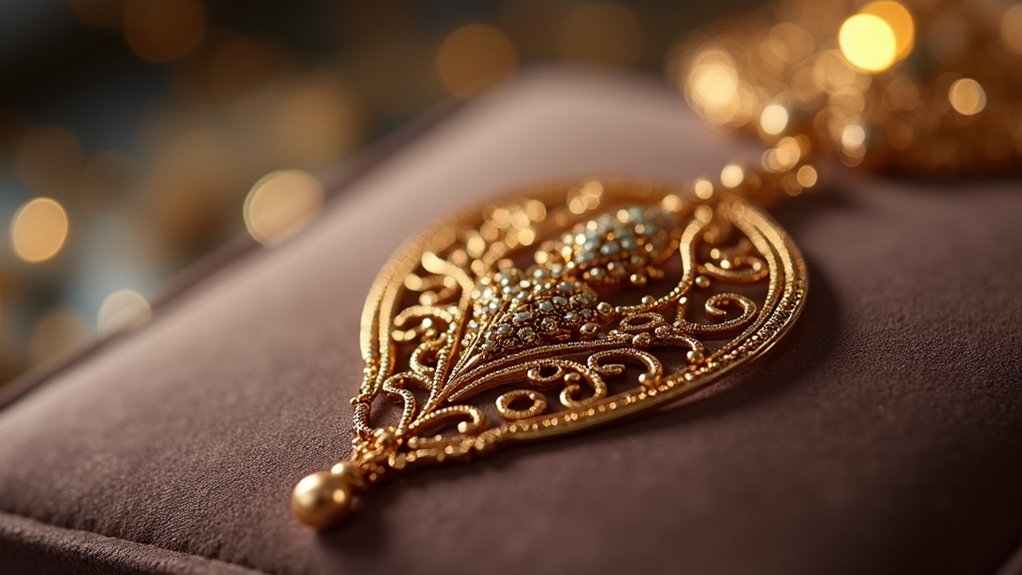
In Summary
You’ve now mastered the essential techniques for transforming rough turquoise into polished gemstones. With consistent practice, you’ll develop the skill to handle this delicate material confidently. Remember to take your time during each stage—rushing can crack or damage your stones. Keep experimenting with different stabilization methods and polishing compounds to find what works best for your specific turquoise specimens. Your patience will be rewarded with stunning finished pieces.

Leave a Reply