You’ll create stunning twisted wire chains by starting with 24-gauge wire and essential tools like round nose pliers and wire cutters. Cut your wire to consistent lengths, then form uniform loops while maintaining steady plier positioning for even twists. Connect each link securely by properly opening and closing connections, ensuring no gaps remain. Add beads or crystals for decorative appeal, sliding them onto wire before creating loops. Polish your finished chain and inspect all connections for a professional result that reveals advanced techniques.
Essential Tools and Materials for Wire Chain Creation
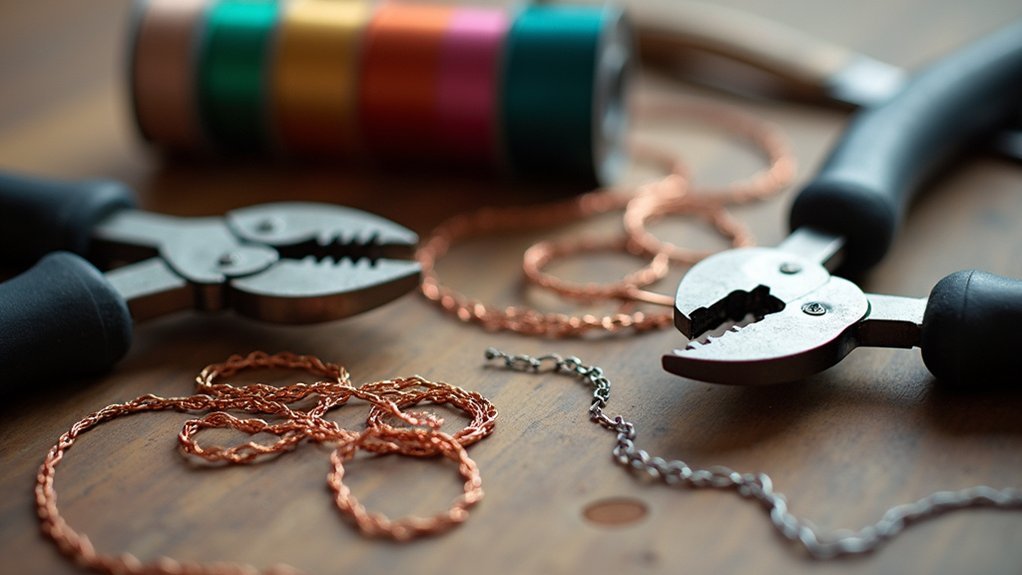
Success in creating twisted wire chains depends on having the right tools and materials at your fingertips.
You’ll need 24 gauge wire as your foundation—it’s perfectly flexible for intricate links while maintaining structural integrity. Your essential tools include round nose pliers for forming precise loops, wire cutters for trimming lengths, and chain nose or needle nose pliers for bending and securing connections.
Don’t forget a ruler for consistent measurements, ensuring uniform links throughout your chain. Nylon jaw pliers help straighten kinked wire before you begin working.
To make it work effectively, consider gathering decorative elements like beads or crystals to enhance your twisted chains with visual interest and texture, transforming basic wire into stunning jewelry pieces.
Preparing and Measuring Wire for Optimal Results
With your tools assembled, proper wire preparation forms the foundation of professional-looking twisted chains. You’ll need to make certain your measurements are precise before beginning any twisting work.
Start with 18 gauge square wire, measuring approximately 10 inches for your main structure. Cut an additional 2 inches specifically for the clasp component to guarantee secure functionality.
Begin your twisted chain project with precisely measured 18-gauge square wire: 10 inches for structure plus 2 inches for clasp security.
Here’s your preparation checklist to create stunning results:
- Measure meticulously – Your ruler becomes your best friend for consistent, balanced designs
- Straighten with purpose – Use nylon jaw pliers to eliminate kinks on the right side
- Prepare chain links – Cut 24 gauge wire to specified lengths for uniform bead patterns
- Double-check everything – Consistency in measurement creates breathtaking, professional chains
Creating Uniform Twists and Coils
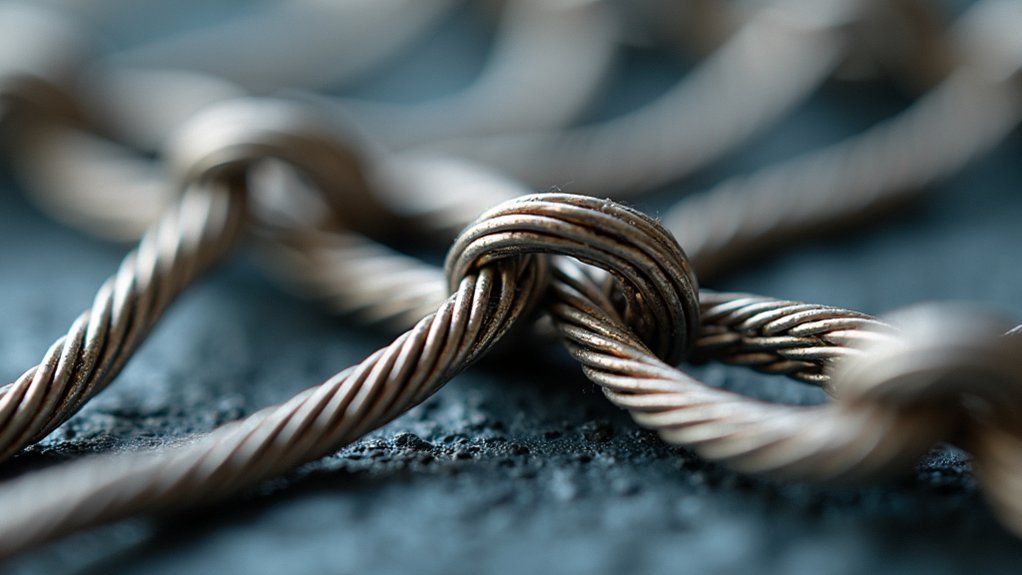
You’ll achieve the most professional-looking chains by selecting the right wire gauge for your project’s specific requirements.
Position your pliers consistently at the same angle and grip point throughout the twisting process to maintain control and create identical coils.
Master consistent spacing methods by measuring and marking your wire segments before twisting, ensuring each coil maintains uniform distance from the next.
Wire Gauge Selection
Twenty-four gauge wire stands as the sweet spot for creating uniform twists and coils in wire chains, offering the perfect balance between workability and strength. Understanding wire gauge selection will transform your jewelry-making experience and results.
Remember that lower gauge numbers mean thicker wire. While thicker wire provides more sturdiness for structural elements, it’s more challenging to twist and manipulate.
Here’s what you need to know:
- Twenty-four gauge wire delivers intricate designs without compromising durability
- Thicker gauges create robust structural elements but require more effort to twist
- Thinner gauges bend easily but may lack the strength for lasting jewelry
- Practice pieces help you develop the perfect feel for each gauge’s pressure requirements
Choose your gauge based on your project’s specific needs and your skill level.
Plier Positioning Techniques
Proper plier positioning determines whether your twisted wire chains achieve professional-quality results or fall flat with uneven, sloppy coils.
Hold round nose pliers near the tip when creating loops to maintain consistent size and shape for each twist or coil. Position chain nose pliers at a right angle to the wire for uniform twists, gripping firmly to guarantee stability.
Use your dominant hand to turn the wire while keeping pliers stationary, allowing controlled and consistent twisting motion. When coiling, maintain steady tension as you rotate wire around the pliers to achieve evenly spaced coils.
Practice different plier grips to find your most comfortable position that provides precision and stability throughout the twisting process.
Consistent Spacing Methods
Precision marks the difference between amateur and professional-looking twisted wire chains.
You’ll need systematic approaches to achieve uniform spacing throughout your project. Measuring each segment before twisting guarantees consistency, while maintaining equal tension prevents thickness variations that create irregular patterns.
Here are four essential methods for consistent spacing:
- Mark reference points at planned twist intervals before you begin – this prevents the heartbreak of uneven, unprofessional results.
- Use pliers to grip evenly at regular intervals, creating the satisfaction of perfectly uniform twists.
- Measure each segment with a ruler before twisting to avoid the frustration of starting over.
- Wind wire tightly around a mandrel when making coils, guaranteeing the pride of flawless uniformity.
These techniques transform chaotic tangles into elegant, professional chains.
Forming Loops and Connecting Chain Links
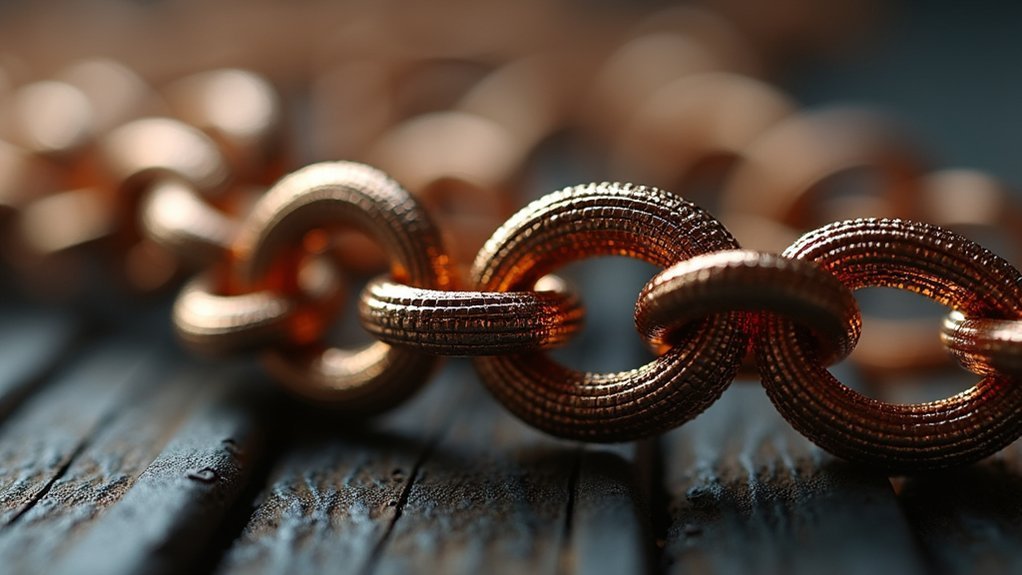
You’ll need to master creating perfect wire loops to guarantee your twisted chain links connect seamlessly and maintain their structural integrity.
Start by forming consistent loops at each end of your wire segments using round nose pliers, keeping the loop size uniform throughout your entire chain.
Once you’ve created the loops, you can securely connect each link by opening and closing them properly to prevent gaps that could weaken your finished necklace.
Creating Perfect Wire Loops
When forming loops that’ll connect your twisted wire chain links, start with 24 gauge wire cut to a manageable length for easier handling.
You’ll find this approach gives you better control and reduces hand fatigue during longer crafting sessions.
Use round nose pliers to grip the wire and twist it around, creating smooth, rounded shapes.
Maintain consistent loop sizes for that professional, uniform appearance that’ll make your chain stunning.
Essential steps for perfect loops:
- Leave adequate wire length after beads to guarantee secure connections that won’t fail
- Coil wire around the loop base multiple times for rock-solid stability
- Maintain consistent loop sizes throughout your chain for breathtaking uniformity
- Pinch down sharp ends with pliers for a polished, skin-safe finish
Securing Chain Link Connections
Three critical factors determine whether your twisted wire chain will hold together beautifully or fall apart in your hands: proper wire length, consistent loop formation, and secure wrapping technique.
After adding beads, hold the wire and leave adequate length for looping. Use round nose pliers to create uniform loops, manipulating the wire for secure attachment between links. Coil the wire around each link multiple times, ensuring tight, neatly aligned wraps for added stability.
| Step | Tool Required | Key Technique |
|---|---|---|
| Hold wire | Fingers | Leave small length |
| Form loops | Round nose pliers | Create uniform shapes |
| Wrap wire | Pliers | Multiple tight coils |
| Secure ends | Flat nose pliers | Pinch sharp points |
| Final check | Eyes | Align and adjust |
Always pinch down sharp ends to prevent scratches and maintain a smooth finish.
Adding Beads and Decorative Elements
After mastering the basic twisted wire technique, you can elevate your chain’s visual impact by incorporating beads and decorative elements. Using your 12-inch piece of 24 gauge wire, you’ll slide beads like smoky quartz or seed beads onto the wire before creating loops with round nose pliers.
Here’s how to add stunning decorative touches:
- Create symmetrical patterns by mirroring bead placement on both sides of your necklace for balanced visual appeal.
- Secure beads firmly by wrapping wire multiple times through the loops, preventing movement during wear.
- Smooth all wire ends after trimming excess material to eliminate sharp edges that could scratch skin.
- Maintain consistent spacing between beaded links to achieve a professional, cohesive appearance throughout your chain.
Finishing Techniques and Professional Polish
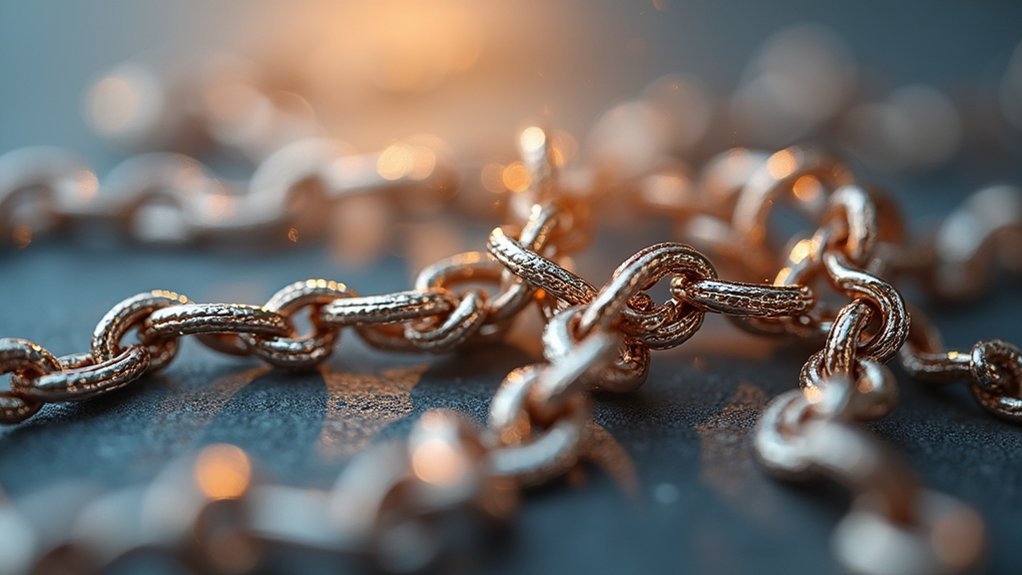
Your decorative wire chain requires careful finishing touches to transform it from a handmade craft into professional-looking jewelry. Start by pinching down all wire ends to eliminate sharp edges that could scratch skin or snag clothing.
Use round nose pliers to create uniform loops and links, ensuring each chain component maintains consistent sizing for a cohesive appearance. When coiling wire for links, make multiple wraps to enhance stability and prevent breakage over time.
After completing your chain, inspect each link for proper symmetry and alignment, making necessary adjustments to maintain aesthetic appeal. For the most refined finish, use nylon jaw pliers to straighten any bent wire sections before final assembly, ensuring your chain displays a smooth, polished appearance worthy of professional jewelry.
Frequently Asked Questions
How Do You Make Twisted Wire?
You’ll start with equal-length wire strands, secure them in a drill or twisting jig, apply tension while twisting at 4-6 twists per inch, then cut and shape the ends safely.
How to Make Your Own Chain With Wire?
You’ll cut 12-inch lengths of 24-gauge wire for each link. Use round nose pliers to create loops at both ends, add decorative beads, then connect the loops together for a durable chain.
How to Make a Twisted Metal Ring?
Start with 16-18 gauge wire, 6-8 inches long. Form it around a mandrel, then twist for spiral effect. Wrap ends securely, add beads if desired, and polish for comfort and shine.
How to Make a Crystal Necklace at Home?
You’ll need 18-gauge square wire for structure and 24-gauge wire for bead attachments. Create symmetrical bead placements, link chain sections together, and finish with an S-hook clasp for security.
In Summary
You’ve mastered the fundamentals of creating stunning twisted wire chains. With practice, you’ll develop the muscle memory needed for consistent results. Don’t be afraid to experiment with different wire gauges, bead combinations, and twist patterns to develop your unique style. Remember that patience is key – rushing the process often leads to uneven links and poor connections. Keep your tools clean and organized, and you’ll create professional-quality jewelry pieces every time.



Leave a Reply