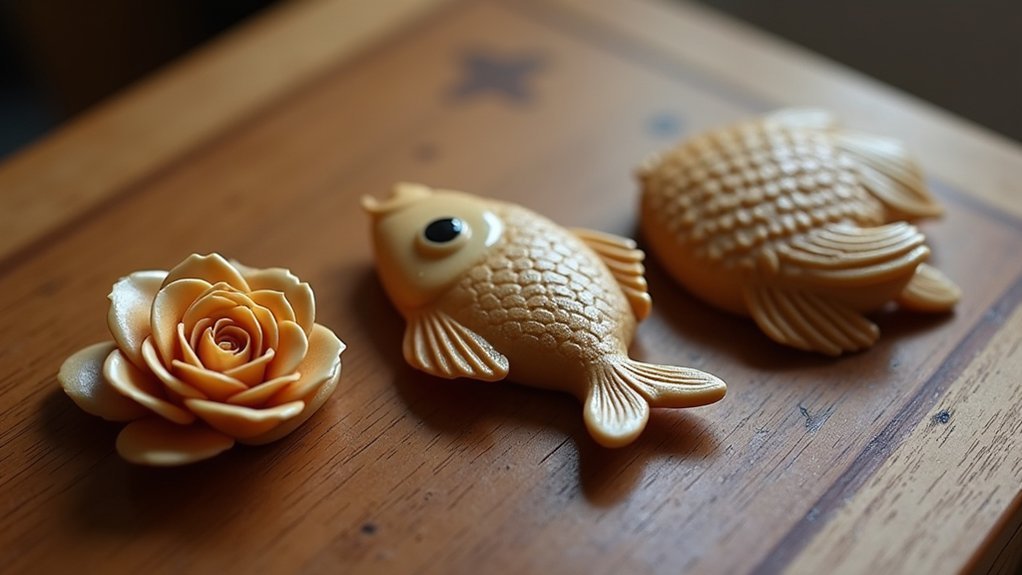
You’ll want to start with three foundational wax carving designs that build essential skills progressively. Begin with a simple band ring featuring basic geometric patterns like triangles or chevrons using blue wax and a 5-10mm tube. Next, try a curved pendant with smooth flowing lines to master graceful design techniques. Finally, tackle a basic signet ring with raised surface designs using green wax for better detail retention. These projects will establish your fundamental carving abilities while exploring advanced techniques and professional finishing methods.
Simple Band Ring With Basic Geometric Patterns
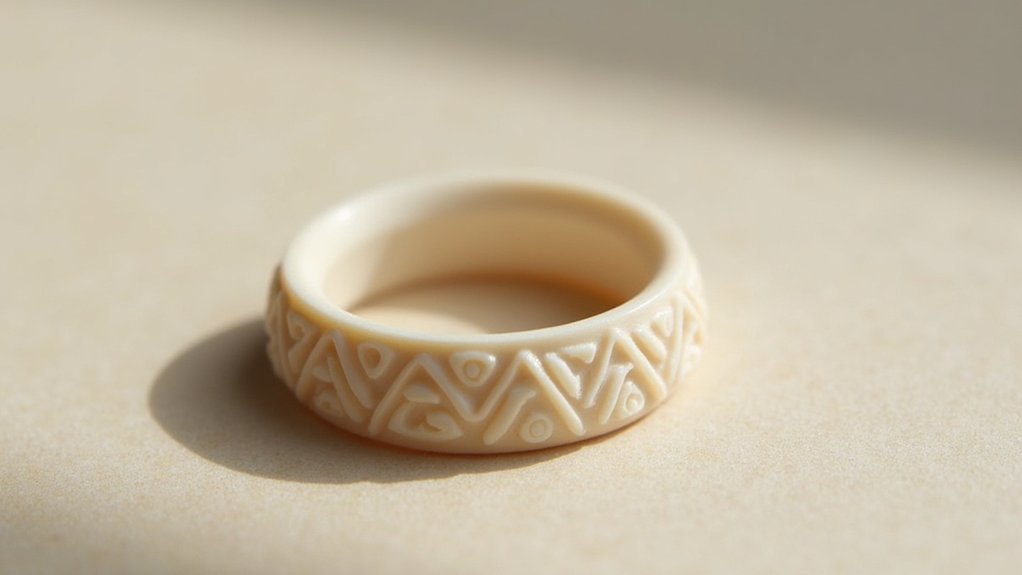
A simple band ring serves as the perfect entry point into wax carving, offering you a manageable canvas to practice fundamental techniques while creating something you’ll actually want to wear.
Start with blue wax for its flexibility when shaping your wax ring. Choose a 5-10mm width tube and mark geometric patterns directly onto the surface using a permanent marker for precision. Triangle, square, or chevron designs work beautifully for beginner designs.
Use a wax saw blade to carve wax with shallow cuts, rotating the tube to maintain evenness. This controlled approach prevents mistakes while you develop your technique.
After completing your patterns, focus on smoothing edges with fine-grit sandpaper. This final step guarantees clean, well-defined geometric patterns that create a polished look worthy of casting.
Curved Pendant With Smooth Flowing Lines
While straight lines dominated your ring project, curved pendants introduce you to the graceful art of flowing design where smooth shifts become your primary focus.
Start by sketching your curved pendant design onto paper, emphasizing smooth flowing lines that create natural movement. Blue wax works best for basic wax carving since it’s softer and more forgiving.
Blue wax’s forgiving nature makes it the perfect medium for capturing flowing, organic curves in your pendant designs.
Use rounded gouges and smoothing carving tools to establish gentle curves and organic shapes. Begin by lightly carving the outline, then gradually refine details while preserving material.
Add textures and patterns using fine needles or stippling tools to enhance depth on smooth surfaces. These wax carving techniques help you evolve from simple geometric forms to more intricate designs.
Finish by polishing with soft brushes, creating professional shine that highlights your flowing curves.
Basic Signet Ring With Raised Surface Design
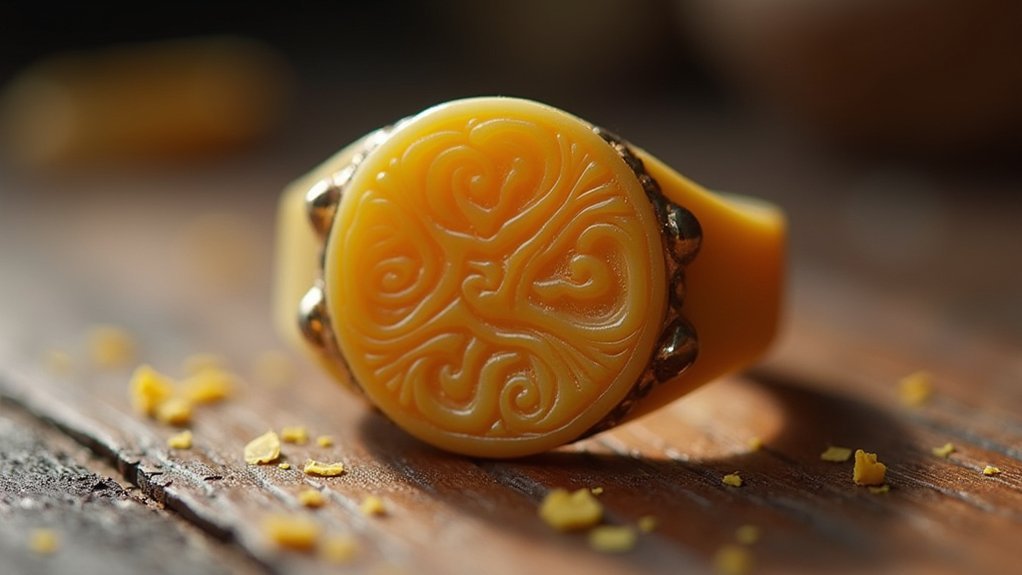
Building on your curved pendant skills, signet rings offer an excellent opportunity to master raised surface designs that create striking visual contrast.
A basic signet ring features a flat surface that’s perfect for practicing advanced wax carving techniques. Start by sketching your pattern on paper, then transfer it onto green wax using a permanent marker. This harder wax retains intricate details while remaining beginner-friendly.
Use V-gouges for sharp grooves and rounded gouges for smooth curves with your carving tools. These create the raised effect that makes jewelry designs visually compelling.
Remember to make your wax model ½ size larger than needed, as shrinkage occurs during casting. This guarantees your final metal product fits properly.
Beginners will find signet rings challenging yet achievable projects.
Frequently Asked Questions
What Is the Difference Between Green and Blue Carving Wax?
Green wax is harder and more brittle, letting you create sharp edges and intricate details but requiring more skill. Blue wax is softer and more flexible, making it easier to carve and adjust during your work.
Is Wax Carving Difficult?
Wax carving isn’t difficult for you as a beginner. You’ll find wax forgiving since it’s soft and allows easy mistake correction. With basic techniques, you’ll quickly create recognizable pieces while developing skills through practice.
What Are the Different Types of Wax Carving?
You’ll find several wax types for carving: green wax for detailed work, purple for general use, blue for flexible designs, turquoise for quality finishes, and specialized file-a-wax options.
How to Smooth Out Wax Carving?
You’ll start with 400-grit sandpaper, then progress to 1000-grit for smoothness. Use scrapers for rough areas, fine needles for details, and heat tools sparingly. Clean with a soft cloth afterward.
In Summary
You’ve now got three solid wax carving projects that’ll build your foundational skills. Start with the simple band ring to master basic cuts and geometric shapes. Move on to the curved pendant to develop your ability with flowing lines and smooth shifts. Finish with the signet ring to practice raised surface work. Each design teaches essential techniques you’ll use in more complex pieces. Pick one that excites you most and start carving today.


Leave a Reply