You’ll achieve wax carving certification success by mastering seven key areas: prepare wax blocks with precise 2-3mm margins and square surfaces, choose blue wax with essential hand tools like dental instruments and Exacto knives, develop accurate design transfer using scribed guidelines and center points, practice fundamental carving methods with pencil-grip control, understand complete lost wax casting processes, build a diverse portfolio starting with simple bands, and seek regular mentor feedback while documenting your progress. Master these strategies to access advanced techniques that separate certified professionals from beginners.
Master the Fundamentals of Wax Block Preparation and Squaring

Before you touch your carving tools, you’ll need to properly prepare your wax block to guarantee professional results.
Start by ensuring your wax block is large enough, leaving an extra 2-3mm around your intended design area. Use a small wood saw with a plastic miter box to cut the block accurately to size.
Always cut your wax block 2-3mm larger than your design area using a wood saw and miter box for precision.
Mark the top, bottom, and sides with a black marker to maintain orientation throughout preparation.
File the wax surface flat, using a square tool to check for evenness and remove inconsistencies. This creates your solid foundation.
Next, scribe guidelines on your wax to divide it into quadrants, ensuring all angles remain at 90 degrees.
This step helps you find the center and maintain perfect symmetry during carving.
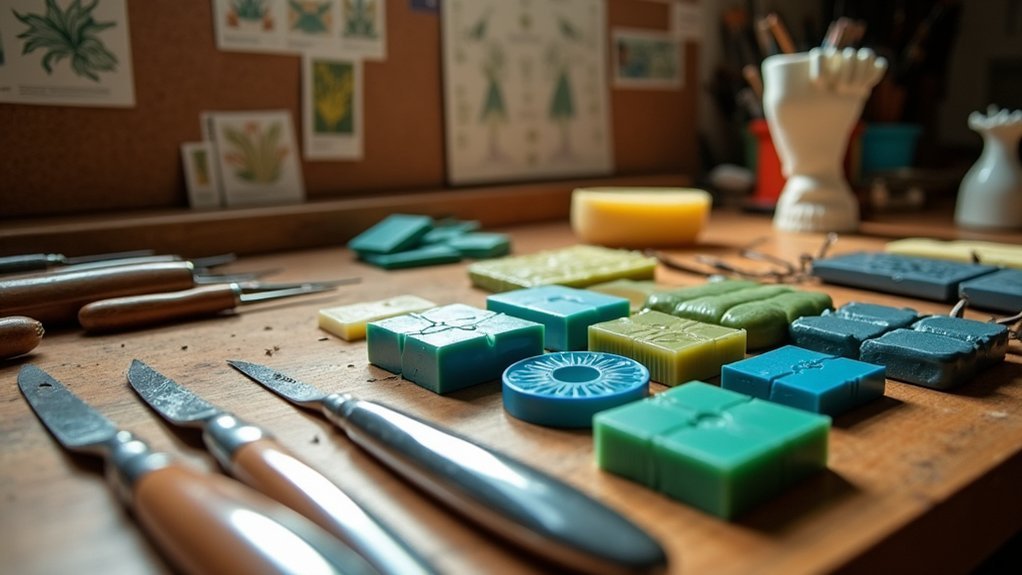
Choose the Right Wax Type and Tools for Your Skill Level
With your wax block properly squared and prepared, you’ll need to select the appropriate wax material and tools that match your current abilities. Blue wax is your best starting point, offering an ideal balance of workability and detail without excessive brittleness that makes carving easier.
Focus on essential hand tools rather than rushing into power equipment. Dental tools, Exacto knives, and files form your core toolkit for shaping and refining wax models effectively.
While Dremel tools can accelerate work, avoid over-relying on them initially—they often cause mistakes when you’re developing foundational skills.
When you do use rotary tools, choose coarse burs for larger areas and finer burs for detailed work. Maintain consistent wax thickness of 1-1.5mm throughout your carving to guarantee proper metal flow during casting.
Develop Precise Design Transfer and Layout Techniques
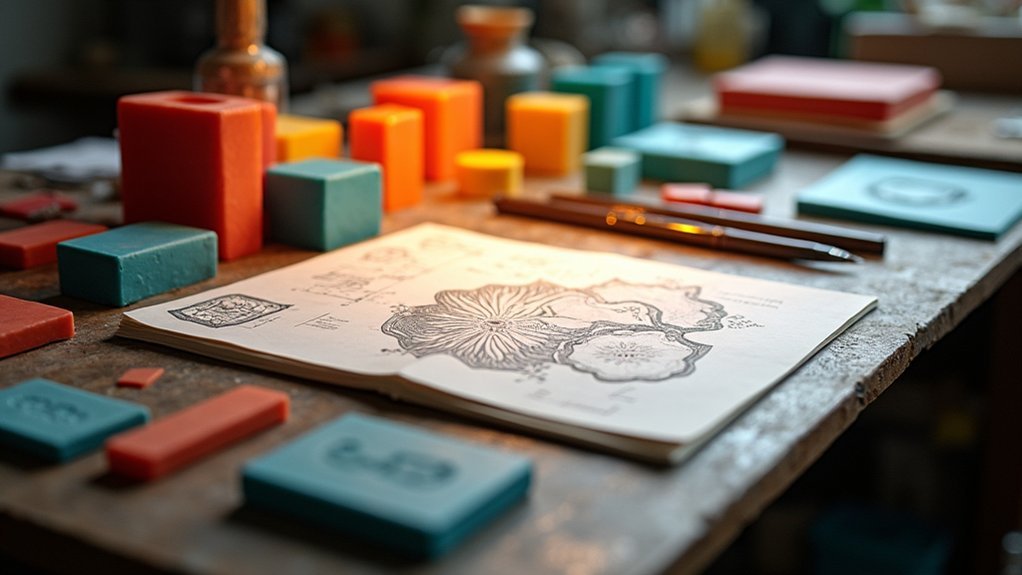
Once you’ve selected your tools and prepared your wax, accurate design transfer becomes the foundation that determines your carving’s success.
Start by scribing center lines that divide your wax into quadrants, establishing a clear framework for precise placement. Use dividers to mark accurate center points while maintaining 90-degree angles throughout for perfect symmetry.
Prepare your wax surface by filing it flat and smooth before applying any design elements. This guarantees even transfer and ideal detailing during carving.
When positioning your design template, leave 2-3mm of extra wax around the edges to provide sufficient material for adjustments and prevent accidental breaches.
Create detailed mapping by following your scribed lines around the wax block, guiding your shift from layout to actual carving while maintaining consistent proportions.
Practice Essential Carving Methods and Hand Control
Master your grip first by positioning your carving tools like a pencil, maintaining firm yet flexible control that allows for precise movements without causing hand fatigue.
Essential carving methods like grinding, scraping, and subtractive carving form your technical foundation. Practice these techniques consistently to manipulate wax effectively and create precise designs.
Develop hand control through smooth, fluid motions that prevent jagged edges and uneven surfaces in your wax models. Use various dental tools and carving knives to achieve different textures and intricate details.
Keep your wax blank centered and squared throughout the process, as this foundational skill directly impacts symmetry and quality. Embrace mistakes as valuable learning opportunities—persistent practice will gradually improve your carving techniques and lead to more successful outcomes.
Understand the Lost Wax Casting Process From Model to Metal

After you’ve mastered essential carving techniques, understanding the lost wax casting process becomes crucial for transforming your wax models into finished metal pieces.
The wax carving process begins when you sculpt your detailed wax model, which serves as the foundation for your final metal piece. Next, you’ll create a mold around your model that captures every intricate detail of your design.
Your sculpted wax model becomes the precise foundation that captures every intricate detail for your final metal masterpiece.
The wax is then melted away, leaving a precise cavity for molten metal. During lost wax casting, this cavity fills with metal, preserving all textures and features from your original work.
Finally, you’ll polish and detail the cast piece, potentially adding engravings or setting stones to complete your transformation from wax to metal.
Build a Portfolio of Diverse Jewelry Pieces
You’ll want to begin your wax carving portfolio with straightforward pieces like simple bands or basic pendant shapes that let you focus on mastering fundamental techniques without getting overwhelmed by complex details.
Document each piece you create with clear photos and notes about what worked well and what challenged you, as this record becomes invaluable for tracking your skill development over time.
Starting simple doesn’t mean boring—even basic designs can showcase clean execution and thoughtful proportions that demonstrate your growing expertise to certification reviewers.
Start With Simple Designs
Building your wax carving expertise starts with mastering fundamental shapes like simple rings and pendants that’ll establish your core technique and boost your confidence.
When you first approach a block of wax, resist the urge to attempt complex designs immediately. Working with wax requires patience and precision, especially when maintaining that essential 1-1.5mm thickness for proper casting. Simple rings provide excellent practice for achieving consistent dimensions and smooth surfaces.
These foundational projects allow you to experiment with different wax types—blue wax offers easier carving while purple wax provides flexibility for varied shapes.
Document each piece in your portfolio, capturing your progression from basic forms to more intricate designs. This methodical approach demonstrates your technical development and attention to detail for certification evaluators.
Document Your Progress
Documentation becomes your most powerful tool for certification success, transforming each carved piece into evidence of your growing expertise. Document your progress by photographing every stage—from initial sketches through wax modeling to final castings.
Capture detailed shots of your hand tools in action, showcasing how you manipulate the wax pen for intricate details and use the alcohol lamp for smooth finishes.
Create a thorough portfolio featuring diverse pieces: elaborate rings, intricate pendants, and statement bracelets. Include process notes describing techniques used, challenges overcome, and materials selected for each project.
Show multiple angles highlighting textures and craftsmanship details. Feature work demonstrating various wax types and carving methods to illustrate your versatility.
Regularly update your portfolio with new projects, reflecting continuous improvement and mastery development throughout your certification journey.
Seek Mentorship and Document Your Learning Progress

Why struggle through the complexities of wax carving alone when experienced mentors can accelerate your progress exponentially?
Experienced mentors transform your wax carving journey from solitary struggle into accelerated mastery through proven guidance and expertise.
When you seek mentorship from skilled carvers, you’ll gain invaluable hands-on experience and personalized guidance that dramatically enhances your skill development.
To maximize your learning journey:
- Document your learning progress through detailed sketches, notes, and photographs of your wax models to track improvements and identify focus areas.
- Request constructive feedback regularly from your mentor to refine techniques and guarantee you’re progressing correctly.
- Establish specific learning goals and milestones in your documentation for structured, accountable progress.
- Supplement mentorship with online tutorials and forums, recording helpful tips and techniques you discover.
This combined approach creates a thorough learning framework that’ll propel you toward certification success.
Frequently Asked Questions
Is Wax Carving Difficult?
You’ll find wax carving challenging initially, requiring steady hands and precision for intricate designs. Multiple attempts are normal before achieving satisfactory results, but with continuous practice and proper techniques, you’ll gradually master this skill.
What Is the Difference Between Green and Blue Carving Wax?
You’ll find green carving wax holds fine detail better but breaks easily, while blue wax offers medium hardness that’s beginner-friendly. Green’s for precision work; blue’s more versatile and forgiving.
How to Smooth Out Wax Carving?
Start with coarse files to remove rough edges, then progress through finer sandpaper grits from 120 to 600. Heat the surface gently with a wax pen, check for symmetry, and finish with polishing compound.
Is the Lost Wax Method Still Used?
Yes, you’ll find the lost wax method’s still widely used in modern jewelry making. It’s favored for creating intricate, custom pieces because it preserves fine details and produces high-quality results that reflect artistic craftsmanship.
In Summary
You’ve got the roadmap to wax carving certification success. Start by mastering your fundamentals and selecting appropriate materials for your current abilities. Don’t skip the design transfer phase—it’ll save you hours of frustration later. Practice consistently to develop muscle memory and precision. Understanding the casting process will elevate your work beyond basic carving. Build that portfolio systematically, and find experienced mentors who’ll accelerate your progress considerably.


Leave a Reply