Start with purple wax for general carving since it balances hardness and flexibility perfectly for beginners. You’ll need essential tools like a scalpel, riffler files, and wax files for precision work. Use reference images to guide your design and maintain a 30-45 degree tool angle for clean cuts. Practice light, gradual pressure to avoid mistakes, and repair any errors with molten wax applied carefully. Polish your piece with fine emery paper and pass it through a cool flame to smooth rough edges before attaching sprues for casting. These foundational techniques will reveal advanced jewelry-making possibilities.
Choosing the Right Type of Jewelers Wax for Your Project
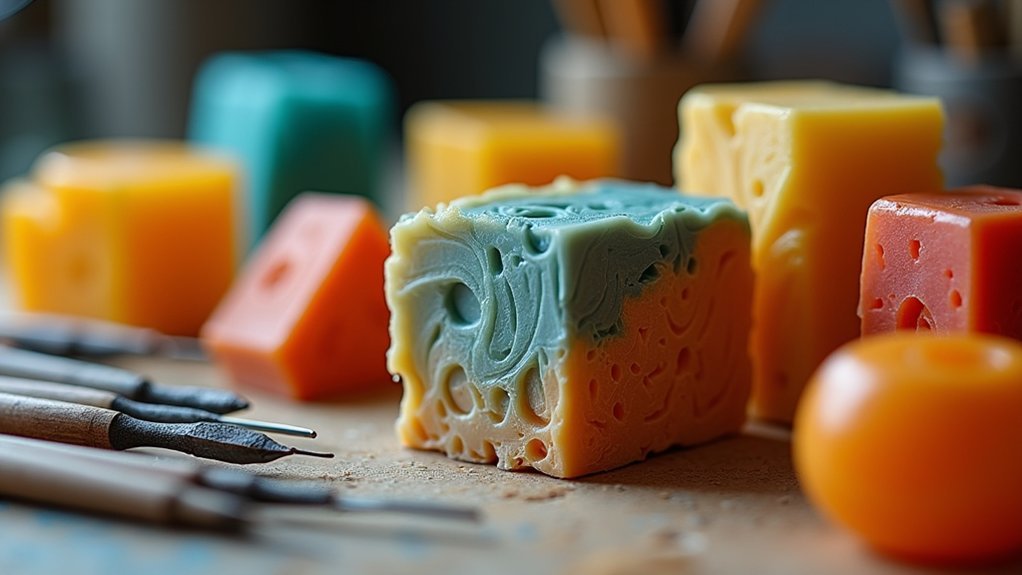
Before you begin carving, you’ll need to select the appropriate wax type for your specific jewelry project.
Green wax works best for intricate designs requiring sharp edges, while blue wax offers flexibility for rounded shapes.
Choose green wax for precise, sharp-edged details or blue wax when your design calls for smooth, flowing curves.
Purple wax strikes a perfect balance between hardness and flexibility, making it ideal for general-purpose carving across various designs.
For detailed features, Ferris wax comes in multiple colors and pairs excellently with precision wax carving tools.
When you need exceptional strength and a fine surface finish, turquoise wax delivers outstanding toughness and flexibility.
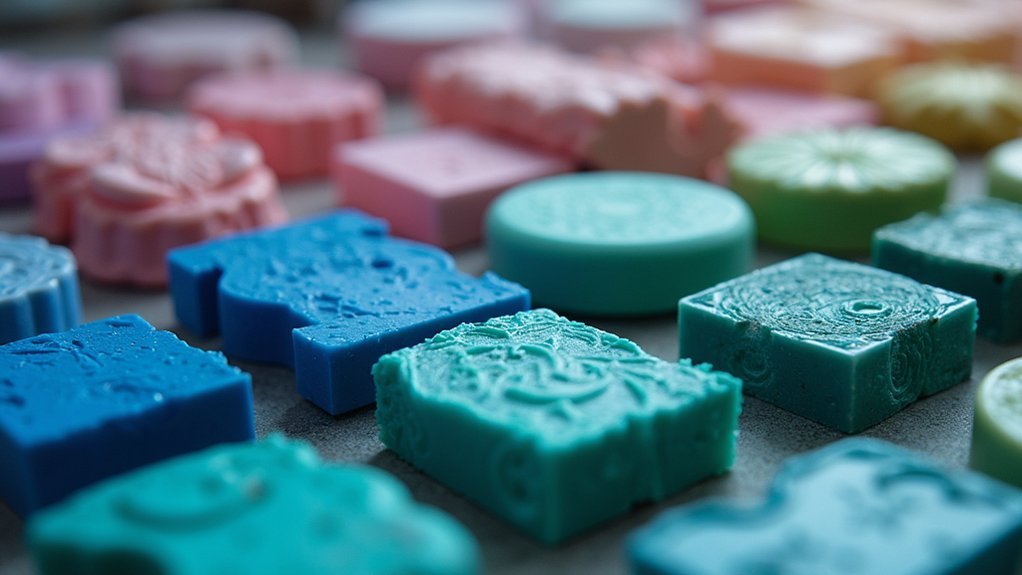
Consider your project’s form too: wax tubes work perfectly for ring designs since they’re easily cut and reusable, while blocks provide better material for intricate pendants or sculptural pieces.
Essential Tools and Equipment for Wax Carving Success
Six fundamental tools will transform your wax carving experience from frustrating to rewarding.
You’ll need a scalpel for precise cutting, delivering clean lines in your jewelry designs. A riffler file shapes intricate details, while a wax file smooths rough edges perfectly. These essential tools form your foundation for professional-quality results.
Choose green wax blocks for detailed carvings or blue wax for flexible, rounded shapes. A wax ring stick guarantees accurate sizing throughout your carving process, preventing costly dimensional errors.
Include a heating tool like a heated pin for manipulating and joining wax pieces seamlessly.
Don’t overlook cleaning supplies—a bristle brush and old toothbrush effectively remove debris, maintaining your workspace and guaranteeing smooth carving surfaces for ideal results.
Basic Carving Techniques Using Reference Images and Markers
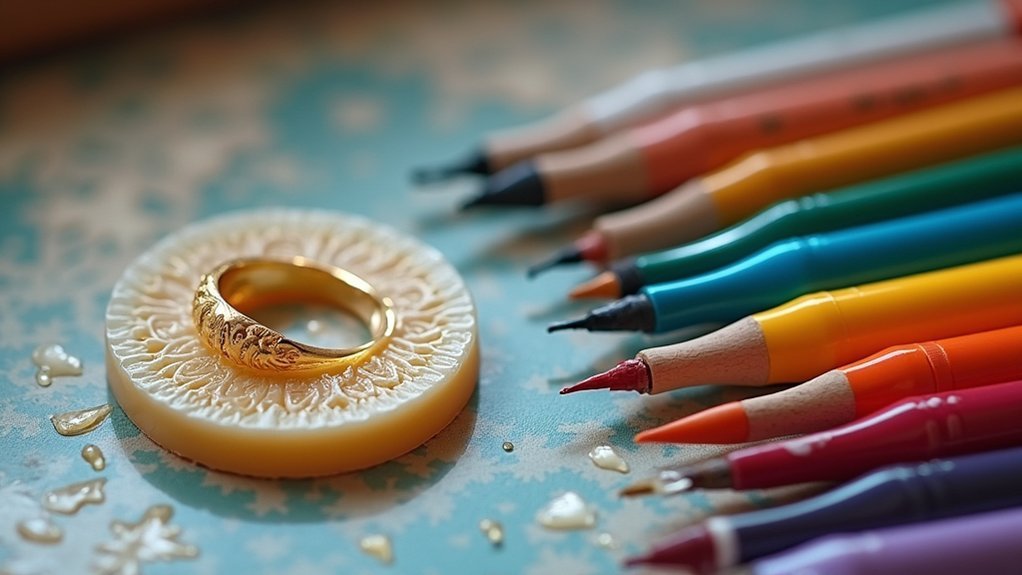
You’ll want to start by selecting a clear reference image that shows your subject from multiple angles, then use this as your blueprint throughout the carving process.
Apply markers directly onto the wax surface to outline your design, sketching the basic shapes and proportions before making any cuts.
This planning phase allows you to visualize the final piece and make adjustments to your layout without wasting material or compromising the structural integrity of your carving.
Planning Design Layout
When you’re ready to begin carving, selecting the right reference image becomes your foundation for success. Choose images that clearly show the proportions and details you want to achieve, guaranteeing they match your wax block’s dimensions. This planning prevents wasted material and frustration later.
Once you’ve selected your reference, transfer the basic outline directly onto your wax surface using markers. Start with light, simple shapes that capture the overall form before adding intricate details. This approach helps you visualize the final piece while maintaining structural integrity.
Effective wax carving techniques require patience during the planning stage. Map out where you’ll remove the most material first, working from general shapes to specific features.
This methodical approach guarantees your design stays balanced throughout the carving process.
Marker Application Techniques
Three essential marker types will transform your wax carving accuracy: fine-tip permanent markers for detailed outlines, medium-tip markers for broader structural lines, and erasable markers for temporary guidelines you can adjust.
When applying marker application techniques, start with your reference image positioned clearly beside your workspace. Use light pressure to outline key features on the wax surface, avoiding deep grooves that’ll compromise structural integrity.
Apply markers systematically, working from major shapes to smaller details. You’ll want to regularly check alignment between your marked lines and reference image throughout the process.
Don’t hesitate reapplying marker lines as you carve wax—this guarantees your design stays true to your original vision while maintaining accuracy.
Creating Clean Lines and Smooth Surfaces With Proper Tool Control
You’ll achieve professional-looking jewelry pieces by mastering three essential aspects of tool control during wax carving.
First, develop steady hand techniques that allow you to maintain consistent pressure and movement while shaping your design.
Next, learn proper tool angle control and surface polishing methods that transform rough carved surfaces into smooth, ready-to-cast pieces.
Steady Hand Techniques
Since successful wax carving relies heavily on precise tool control, developing steady hand techniques forms the foundation of creating professional-quality jewelry pieces.
You’ll need to maintain consistent hand positioning throughout your carving process, keeping your movements deliberate and controlled rather than rushed or jerky.
Start by practicing slow, measured strokes on scrap wax pieces to build muscle memory before tackling your final design.
Adjust your tool’s angle frequently to optimize cutting effectiveness while maintaining steady pressure. This prevents unintentional gouges that can compromise your work’s integrity.
Regular position checks from multiple angles help you spot imperfections early, allowing timely corrections.
Focus on smooth, continuous motions rather than choppy cuts, and remember that patience with your wax carving technique produces cleaner lines and more polished results.
Tool Angle Control
Proper tool angle control transforms rough wax blocks into polished jewelry components through precise manipulation of your carving instruments. Mastering this fundamental technique guarantees cleaner lines and smoother surfaces while reducing material waste.
Maintain a consistent 30 to 45-degree angle throughout your carving process. This sweet spot provides ideal control for intricate designs while preventing unwanted chipping or gouging.
Here’s how to perfect your tool angle control:
- Apply light, gradual pressure – Heavy-handed approaches damage wax and create uneven surfaces.
- Adjust tool position continuously – Reposition your grip as you work different areas for maximum efficiency.
- Practice on scrap pieces first – Build muscle memory and confidence before tackling actual projects.
Regularly check your angle and make minor adjustments. This attention to detail greatly enhances your final piece’s quality and helps you develop the precision essential for professional-looking jewelry components.
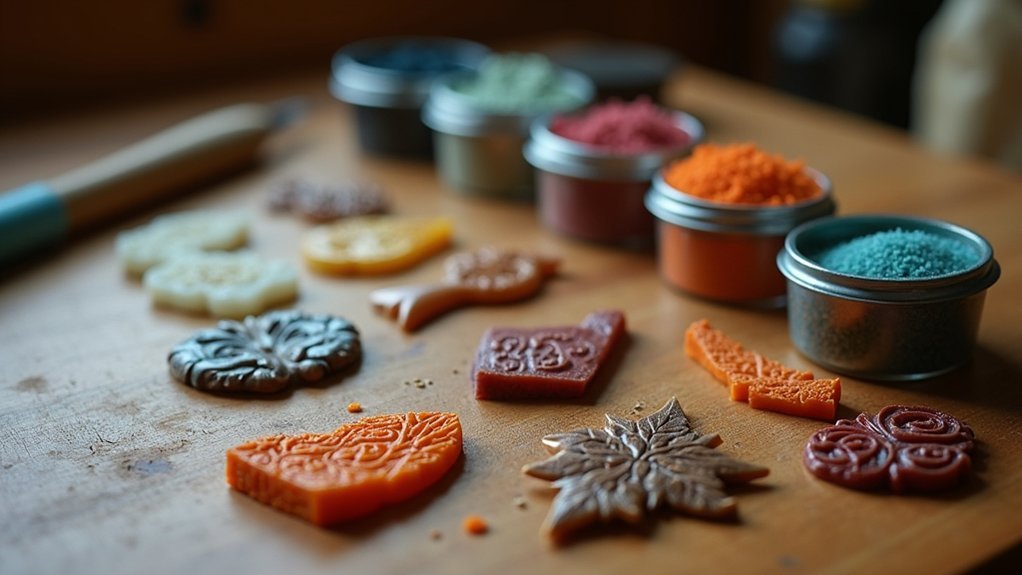
Surface Polishing Methods
Three essential polishing phases will transform your carved wax from a rough prototype into a professional-quality jewelry piece ready for casting.
Start with a wax file to round edges and eliminate rough spots before advancing to finer techniques.
Apply fine grit emery paper to flat surfaces using even pressure, maintaining consistent finishes without creating deeper scratches.
For the final polish, use old tights or nylon fabric to smooth surfaces without adding wax particles to your carving.
Keep steady hands and controlled movements to preserve essential details and maintain your piece’s intended shape.
Complete the process by briefly passing your design through a cool flame, eliminating remaining rough edges while keeping the wax intact.
Repairing Mistakes and Imperfections With Molten Wax Methods
Mistakes happen during wax carving, but you don’t need to start over when you can repair imperfections using molten wax methods.
These techniques let you fix flaws seamlessly while maintaining your original design’s integrity.
To effectively repair mistakes and imperfections with molten wax, follow these essential steps:
- Heat scrap wax to molten state and apply it directly to the flawed area for seamless integration.
- Warm the original wax surface before applying repair material to guarantee stronger bonding and prevent separation.
- Maintain steady hand control while applying molten wax to create smooth finishes that blend naturally.
Allow repaired areas to cool completely before continuing work. This prevents warping and structural issues.
Once cooled, regularly assess and refine the section using your carving tools until it meets desired quality standards.
Finishing and Polishing Techniques Before Casting
Once you’ve completed your wax carving and made necessary repairs, you’ll need to finish and polish the piece before casting to guarantee professional results.
Start by using a wax file to round off edges and tidy up uneven surfaces. This step’s essential for achieving a polished final product ready for lost wax casting.
Next, employ fine grit emery paper on flat surfaces to refine details and remove remaining imperfections.
Pass your design through a cool flame to eliminate rough edges and secure smoothness throughout the piece.
For an extra smooth finish, polish the wax with old tights to enhance surface quality.
Meticulously refine all details, as this directly affects your casting quality and the final outcome of your jewelry piece.
Preparing Your Carved Wax Piece for the Lost Wax Casting Process
With your wax piece properly finished and polished, you’re ready to prepare it for the lost wax casting process. This critical stage determines the quality of your final metal jewelry, so attention to detail is essential.
Follow these key preparation steps:
- Attach the sprue system – Use blue sprue wax to securely bond sprues to your wax piece, creating channels for molten metal flow during casting.
- Hollow the back – Carefully carve out 2-3mm thickness from the back to reduce weight and enhance transparency in your finished piece.
- Final refinement – Pass your wax piece through a cool flame to eliminate rough edges and verify all details are well-defined and debris-free before sending for casting.
Frequently Asked Questions
What Is the Difference Between Green and Blue Carving Wax?
Green carving wax is harder, letting you create sharp edges and intricate details with precision. Blue wax is softer and more flexible, so you’ll find it better for smooth, rounded, organic shapes.
What Are the Different Types of Wax Carving?
You’ll encounter several wax carving types: additive carving where you build up material, subtractive carving removing excess wax, and combination methods. There’s also direct carving and indirect techniques using templates.
Is Wax Carving Difficult?
You’ll find wax carving manageable with practice. It’s beginner-friendly since materials are inexpensive, mistakes are easily fixed with molten wax, and you can start simple before progressing to complex designs.
What Is the Lost Wax Method of Jewelry Making?
You’ll create a detailed wax model of your jewelry design, then encase it in plaster. Once heated, the wax melts away, leaving a cavity where you’ll pour molten metal to form your final piece.
In Summary
You’ve now mastered the fundamental wax carving techniques that’ll set you up for jewelry-making success. Remember to start with simple designs, practice your tool control regularly, and don’t get discouraged by initial mistakes – they’re part of the learning process. With these seven methods in your toolkit, you’re ready to create beautiful wax models that’ll transform into stunning cast jewelry pieces. Keep practicing, and you’ll see your skills improve dramatically.


Leave a Reply