
You’ll master professional wax texturing by using precision tools like scalpels and rotary cutters on your self-healing cutting board. Control temperature at exactly 122°F with a mini crock pot and rheostat for ideal workability. Press natural materials like tree bark, leaves, and shells into 0.6mm wax using silicone release spray for clean removal. Layer multiple textures at varying depths, starting with deeper impressions first. Strategic sprue placement and maintaining 1.3mm thickness guarantee successful casting. These techniques will open countless creative possibilities for your jewelry designs.
Essential Tools and Materials for Professional Wax Texturing
Success in wax texturing depends on having the right tools and materials at your fingertips.
Having the essential tools and quality materials readily available forms the foundation of successful wax texturing projects.
You’ll need a self-healing cutting board for clean cuts and a rotary cutter for quick slicing. For detailed work, grab precision tools like scalpels or X-Acto knives.
When working with wax, temperature control is essential. A mini crock pot with thermometer heats wax to ideal temperatures, keeping it workable without melting.
Use a rheostat to maintain best softness and avoid frozen wax that becomes brittle.
Choose 0.6mm (22 gauge) wax for lighter pieces or 1.3mm (17 gauge) for substantial designs.
While specialty jewelry wax is available, consider different kinds like dental base plate wax as an affordable alternative from dental suppliers.
Selecting the Right Wax Thickness for Your Design Goals
When you’re selecting wax thickness, you’ll directly influence your finished piece’s weight and wearability.
Thinner wax around 0.6mm creates lighter jewelry that’s comfortable for everyday wear, but it increases your risk of incomplete casting if you don’t manage the process carefully.
Thicker wax up to 1.3mm produces substantial, durable pieces, though you’ll face greater casting challenges due to the increased material density.
Thickness Affects Final Weight
Since the thickness of your wax directly translates to the final weight of your cast jewelry, you’ll need to carefully consider your design goals before making this crucial decision. Thickness affects not only aesthetics but also wearability and comfort. A delicate pendant benefits from lighter weight, while statement pieces can handle more substantial mass.
| Wax Thickness | Gauge | Best For | Weight Result | Casting Issues |
|---|---|---|---|---|
| 0.6 mm | 22 | Delicate designs | Lightweight | Minimal |
| 0.7 mm | 21 | Thin rings | Light | Potential problems |
| 1.1 mm | 18 | Medium pieces | Moderate | Some complications |
| 1.3 mm | 17 | Bold statements | Heavy | Fewer issues |
| 1.5+ mm | 16+ | Chunky designs | Very heavy | Rare problems |
Consider ring size when selecting thickness—smaller fingers require lighter weights for comfortable wearing.
Casting Success Vs Thickness
Beyond weight considerations, your wax thickness choice directly impacts whether your casting will succeed or fail.
You’ll find that 0.6 mm (22 gauge) works perfectly for lighter pieces, while 1.3 mm (17 gauge) delivers better casting success for complex designs requiring durability.
Thinner wax around 0.7 mm often creates structural integrity problems that lead to casting failures.
You’re much safer with thicker designs that minimize these issues and improve metal flow throughout your mold.
Long, thin sections will obstruct metal flow, so balance your thickness with design complexity.
For best results, reduce holes and obstructions in your wax model.
Thicker wax provides superior support for intricate textures while ensuring smoother metal flow during the casting process.
Temperature Control Techniques for Optimal Wax Workability
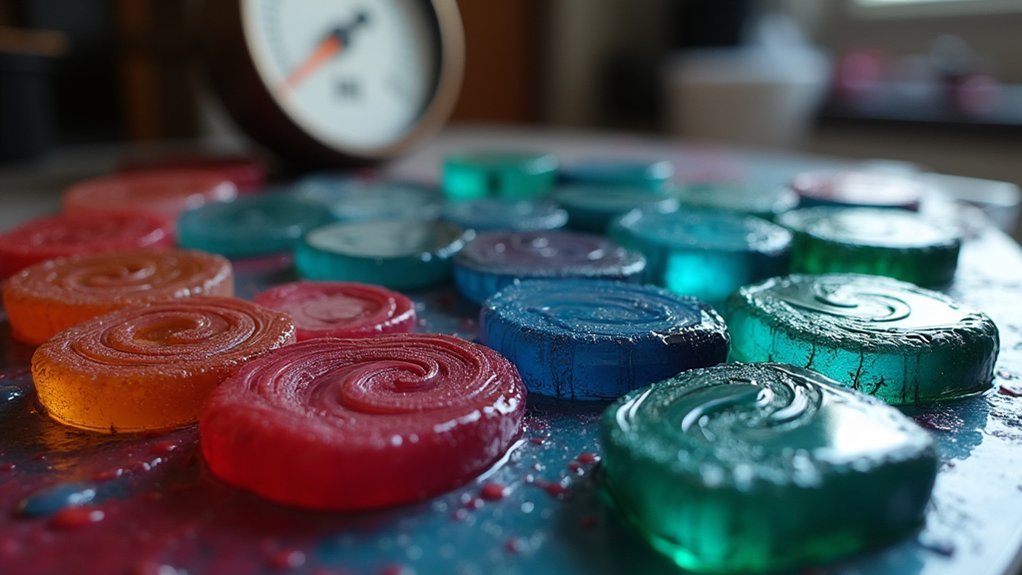
Most jewelry makers underestimate how essential temperature control is for achieving professional wax texturing results.
Temperature control separates amateur wax work from professional-quality jewelry texturing that stands the test of time.
When working with wax, you’ll want to maintain an ideal temperature of around 122°F for perfect softness without risking brittleness or melting during handling.
A mini crock pot with a thermometer gives you precise temperature control, preventing overheating that damages wax integrity.
For larger quantities, use a rheostat to adjust and maintain soft wax temperature, ensuring consistent workability throughout your texturing process.
Don’t forget about your hands—cold fingers hinder wax manipulation, so warm them before starting.
Avoid frozen wax entirely, as it becomes brittle and difficult to work with.
Instead, allow wax to gradually reach workable temperature for best results.
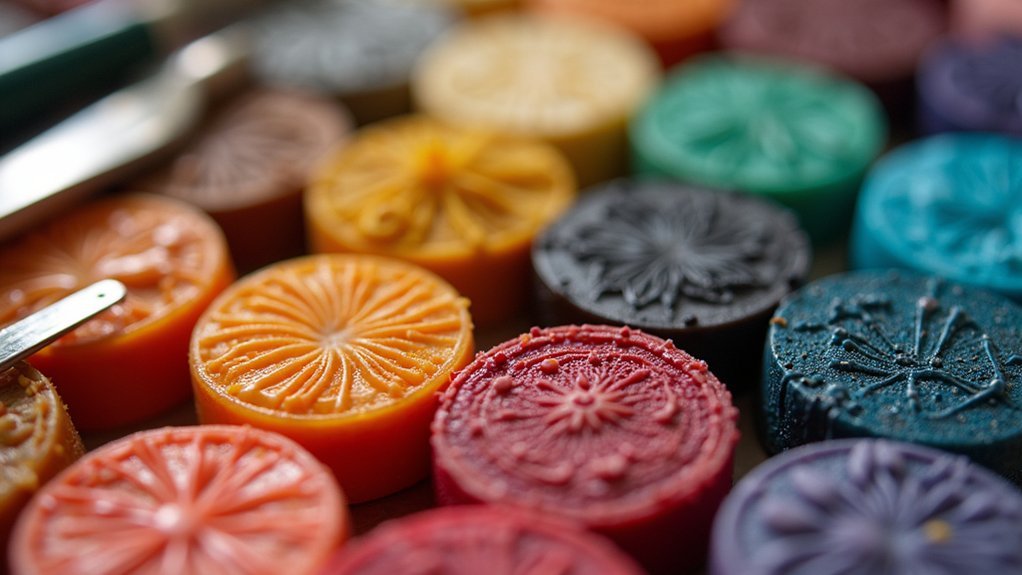
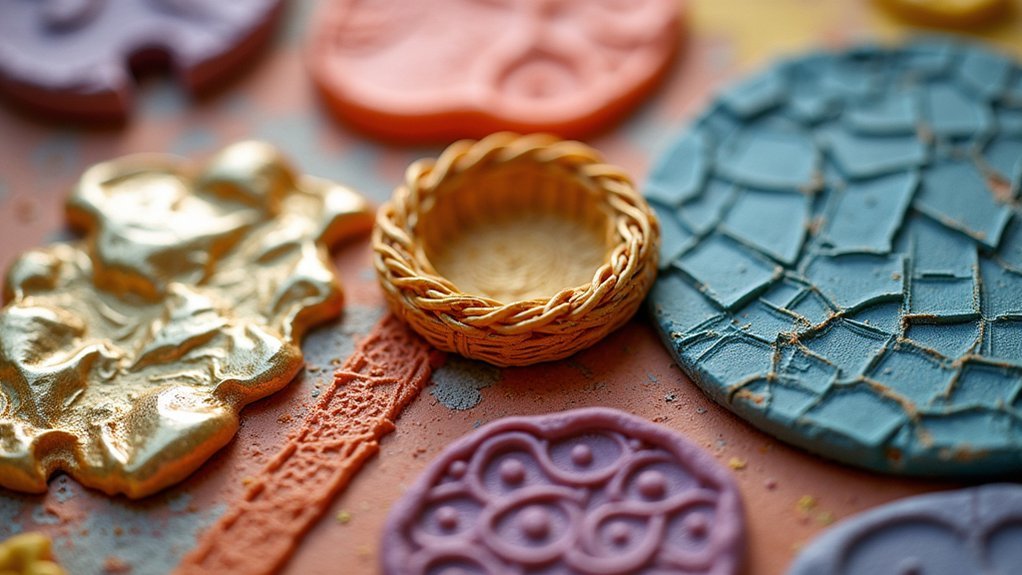
Natural Texture Sources That Create Stunning Surface Details
While exploring your surroundings for texture sources, you’ll discover that nature provides an endless library of patterns perfect for wax jewelry making.
Tree bark, rocks, and leaves create stunning organic surface details when pressed into softened wax. Collect shells, pine cones, and flower petals in different sizes to add intricate patterns and character to your designs.
Don’t overlook everyday objects either. Fabric trim pieces, old sports balls, and braided hoses yield surprisingly interesting results for your texture library.
Before using any natural textures, apply silicone release spray or cooking oil to prevent wax from sticking and guarantee clean impressions.
Experimenting with various natural textures creates diverse surface finishes that enhance your jewelry’s aesthetic appeal dramatically.
Everyday Objects That Make Exceptional Texture Impressions
Your kitchen drawers and garage corners hold treasure troves of texturing tools that’ll transform ordinary wax into extraordinary jewelry pieces. Let’s talk about the different everyday objects you’re overlooking. That old braided garden hose creates intricate rope patterns, while worn sports balls offer unique dimpled textures. Your textured dish towels and coarse fabrics produce compelling surface details that add personality to your designs.
| Object Category | Specific Items | Texture Effect |
|---|---|---|
| Kitchen Tools | Cheese graters, colanders | Geometric holes, ridges |
| Hardware Items | Chain links, washers | Industrial patterns |
| Sporting Goods | Golf balls, tennis balls | Dimpled surfaces |
| Household Fabrics | Lace, burlap | Intricate weaves |
| Garden Tools | Hose, rope | Braided impressions |
These accessible materials cost nothing while delivering professional-quality textures that distinguish your jewelry from mass-produced pieces.
Quick Pressing Methods for Sharp, Detailed Surface Patterns
Since timing determines the difference between crisp, museum-quality impressions and disappointing blurred patterns, you’ll need to master the art of quick pressing.
Heat your utility wax to exactly 122°F—this temperature keeps it pliable enough to capture intricate details while maintaining workability. Once you’ve positioned your texture object, you have mere seconds to create the impression before the wax cools and hardens.
Apply silicone release spray or cooking oil to your texture items beforehand. This prevents the wax from sticking and guarantees clean removal without distorting your carefully crafted patterns.
Work with wax around 0.6 mm thick for ideal pressing results. Press firmly and decisively—hesitation leads to shallow, unclear impressions that lack the professional quality you’re seeking.
Strategic Sprue Placement for Complex Textured Designs
After creating perfect textured impressions in your wax, the success of your final cast depends entirely on where you position your sprues.
Strategic placement guarantees metal flows smoothly through your complex designs without creating defects or incomplete fills.
Strategic sprue placement ensures flawless metal flow through intricate designs, eliminating casting defects and incomplete fills in your final piece.
Focus on these critical placement strategies:
- Position sprues at the thickest sections of your design to facilitate ideal metal entry and prevent air pocket formation in intricate textures.
- Use multiple gates for long thin sections that might restrict metal movement throughout your piece.
- Analyze flow dynamics beforehand to identify potential obstructions and redesign problematic areas.
Properly sized and positioned sprues don’t just improve casting quality—they’ll also streamline your cleanup process.
Take time to study your textured design’s geometry before committing to sprue placement, as this planning phase determines your casting’s ultimate success.
Troubleshooting Common Casting Issues With Textured Wax Models
Even when you’ve mastered texture creation and sprue placement, textured wax models present unique casting issues that can frustrate even experienced jewelry makers.
In lost wax casting, intricate textures often create problematic thin sections below 0.7mm that prevent complete metal filling. You’ll achieve better results using thicker 1.3mm wax sections instead.
Long, narrow textured elements obstruct metal flow, causing incomplete casts. Redesign these features or add strategic gates to improve flow dynamics.
Minimize holes within your textured surfaces, as they create turbulence during pouring.
When troubleshooting failed casts, examine flow patterns first. Increasing wall thickness on textured sides and simplifying overly complex areas will reduce casting issues while preserving your design’s aesthetic impact and making cleanup considerably easier.
Design Modifications That Improve Metal Flow in Detailed Pieces
While troubleshooting addresses problems after they occur, strategic design modifications prevent casting failures from the start by optimizing how metal flows through your detailed pieces.
When you’re designing intricate jewelry, consider these essential modifications that’ll greatly improve your casting success:
- Maintain thickness standards – Keep your wax designs at 1.3 mm (17 gauge) minimum to prevent fragile sections that cause incomplete casts.
- Optimize element spacing – Adjust gaps between design features to enhance metal flow and reduce obstructions.
- Incorporate solid sections – Replace hollow areas with solid metal portions to eliminate potential blockages.
You’ll find these changes beneficial for different reasons beyond just flow improvement.
Adding double sprue connections at your design’s top facilitates easier cleanup while ensuring metal reaches intricate areas.
When I’m making complex pieces, minimizing holes and obstructions considerably boosts casting success rates.
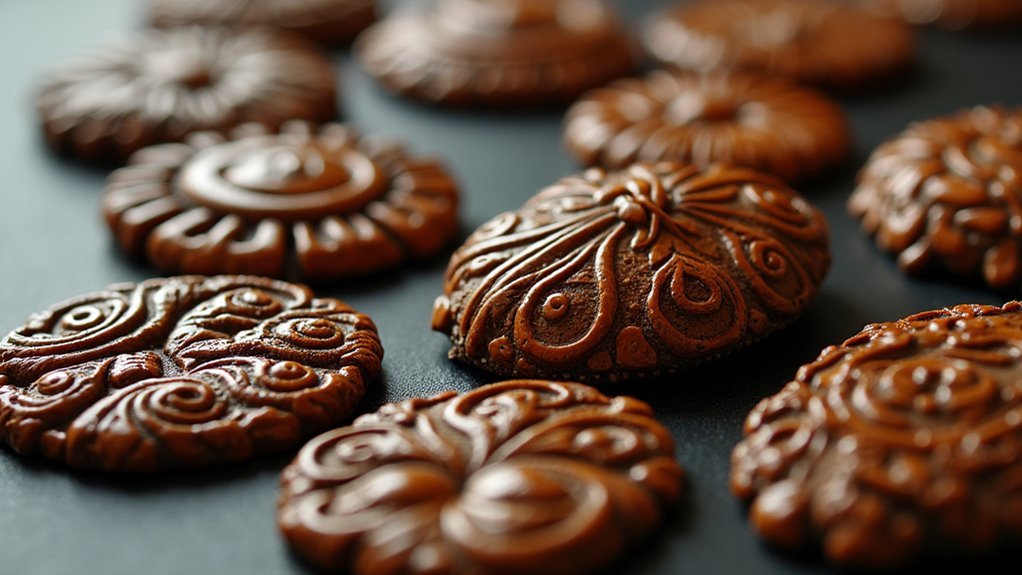
Advanced Texture Layering Techniques for Dynamic Surface Effects
You’ll create stunning surface complexity by building up multiple texture impressions on your wax, each applied at different depths to generate visual richness.
Start with your deepest impressions first, then gradually add lighter textures that won’t compromise the underlying patterns.
This systematic approach lets you control exactly how each texture layer interacts, ensuring your final piece displays the precise depth variations you’re after.
Multiple Impression Layering Methods
When you’re ready to elevate your wax texturing beyond basic single impressions, multiple impression layering opens up a world of sophisticated surface effects that can transform ordinary jewelry pieces into enchanting works of art.
Whether you’re planning to make a ring or any other piece, the texture you’re going to use becomes dramatically more complex through strategic layering.
Here’s your roadmap to mastering multiple impressions:
- Temperature Control: Apply warmer wax for seamless blending between layers, or use cooler wax to maintain distinct textural boundaries.
- Release Agent Application: Use silicone spray or cooking oil between layers to prevent unwanted adhesion and guarantee clean separations.
- Depth Variation: Combine shallow and deep textured molds to create compelling visual contrast across your layered surface.
Balance layer thickness carefully to maintain your piece’s functionality while achieving stunning textural depth.
Controlling Texture Depth Variations
Mastering the layering fundamentals sets the stage for exploring how texture depth variations can greatly amplify your surface effects. You’ll achieve dynamic results by varying pressure when pressing wax onto textures—create deeper impressions in focal areas while maintaining shallow details elsewhere. Different wax thicknesses enhance this approach: use 0.6 mm for delicate sections and 1.3 mm for pronounced depth variations.
| Wax Thickness | Application Method | Depth Result |
|---|---|---|
| 0.6 mm | Light pressure | Subtle impressions |
| 1.0 mm | Variable pressure | Mixed depths |
| 1.3 mm | Firm pressure | Deep textures |
Timing matters greatly—press warm wax for sharp definitions or let it cool slightly for softer blends. When building texture layers, allow each level to cool before adding the next, preventing unwanted blending while maintaining distinct depth variations throughout your piece.
Frequently Asked Questions
How Do I Clean and Maintain Textured Wax Models Between Work Sessions?
You’ll protect textured wax models by covering them with soft cloth or tissue paper. Store them in cool, dry places away from heat sources. Don’t handle them unnecessarily, and brush away dust gently using soft brushes.
Can Textured Wax Designs Be Successfully Repaired if Accidentally Damaged During Handling?
You can repair damaged textured wax designs using careful heat application and matching tools. Warm your sculpting tools slightly, then gently rework the damaged area to restore the original texture pattern seamlessly.
What’s the Shelf Life of Textured Wax Models Before Casting Quality Degrades?
You’ll get ideal casting results within 6-12 months if you store textured wax models properly. After that, you’ll notice surface detail loss, cracking, and dimensional changes that’ll compromise your final jewelry piece’s quality.
How Do I Photograph Textured Wax Pieces to Best Showcase Surface Details?
You’ll want strong directional lighting at sharp angles to create shadows that emphasize texture depth. Use a macro lens with narrow aperture, and position lights to graze surfaces rather than flooding them evenly.
Are There Specific Polishing Techniques for Cast Metals From Heavily Textured Wax?
You’ll need selective polishing to preserve texture details. Use rotary tools with small bits for recessed areas, avoiding high-speed buffing that flattens surfaces. Hand-polish raised elements carefully, leaving deeper textures untouched for maximum contrast.
In Summary
You’ve now mastered the fundamental techniques that’ll transform your jewelry from ordinary to extraordinary. Don’t hesitate to experiment with unconventional texture sources—you’ll discover unique effects that set your work apart. Remember that temperature control and proper sprue placement are essential for successful casting. Keep practicing these layering methods, and you’ll develop your own signature style. Your textured pieces will captivate customers and elevate your craftsmanship to professional levels.


Leave a Reply