During wax jewelry casting preparation, you’ll select the appropriate jeweler’s wax type based on your design’s complexity, then carefully carve your pattern using specialized tools like files and scalpels. You’ll attach sprues at the thickest sections to guarantee proper metal flow, build a wax tree structure, and encase everything in investment plaster to form your mold. Finally, you’ll calculate the precise metal weight needed and inspect every detail before casting. The following steps will guide you through each critical phase of this intricate process.
Creating the Initial Wax Pattern Design
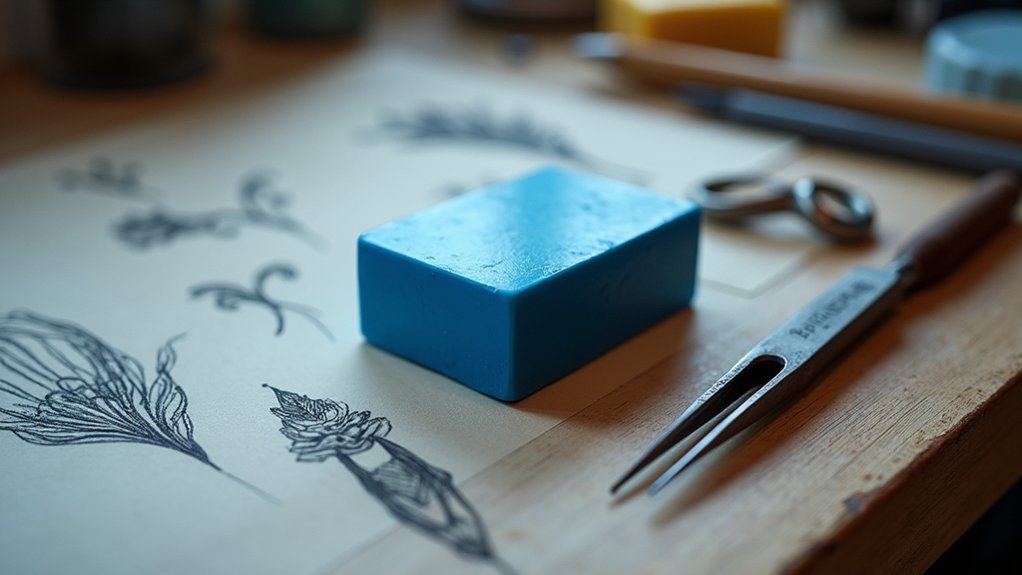
When you’re ready to begin wax jewelry casting, you’ll start by creating the initial wax pattern that serves as your master template.
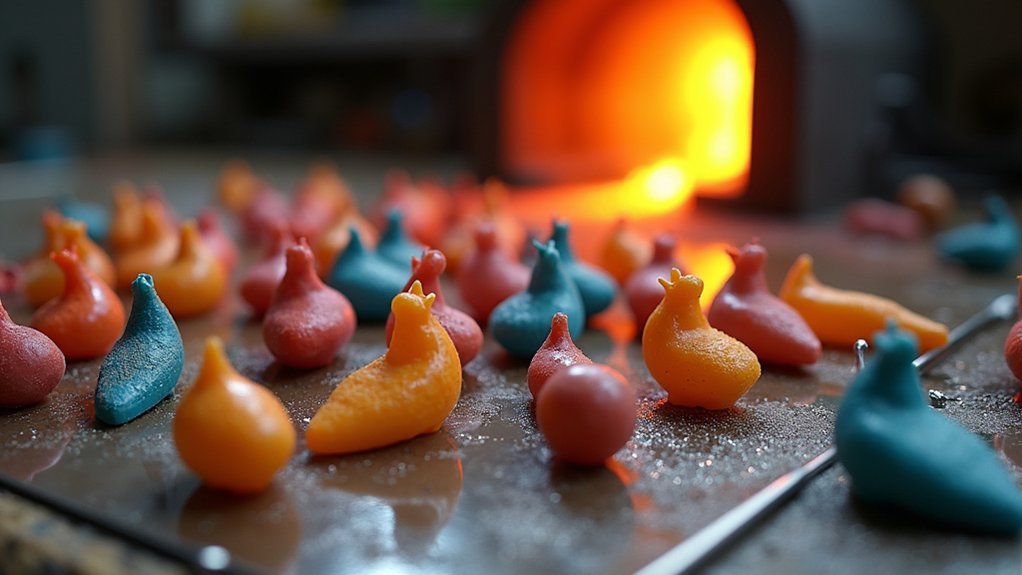
You’ll choose from different types of wax like green, purple, or turquoise based on your design’s hardness and flexibility requirements.
Using specialized tools such as files, scalpels, and carving implements, you’ll shape the jewellers’ wax into your desired form. These carving techniques allow jewelry makers to achieve intricate details that other materials can’t replicate.
Precision carving tools transform jewellers’ wax into intricate patterns that capture details impossible with other materials.
As you craft your wax pattern, you must account for metal shrinkage during casting to guarantee accurate final dimensions.
Once completed, this master pattern enables multiple copies for production runs while maintaining precise detail and craftsmanship standards.
Selecting the Right Type of Jewelers Wax
You’ll encounter different wax hardness levels that directly impact your carving precision and detail work.
Most jewelers’ waxes use a color-coding system where each hue indicates specific properties—green for sharp edges, purple for general use, and blue for flexible applications.
Understanding these color codes and hardness variations helps you match the right wax to your design’s complexity and finish requirements.
Wax Hardness Levels
Since different jewelry designs require varying levels of precision and detail work, selecting the appropriate wax hardness becomes essential for achieving professional results.
You’ll find that each hardness level serves specific purposes in your crafting process. Green wax’s exceptional hardness makes it perfect when you’re creating sharp edges and intricate carvings that demand precision.
Purple wax offers you the ideal balance between hardness and flexibility for general-purpose designs.
Blue wax provides greater flexibility, making it your go-to choice for rounded surfaces and simpler patterns.
Jewelry manufacturers often prefer turquoise wax for its superior surface finish, combining strength, toughness, and flexibility.
- Feel the satisfaction of crisp, clean edges with green wax’s uncompromising hardness
- Experience the confidence that comes from purple wax’s reliable versatility
- Enjoy the smooth workflow blue wax provides for curved designs
- Achieve professional-quality results with turquoise wax’s exceptional finish
Color-Coded Wax Types
The jewelry industry’s color-coded system transforms what could be confusing wax selection into a straightforward visual guide that’ll save you time and reduce costly mistakes.
Each color indicates specific hardness and flexibility characteristics that match different design requirements.
Green wax delivers maximum hardness, making it your go-to choice for intricate carvings and sharp edges in detailed designs.
Purple wax strikes the perfect balance between hardness and flexibility, serving as an excellent general-purpose option for various projects.
Blue wax offers reduced hardness with increased flexibility, making it ideal for rounded surfaces and simpler designs.
Turquoise wax provides exceptional surface finish combined with superior strength, toughness, and flexibility—perfect for producing high-quality, detailed pieces requiring professional results.
Essential Tools and Carving Techniques for Wax Preparation
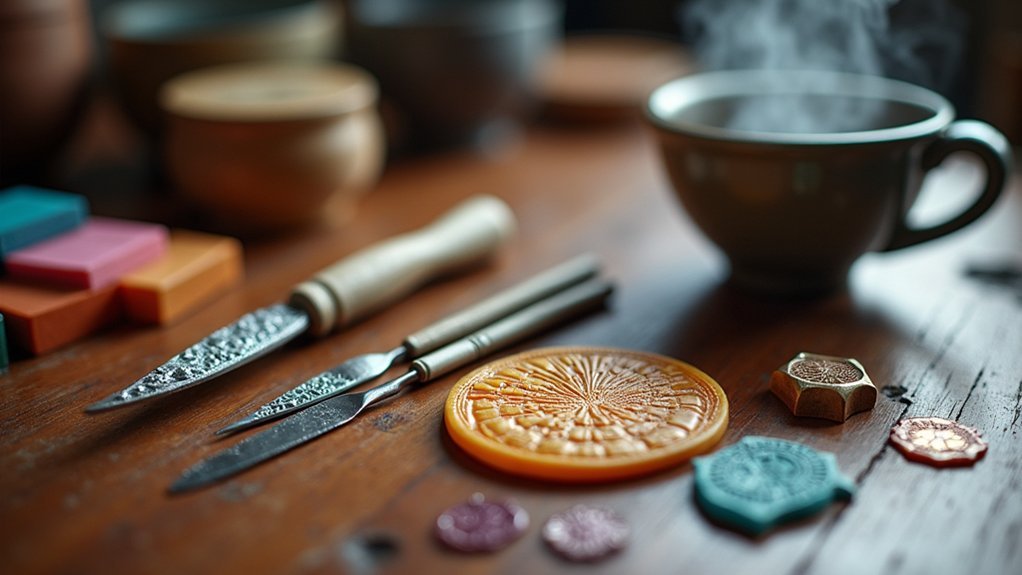
When preparing wax for jewelry casting, you’ll need specific tools that enable precise shaping and detailed work on your model. Essential tools include files, scalpels, and various sanding instruments that give you complete control over every detail.
These carving techniques transform a simple lump of wax into intricate designs that would be nearly impossible through traditional metalworking methods. Your wax model serves as the foundation for the entire casting process, so precision matters immensely.
Files help refine edges and surfaces, while scalpels allow for delicate cuts and detailed texturing. Different sanding tools create smooth finishes and perfect curves.
- Feel the satisfaction of watching rough wax transform into stunning jewelry
- Experience the meditative flow of careful, deliberate carving
- Discover the excitement of creating something truly one-of-a-kind
- Embrace the creative freedom that only wax carving provides
Attaching Sprues and Building the Wax Tree
You’ll need to master proper sprue attachment techniques to create effective channels for molten metal flow during casting.
Strategic placement guarantees even distribution while avoiding interference with your design’s essential details.
Building a well-structured wax tree allows you to cast multiple pieces simultaneously, maximizing efficiency and reducing production time.
Sprue Attachment Techniques
Since proper metal flow determines the success of your entire casting, attaching sprues correctly becomes one of the most critical steps in wax jewelry preparation.
You’ll attach sprues at the thickest sections of your wax patterns, ensuring molten metal flows evenly throughout each piece. Use the same wax material for consistency during burnout, maintaining uniform heating properties across your entire wax tree.
Position multiple patterns strategically on your central sprue to create an efficient tree structure. Consider diameter and length carefully – these factors directly impact flow rates and cooling patterns during the casting process.
- Feel confident knowing proper sprue placement prevents devastating air pockets
- Experience satisfaction watching molten metal flow smoothly without turbulence
- Avoid heartbreak from defective pieces caused by poor attachment techniques
- Achieve pride in creating flawlessly cast jewelry through precise preparation
Wax Tree Assembly
The foundation of successful jewelry casting lies in constructing a well-organized wax tree that connects your individual patterns through a network of carefully planned sprues. You’ll attach each wax pattern to a central sprue, creating a tree-like structure that maximizes efficiency during the casting process. Strategic placement prevents air pockets while ensuring molten metal flows smoothly into every design detail.
| Component | Function | Consideration | Result |
|---|---|---|---|
| Central Sprue | Main metal pathway | Adequate diameter | Even distribution |
| Secondary Sprues | Pattern connections | Proper angles | Complete filling |
| Sprue Length | Metal flow distance | Prevent early cooling | Uniform casting |
| Tree Structure | Multiple jewelry pieces | Weight balance | Efficient production |
Your sprue dimensions must support the metal’s weight while maintaining proper flow characteristics throughout the wax tree assembly.
Investment Plaster Application and Mold Formation
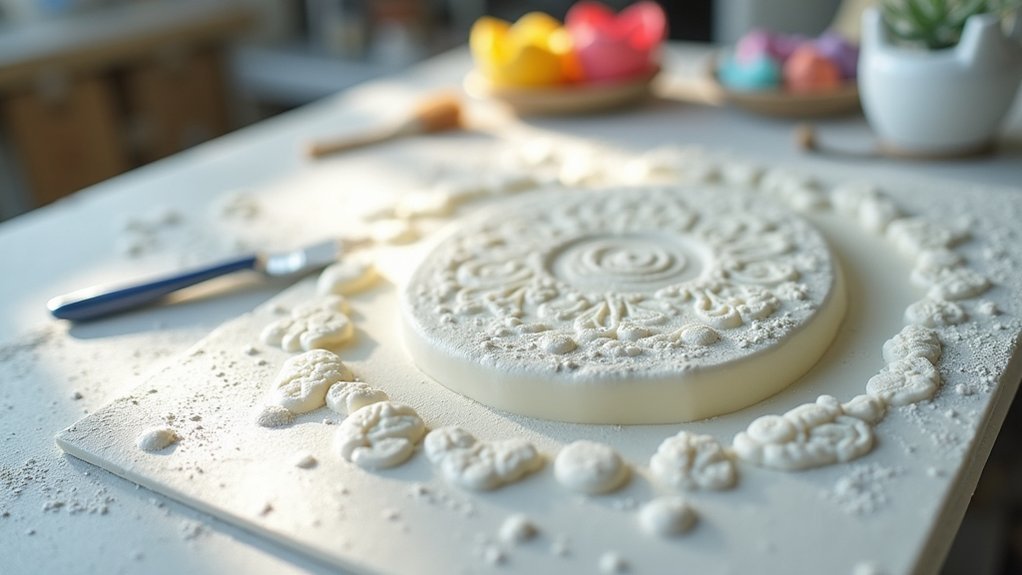
Once you’ve prepared your wax pattern with sprues, creating the investment mold becomes your next critical step. In investment casting, you’ll carefully place your wax pattern into a metal or plastic container before mixing the investment plaster according to manufacturer specifications.
Pour the plaster slurry slowly over your pattern, ensuring complete coverage while minimizing air bubbles that could ruin your final piece. Allow the mold to harden at room temperature for several hours.
The mold formation process continues when you transfer it to an oven for curing and wax burnout. This creates a precise cavity matching your original design.
- Feel the anticipation build as bubbles disappear
- Experience satisfaction watching perfect plaster coverage
- Sense excitement during the hardening transformation
- Imagine the joy of revealing flawless casting results
Calculating Metal Weight and Final Pre-Casting Checks
Before pouring molten metal into your investment mold, you’ll need to calculate the precise amount of metal required for your casting. Use a wax to metal conversion chart for calculating metal weight, remembering that wax is approximately 10 times lighter than silver and 16 times lighter than 18 carat gold.
Your final pre-casting checks are essential for success. Inspect your wax model thoroughly, ensuring it’s completely free from defects or imperfections that could compromise the final piece.
Verify the sprue system’s proper attachment to facilitate ideal metal flow. Confirm all intricate details remain intact and meet your design specifications.
Finally, check that your investment material and mold are completely moisture-free, as any remaining moisture can cause serious problems during the burnout phase.
Frequently Asked Questions
What Is the Process of Wax Pattern Casting?
You’ll create a wax model, assemble it into a tree, coat with plaster-silica mixture, heat to remove wax, pour molten metal into the cavity, then break away the mold.
How Does Wax Jewelry Casting Work?
You’ll create a wax pattern, encase it in plaster investment, heat the mold to remove wax, pour molten metal into the cavity, cool it, break away plaster, and finish your jewelry piece.
What Are the Three Steps in the Lost-Wax Casting Process?
You’ll create a wax model first, then encase it in investment material to form a mold, and finally heat the mold to remove the wax, leaving a cavity for metal pouring.
How Long Does Wax Casting Take?
You’ll spend 24-48 hours on wax casting preparation. Creating your wax pattern takes 1-3 hours, mold preparation needs 1-2 hours plus 12-24 hours curing, and wax burnout requires 2-6 hours.
In Summary
You’ve now mastered the essential steps of wax jewelry casting preparation. From designing your initial pattern to calculating metal weights, you’re ready to transform your wax model into precious metal. Remember that each stage builds upon the previous one, so don’t rush through any step. Your attention to detail during preparation will determine your casting’s success. Take your time, double-check your measurements, and you’ll achieve professional results.


Leave a Reply