You’ll achieve professional wax finishing by mastering three essential techniques. First, meticulously clean your wax models with lint-free cloths and inspect under magnification for defects like pits or cracks. Second, use 4-ought steel wool in circular motions to apply wax, then buff with the grain after waiting 10 minutes. Third, manage shrinkage by accounting for 1% metal contraction and 5-6% total dimensional loss. These systematic approaches will elevate your casting quality beyond amateur-level results and reveal advanced finishing secrets.
Surface Preparation and Inspection Methods for Wax Models
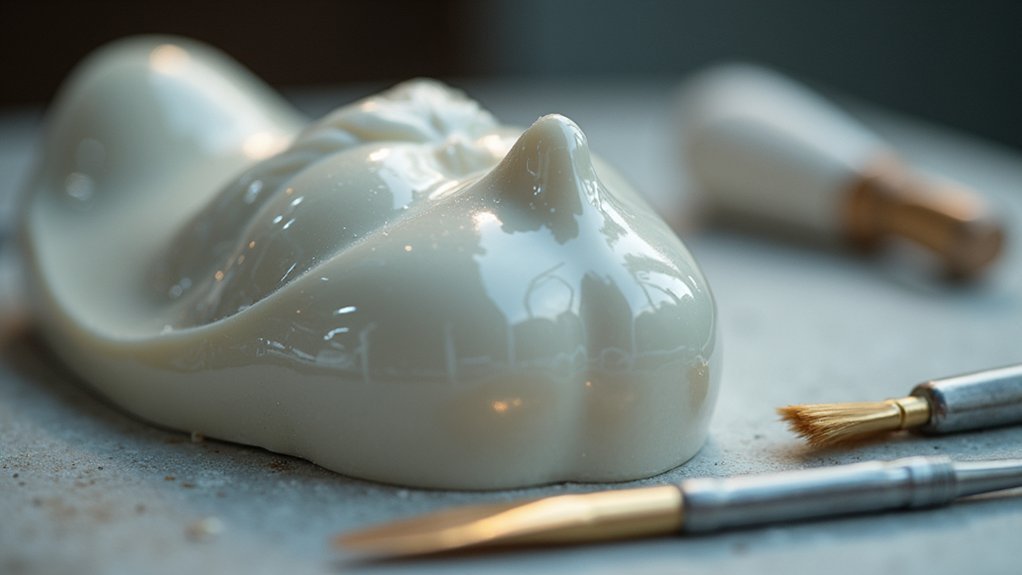
Begin your wax finishing process by thoroughly cleaning each model’s surface with a lint-free cloth, removing all dust, debris, and fingerprints that could compromise the casting material’s adhesion.
Use a soft cloth to avoid scratching delicate details while guaranteeing complete surface preparation.
Next, inspect your wax model under good lighting with magnification to identify defects like pits, cracks, air bubbles, and foreign particles.
These flaws will transfer directly to your final castings if left unaddressed.
Check wall thickness carefully—jewelry makers must maintain 1.5mm minimum for women’s rings and 2mm for men’s rings.
Insufficient thickness creates casting issues including porosity and structural weakness.
Address any inconsistencies before proceeding to investment, as proper preparation prevents costly mistakes and guarantees professional results.
Advanced Buffing and Polishing Techniques for Professional Results
Three essential tools form the foundation of professional wax finishing: 4-ought steel wool, lint-free buffing cloths, and quality carnauba or microcrystalline wax.
You’ll achieve superior results by mastering these advanced buffing techniques that separate professional finishers from amateurs.
Here’s your systematic approach for exceptional wax finishing:
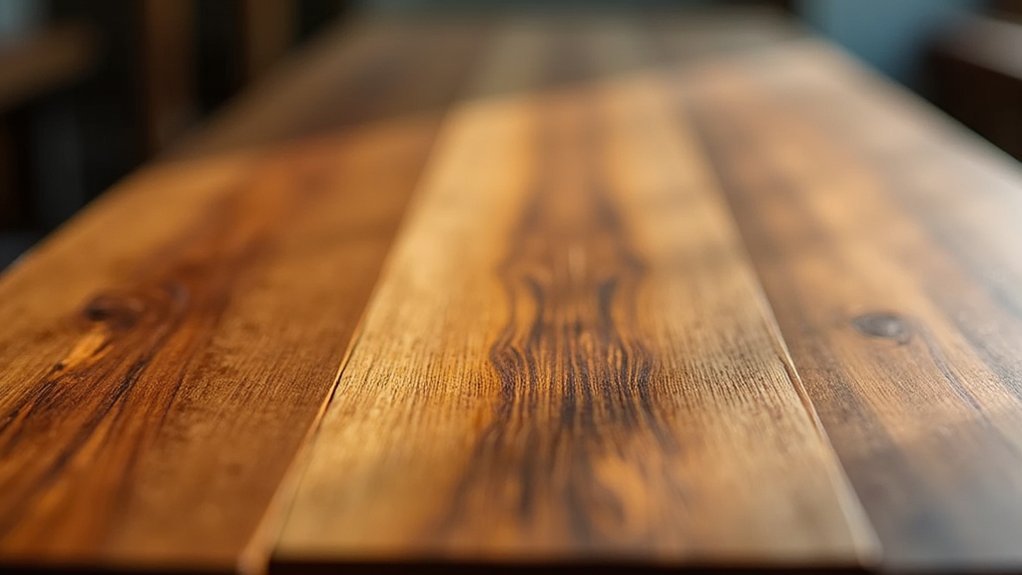
1. Application Phase: Use 4-ought steel wool with small circular motions to apply a thin even coat of wax.
The steel wool’s soft texture generates heat, helping Carnauba Wax penetrate wood pores effectively.
The steel wool’s gentle abrasive action creates friction heat that opens wood grain, allowing premium carnauba wax deeper penetration for lasting protection.
2. Initial Buffing: After 5 minutes, remove excess wax with circular buffing motions, then wait 10 minutes before buffing with the grain direction.
3. Final Polish: Allow 1-3 hours hardening time before vigorous final buffing to enhance sheen.
I highly recommend multiple thin coats over single thick applications for consistent, professional-grade finishes using this vegetable wax technique.
Quality Control and Shrinkage Management in Wax Pattern Finishing
While achieving a flawless surface finish sets the stage for excellence, your success ultimately depends on rigorous quality control and precise shrinkage calculations throughout the wax pattern process.
You’ll need to inspect defects systematically, examining each original wax under proper lighting with magnification to catch pits, cracks, and air bubbles. Use a soft bristle brush to gently clean surfaces during inspection.
Verify wall thickness meets minimum requirements—1.5mm for women’s rings, 2mm for men’s rings.
For shrinkage management, account for 1% metal contraction during solidification and 5-6% total shrinkage when creating multiple jewelry pieces from vulcanized molds.
I recommend making your master model larger to compensate for these dimensional losses, ensuring your final wax pattern delivers accurate results.
Frequently Asked Questions
How Do You Smooth Wax for Casting?
You’ll use 4-ought steel wool to create heat while applying thin wax coats in circular motions. Remove excess promptly, buff with the grain, then wait 1-3 hours before final vigorous buffing.
What Wax Is Best for Casting?
You’ll find microcrystalline wax works best for casting due to its exceptional durability and heat resistance. However, you can blend beeswax with harder waxes or use paste wax formulations for specific finishing requirements.
What Is the Lost Wax Casting Technique?
You’ll create a wax model, coat it with investment material, then heat the mold to melt out the wax, leaving a cavity you’ll fill with molten metal to cast your final object.
What Is the Wax Pattern in Casting?
You’ll create a wax pattern as your precise template for casting metal objects. You’re fundamentally making a detailed wax model that captures every design element you want in your final piece.
In Summary
You’ve mastered the essential techniques for professional wax finishing that’ll set your casting work apart. By implementing thorough surface preparation, advanced polishing methods, and rigorous quality control, you’re ensuring exceptional results every time. Don’t overlook the critical role of shrinkage management in maintaining dimensional accuracy. These three techniques form the foundation of superior wax pattern work that’ll consistently produce high-quality castings. Apply them systematically, and you’ll achieve professional-grade results.


Leave a Reply