You’ll master wax-metal casting through three precise steps. First, create your detailed wax model using microcrystalline wax, making it 0.5-1% larger to account for metal shrinkage while attaching strategic sprues for ideal flow. Second, prepare your investment mold with silica-based plaster, then execute the burnout process by gradually heating to 1,000°F over several hours. Finally, heat your metal above 2,000°F and pour quickly while maintaining vacuum suction. These foundational techniques will reveal advanced casting mastery.
Creating Your Wax Model With Precision and Detail

When you’re starting your wax-metal casting project, selecting the right wax material sets the foundation for success. Choose microcrystalline wax for ideal detail retention and workability throughout the lost-wax casting process.
Shape your model using carving knives, spatulas, and fingers to achieve precise contours and intricate features.
Account for shrinkage by making your wax model 0.5% to 1% larger than your desired final piece. This compensates for metal contraction during cooling.
Attach sprues strategically to areas that’ll allow molten metal to flow smoothly while providing air escape routes during casting.
Complete your model by smoothing surfaces and adding final textures. Remember, every detail you create will transfer to your investment mold and appear in the finished piece, so maintain precision throughout this critical phase.
Preparing the Investment Mold and Burnout Process
Transform your detailed wax model into a casting-ready investment mold by first securing it to your sprue system within the flask. This sprue system guarantees proper molten metal flow and air escape during casting.
Measure your investment material—typically silica-based plaster—and mix with water following manufacturer specifications. Pour this mixture into your flask, completely covering the wax model without causing displacement. Vacuum-mixed investment eliminates air bubbles for superior results.
| Step | Time | Temperature | Process |
|---|---|---|---|
| Investment Setup | 10-15 min | Room temp | Setting period |
| Initial Heating | 2 hours | 200-400°F | Gradual warm-up |
| Wax Melting | 3 hours | 600-800°F | Wax removal |
| Final Burnout | 2 hours | 1,000°F | Complete cleanout |
| Ready for Casting | Variable | 1,000°F | Mold preparation complete |
After setting, place your flask in a kiln for the burnout process. Gradually increase the kiln temperature to 1,000°F, melting out the wax completely.
Metal Pouring and Final Casting Techniques

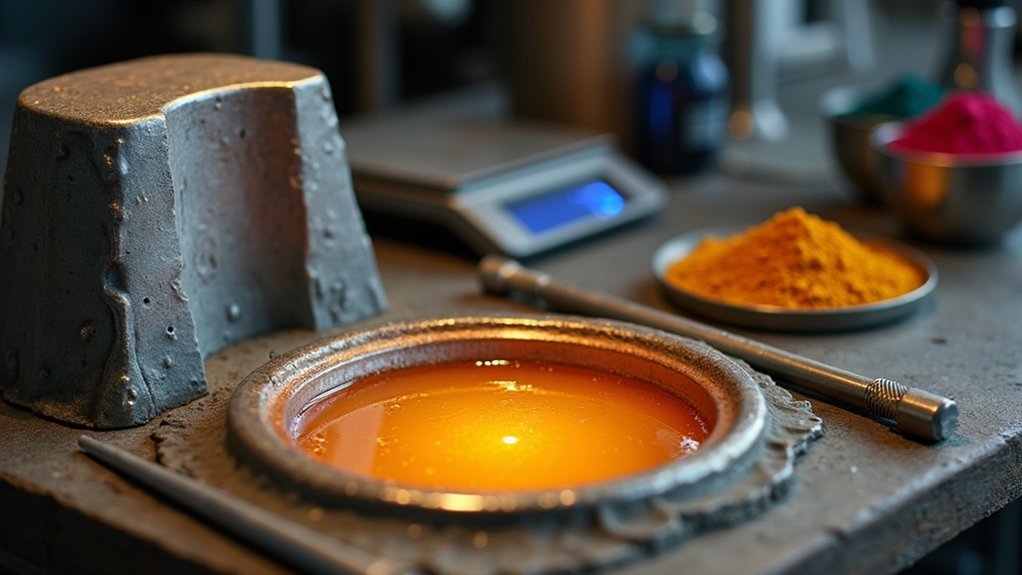
Heat your crucible and metal to a red-hot temperature above 2,000°F to maintain proper fluidity throughout the pouring process.
Add flux to your molten metal, stirring with a heated rod to remove impurities and prevent oxidation. This investment casting method requires precise timing and technique.
Position your investment flask securely on the casting table and activate the vacuum system to eliminate air pockets.
During metal pouring, work quickly while keeping your torch on the molten metal to guarantee smooth flow into all mold cavities. This lost-wax casting technique demands continuous heat application.
After pouring, let your casting cool for 2 to 5 minutes before water quenching.
Fully submerge the flask to remove the investment material effectively, revealing your finished bronze piece beneath.
Frequently Asked Questions
What Are the Six Steps of the Lost Wax Method of Casting?
You’ll create a wax model, encase it in refractory material, burn out the wax, pour molten metal into the mold, cool it, then remove investment material and finish your cast piece.
What Is the Process of Wax Pattern Casting?
You’ll create a detailed wax model, coat it with ceramic investment, heat to remove wax, preheat the mold, pour molten metal into the void, then break away investment for finishing.
How Precise Is Lost Wax Casting?
You’ll achieve remarkable precision with lost wax casting, reaching tolerances of ±0.5 mm. You can capture intricate details perfectly, though you’ll need to account for 1-2% metal shrinkage when sizing your wax models.
How to Cast Metal With Wax?
You’ll create a detailed wax model, coat it in refractory material, heat to melt out wax, then pour molten metal into the void. Cool and remove investment for your finished casting.
In Summary
You’ve now mastered the three critical phases that’ll make your lost-wax casting successful. Remember, precision in your wax model sets the foundation, proper investment preparation and burnout eliminate variables, and controlled metal pouring delivers professional results. Don’t rush any step—each one depends on the previous phase’s accuracy. Practice these techniques consistently, and you’ll achieve the clean, detailed castings that separate amateur work from professional-quality pieces.


Leave a Reply