Start with essential tools like round nose pliers, snipe nose pliers, and side cutters, plus 6mm or 8mm wire for flexibility. Set up your wire jig by inserting pegs according to templates and securing them with clear plastic washers. Cut 2-3 inch wire pieces for manageable handling, then create loops at ends using round nose pliers. Position wire over pegs for accurate shaping, trim excess material, and work harden finished pieces for durability and professional results that’ll elevate your jewelry-making skills considerably.
Essential Tools and Materials for Wire Jig Beginners
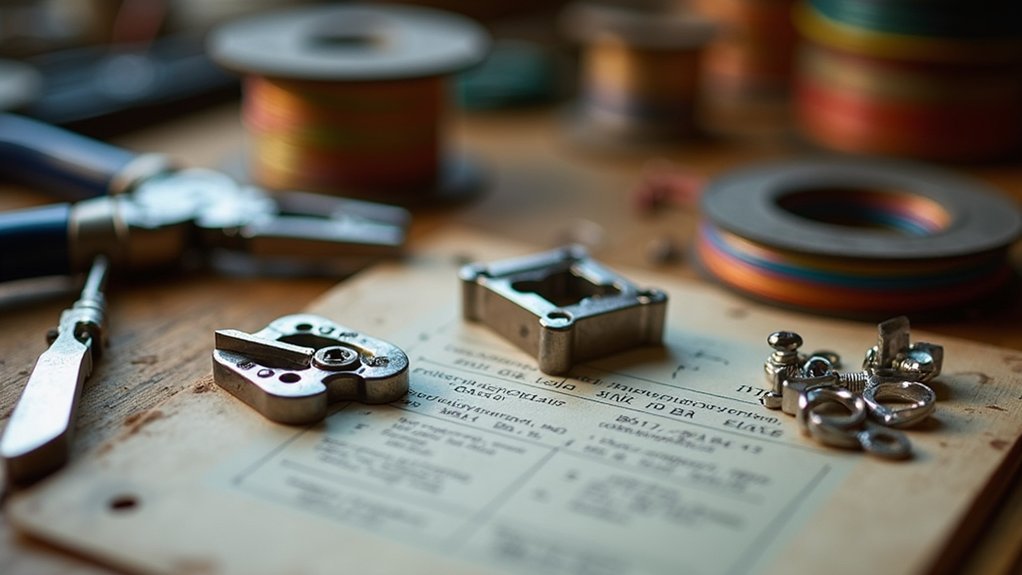
Success in wire jig work starts with assembling the right tools and materials. You’ll need a quality wire jig like the Thing-A-Ma Jig, which provides a metal board and pegs for securing your designs.
Quality tools make all the difference when starting your wire jig journey – invest in the right equipment for professional results.
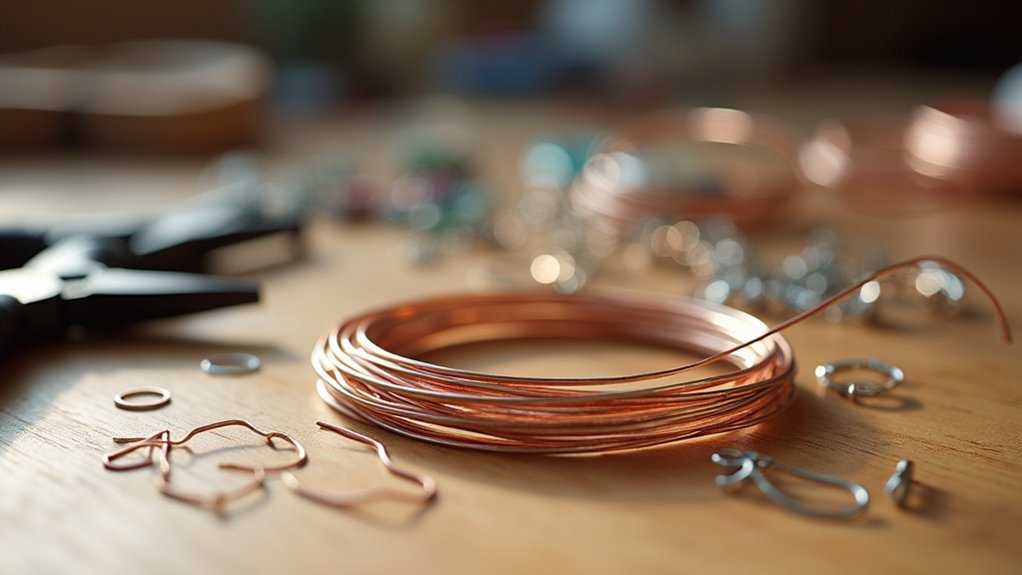
Essential tools include round nose pliers for creating perfect loops, snipe nose pliers for wire manipulation, and side cutters for trimming excess wire cleanly.
For beginners, 6mm wire or 8mm wire gauges work best, offering the ideal balance between flexibility and strength without breaking during shaping.
Your wire jig will include clear plastic washers that hold pegs securely in place, ensuring stability while you work.
Consider adding optional tools like a steel block and hammer for work hardening your finished pieces, giving them a professional appearance.
Setting Up Your Wire Jig for First Projects
Now that you’ve gathered your tools and materials, you’re ready to configure your wire jig for your first project.
Start by selecting a design from the provided templates to understand the setup process. Insert the pegs into your wire jig’s metal board according to your chosen design, securing them with clear plastic washers.
Cut a 2-3 inch piece of 0.6mm or 0.8mm wire for manageable handling. Use round nose pliers to create loops at the wire ends, then place the wire over the designated pegs to shape it.
After completing your design, trim excess wire with side cutters. Finally, work harden your creation using nylon jaw pliers for enhanced durability and professional finish.
Basic Wire Shaping Techniques Using Pegs
Mastery of peg-based shaping forms the foundation of all successful wire jig projects.
Start by selecting your design template and inserting pegs into the metal board slots, securing them with plastic washers. Cut your metal wire to 2-3 inches for manageable handling during basic wire shaping.
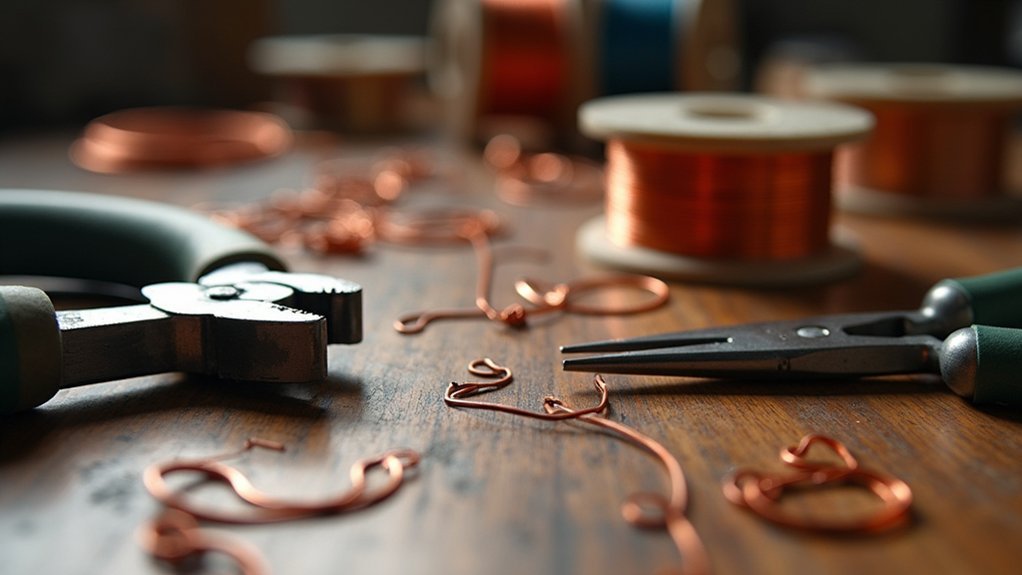
Use round nose pliers to create loops at wire ends, positioning them over designated pegs for consistent shapes. These fundamental shaping techniques guarantee your wire follows the template’s pattern accurately.
Once you’ve shaped your piece around the pegs, trim excess material with side cutters. Finally, refine your work using snipe nose pliers to adjust any imperfections and achieve a professional finish that showcases proper wire jig technique.
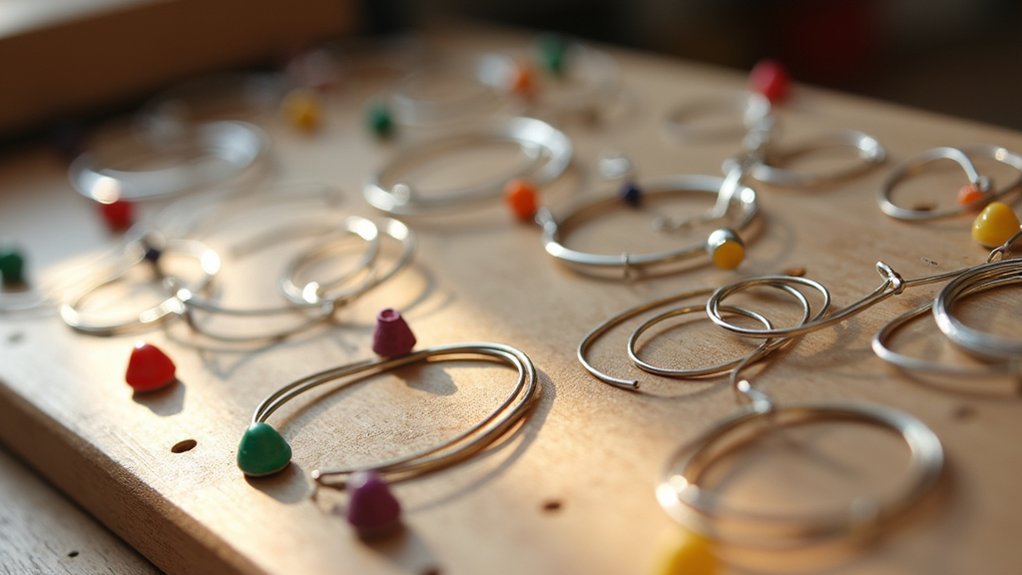
Creating Simple Loops and Links for Jewelry
Creating loops and links transforms raw wire into the essential building blocks of jewelry design. Start your process by cutting a 2-3 inch piece of wire, then use round nose pliers to form a loop at one end. Secure this to your wire jig’s design peg, positioning the wire strategically before wrapping it around to create your link. Maintain tension throughout for a secure connection.
After completing your loop, trim excess wire with side cutters, leaving adequate length for your intended design. Use snipe nose pliers to manipulate and refine the shape, ensuring uniformity across all pieces for a professional finish.
Finally, work harden your completed loops by gently tapping them on a steel block. This essential step with proper jewelry making tools enhances durability and shape retention.
Finishing and Hardening Your Wire Designs
Once you’ve shaped your wire loops and links, the finishing process determines whether your jewelry looks handcrafted or professionally made. Proper hardening transforms flexible wire into durable components that’ll maintain their shape over time.
The difference between amateur and professional jewelry lies in the finishing—proper hardening elevates flexible wire into enduring, shapely components.
Follow these essential steps for professional finishing:
- Trim and clean – Use side cutters to remove excess wire, creating clean edges before any hardening begins.
- Work harden strategically – Gently manipulate your wire designs with nylon jaw pliers to strengthen without surface damage, or place on a steel block for flattening and enhanced durability.
- Add final touches – Tap with a repousse hammer for texture and strength, then use snipe nose pliers to refine details and secure components.
This systematic approach guarantees your finished pieces maintain professional quality and lasting durability.
Frequently Asked Questions
How to Use a Wire Jig for Jewelry Making?
You’ll secure pegs into the metal board, cut wire 2-3 inches long, wrap it around pegs using round nose pliers to form loops, trim excess, then work harden with gentle hammer taps.
What Can You Make With a Wire Jig?
You can create earrings, necklaces, and bracelets using wire jigs. You’ll make loops, links, spirals, swirls, and geometric shapes while incorporating beads and embellishments for personalized jewelry designs.
How to Use an Aluminum Wire Shaping Jig?
You’ll secure your aluminum wire shaping jig on a stable surface, insert cut wire around the pegs, use pliers to form loops and bends, then work harden your finished design.
In Summary
You’ve now mastered the fundamentals of wire jig techniques that’ll serve as your foundation for countless jewelry projects. Remember to practice your peg placement and wire tension consistently—these skills improve with repetition. Don’t rush the finishing process, as proper hardening guarantees your pieces last. Start with simple designs and gradually challenge yourself with more complex patterns. Your wire jig will become an indispensable tool as you develop your unique style.


Leave a Reply