You’ll achieve professional wire jewelry finishes by following seven key techniques: remove excess solder with files, eliminate scratches using progressive grits, secure silicone polishing attachments to your flex shaft, create control grooves with needle files, progress from coarse to fine compounds, maintain consistent pressure and speed with a foot pedal, and focus on achieving mirror-bright results. Master these fundamentals and you’ll discover advanced methods that elevate your craftsmanship even further.
Remove Excess Solder for Clean Wire Joints
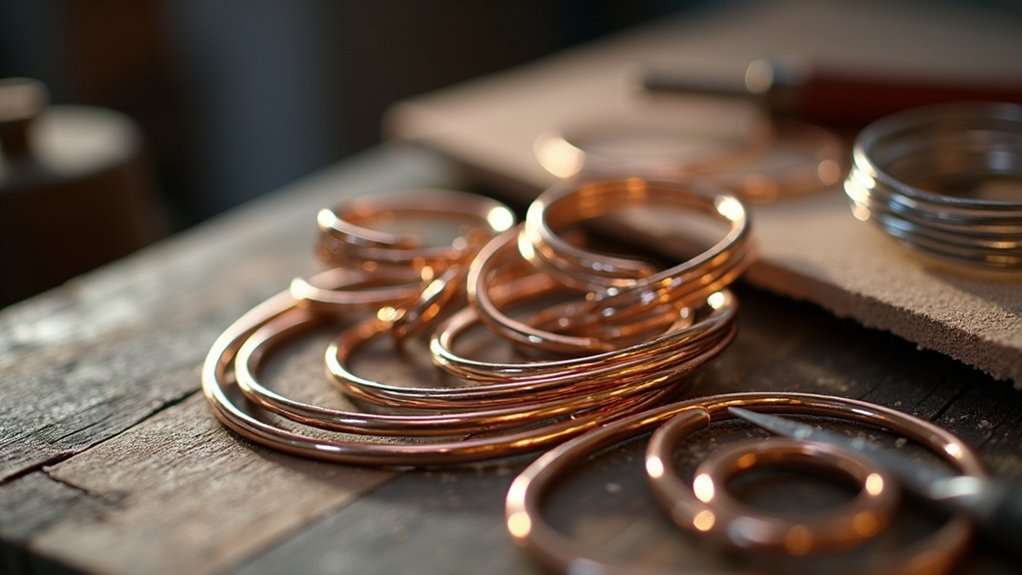
Achieving professional-looking wire joints starts with removing every trace of excess solder from your work.
You’ll want to carefully file away any visible solder buildup that creates unsightly bumps or irregularities along your wire connections. Use a round needle file to create controlled grooves around soldered areas, which helps guide your polishing process later.
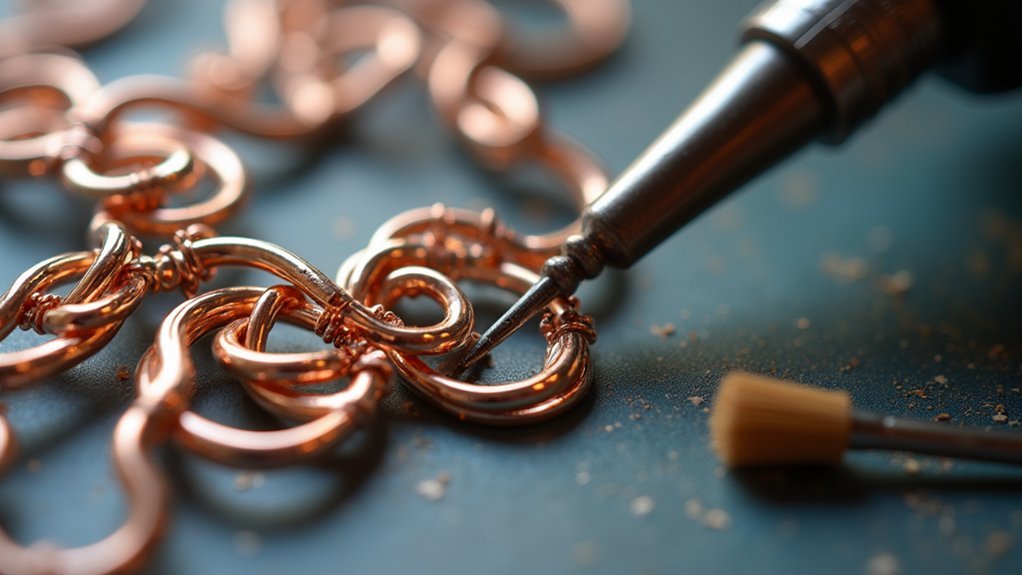
Once you’ve filed away the excess material, attach your silicone polishing kit to a flex shaft for stability.
Secure your silicone polishing kit to a flex shaft to ensure steady, controlled finishing of your wire connections.
Start with coarse attachments and work progressively toward finer ones. Make sure you secure your tools with a Chuck key to prevent slippage during operation.
This methodical approach eliminates file marks and transforms your wire joints into bright and shiny connections that showcase true craftsmanship.
Eliminate File Marks and Sanding Scratches
While file marks and sanding scratches are inevitable byproducts of the initial preparation work, you can completely eliminate them with the right polishing sequence.
Start with a round needle file to create grooves that’ll help shift between surfaces smoothly. This initial step sets you up for success with your silicone polishing kit.
Your silicone polishing attachments should range from coarse to fine – yeah yeah, I’ve got this systematic approach down to a science.
Begin with the coarsest attachment to remove deep scratches, then progressively work through finer grits. Make sure your flex shaft is securely set up with the Chuck key for stability.
Practice controlled movements within grooves to maximize effectiveness. This methodical progression transforms rough, marked surfaces into professionally polished wire designs.
Use Silicone Polishing Attachments With Flex Shaft
You’ll achieve professional-quality results by selecting the right silicone grit attachments for your wire finishing needs.
Secure your flex shaft setup properly by attaching the silicone polishing wheels to a stable mandrel before beginning work.
Create control grooves with a round needle file to guide your polishing process and maintain precision throughout the finishing stages.
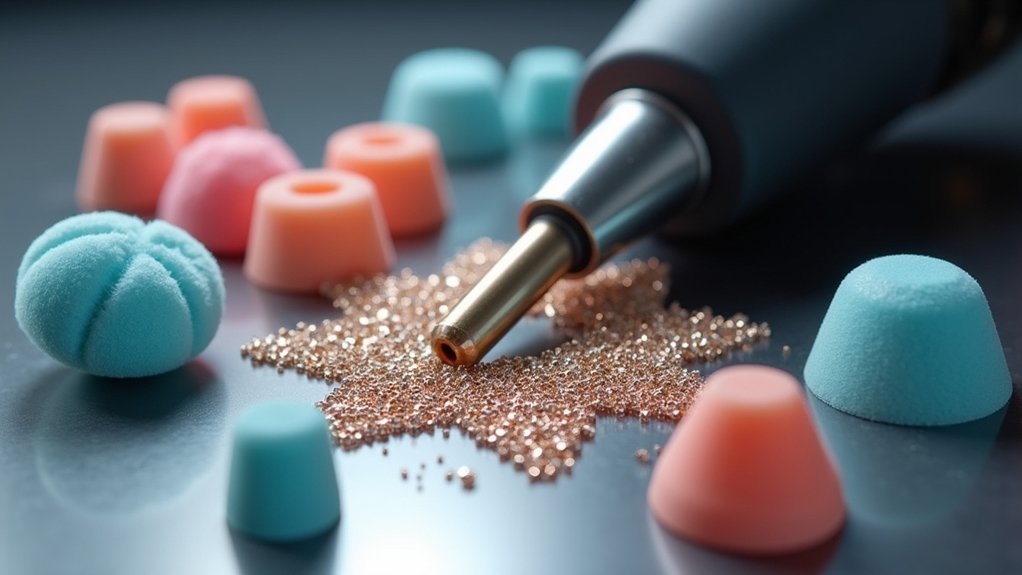
Choose Proper Silicone Grits
Four distinct silicone grit attachments form the foundation of professional wire polishing with your flex shaft tool. Each attachment serves a specific purpose in achieving your desired finish quality.
| Attachment Color | Grit Level | Primary Function |
|---|---|---|
| Black/Dark | Coarse | Remove major imperfections |
| Gray/Medium | Medium | Intermediate smoothing |
| White/Light | Fine | Final polish preparation |
You’ll start with the coarsest attachment to address scratches and surface irregularities on your wire designs. Progress systematically through medium grits to eliminate marks left by the previous attachment. Finish with the finest grit to achieve that bright, shiny surface your clients expect.
Always secure each attachment properly to your flex shaft’s spindle using the chuck key. This prevents dangerous slippage during polishing and guarantees consistent results throughout your workflow.
Secure Flex Shaft Setup
Three essential steps guarantee your flex shaft operates safely and effectively for wire polishing tasks.
First, insert the spindle into the chuck and tighten it securely with the chuck key. This prevents dangerous slippage during operation.
Next, select your silicone polishing attachment based on your project’s needs—start with coarser grits for initial smoothing, then progress to finer ones for final finishing. Practice screwing attachments onto the spindle until you can secure them properly without overtightening.
Use the bass pedal to control speed and maintain precise movement while polishing intricate wire areas.
Throughout your work session, regularly check that both the chuck and attachments remain tight. Loose components can cause vibration, poor results, and potential safety hazards during your polishing process.
Create Control Grooves
Control grooves serve as your roadmap for achieving perfectly polished wire designs.
You’ll start by using a round needle file to establish these grooves on your wire, which will guide your polishing process and maintain precision throughout. These initial grooves act as channels that keep your silicone attachments positioned correctly during operation.
Once you’ve created your control grooves, attach silicone polishing attachments to your mandrel or spindle.
Secure them firmly in the flex shaft using your Chuck key to guarantee stability during operation. Use your bass pedal to control speed and movement, giving you greater control while working within the grooves.
Progress from coarse to fine silicone attachments to eliminate excess solder and achieve that bright, professional finish you’re aiming for.
Create Control Grooves With Needle Files
One effective technique for achieving professional-quality wire polishing involves creating precise control grooves with needle files before you begin the actual polishing process.
Start by using a round needle file to create a groove directly on your wire’s surface where you’ll polish. This groove acts as your guide, preventing silicone attachments from slipping and maintaining accuracy throughout the polishing process.
Creating precise control grooves with needle files prevents tool slipping and ensures accurate, professional-quality wire polishing results.
You’ll need to carefully control both depth and width to match your desired polishing area. When you begin polishing, stay within the groove boundaries to achieve that uniform, refined appearance you’re after.
- Practice groove creation regularly to develop better control and achieve consistent professional results
- Match groove dimensions to your specific polishing requirements for ideal precision
- Use the groove as a boundary to prevent tools from wandering during the polishing process
Progress From Coarse to Fine Polishing Compounds
After establishing control grooves with needle files, you’ll move through a systematic color-coded silicone system that takes your wire designs from rough to refined.
Start with the coarse silicone attachment to eliminate major scratches and imperfections, then progress through medium and fine grits in sequential order.
This methodical approach guarantees you don’t skip steps that could compromise your final polish quality.
Color-Coded Silicone System
When you’re ready to achieve a professional-grade finish on your wire designs, the color-coded silicone polishing system provides the most systematic approach to surface refinement. Each color corresponds to a specific grit level, creating a logical progression from coarse to fine polishing stages.
You’ll start with coarser attachments to remove larger imperfections, then gradually move to finer ones for that coveted high-gloss shine.
Before polishing, create grooves in your wire design using a round needle file. This technique guarantees your silicone attachments can effectively reach intricate areas for controlled, thorough polishing.
- Start coarse, finish fine – Always begin with the coarsest attachment to avoid scratches
- Follow the color sequence – Each color represents a specific grit progression
- Enhanced client satisfaction – Proper technique dramatically improves your finished product’s appeal
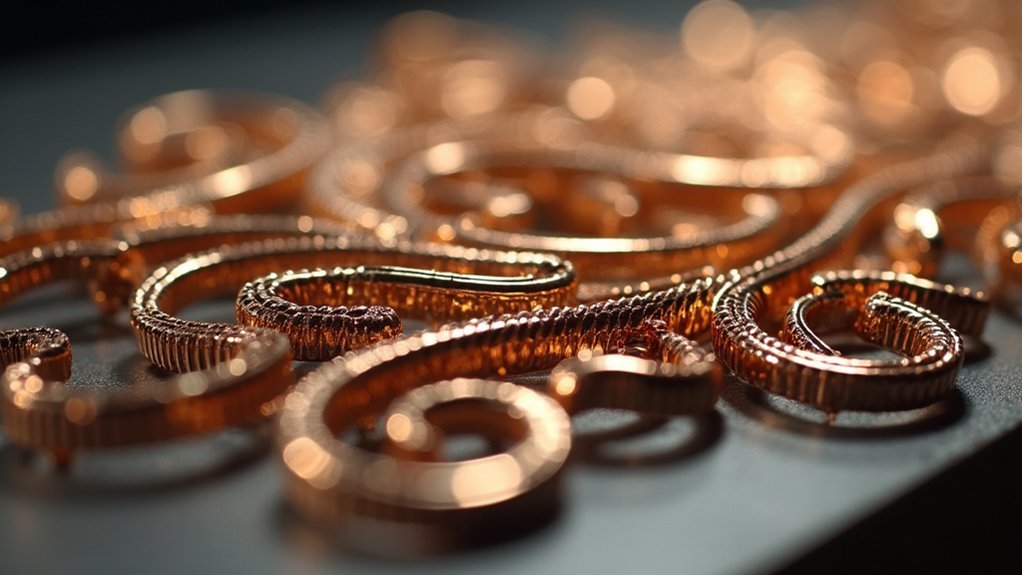
Sequential Grit Progression
Since each grit level serves a specific purpose in your polishing journey, you’ll want to master the sequential progression that transforms rough wire into gleaming artwork.
Start with the coarsest silicone attachment to remove rough edges and major imperfections from your metal surface. Next, move to medium grit attachments that’ll eliminate scratches left by the coarse stage while smoothing the overall texture.
Progress to fine grit silicone attachments to refine the surface further, creating that smooth foundation you need. Finally, switch to the finest silicone attachment for your ultimate finish—this creates the bright, shiny appearance that enhances your wire design’s visual appeal.
Remember to consistently clean your work between each grit stage, preventing debris transfer that could compromise your flawless finish.
Maintain Consistent Pressure and Speed
Master the art of consistent pressure and speed to transform your wire polishing results from mediocre to exceptional.
Maintaining steady pressure guarantees an even finish across your entire design while preventing uneven wear that can compromise your wire’s integrity.
Control your flex shaft’s speed using the bass pedal for precise adjustments that promote uniform polishing throughout the process.
A steady speed reduces overheating risks that can damage or distort your wire.
Practice with different pressure levels to find the best balance for achieving that bright, shiny finish you’re after.
- Check your progress regularly to maintain consistency in both pressure and speed
- Use the bass pedal for precise speed control during detailed work
- Practice pressure variations to discover your ideal polishing technique
Achieve Professional Bright Finish Results
Although proper pressure and speed create the foundation, achieving that coveted professional bright finish requires meticulous attention to surface preparation and tool selection.
You’ll need to remove all excess solder and eliminate file or sanding marks before polishing begins. A silicone polishing kit with coarse to fine attachments will greatly enhance your wire design’s shine and smoothness.
Use a round needle file to create precise grooves, enabling more controlled polishing and refined results. Properly attach your tools to the flex shaft and secure the spindle with a Chuck key for stability.
Practice your technique consistently, utilizing the bass pedal for controlled movement. This methodical approach guarantees you’ll deliver superior bright finishes that meet client satisfaction every time.
Frequently Asked Questions
How Do You Clean Craft Wire?
You’ll clean craft wire by mixing mild soap with warm water, gently scrubbing with a soft cloth, then rinsing thoroughly. For stubborn grime, you can use rubbing alcohol or specialized jewelry cleaner instead.
How to Polish Stainless Steel Wire?
You’ll start by creating grooves with a round needle file, then use silicone polishing attachments from coarse to fine on a flex shaft, maintaining steady pressure to eliminate marks.
How Do You Polish Silver Wire?
You’ll start with a coarse silicone polishing attachment on your flex shaft, then progress to finer grits. Control speed with the bass pedal and check frequently for marks until you’ve achieved a bright, shiny finish.
How Do You Smooth Wire?
You’ll start by using a round needle file to create controlled grooves along the wire’s surface. Then use a silicone polishing kit with coarse-to-fine attachments on your flex shaft for progressively smoother results.
In Summary
You’ve now mastered the essential techniques for achieving professional-quality polished wire designs. By removing excess solder, eliminating scratches, using proper attachments, creating control grooves, progressing through compounds systematically, maintaining consistent technique, and focusing on that bright finish, you’ll transform rough wire work into stunning jewelry pieces. Practice these seven methods consistently, and you’ll see dramatic improvements in your wire design quality. Your polished creations will showcase true craftsmanship that stands out beautifully.


Leave a Reply