You’ve got your granules perfectly placed on your Argentium silver, but here’s where most jewelers fail—they can’t control their torch with the precision this technique demands. Your flame becomes either a destructive force that melts everything in sight or a weak whisper that won’t fuse properly. The difference between stunning granulation and a molten mess comes down to mastering three critical torch variables that professionals guard closely.
Selecting the Right Torch for Argentium Granulation Work
When working with Argentium silver granulation, you’ll need a torch that delivers precise flame control and clean combustion. The Meco Midget torch stands out as the top choice for this delicate technique, offering exceptional control for intricate granulation work.
The Meco Midget torch provides unmatched precision and control essential for successful Argentium silver granulation techniques.
For ideal results, choose an oxygen and propane setup over acetylene or natural gas options. This combination provides cleaner burning and better temperature management.
When lighting your torch, avoid screw-on tips and instead light at the threads to create a larger flame that distributes heat more evenly across your work surface.
Consider using the right low-pressure, soft flame adjustment to prevent overheating your base sheet.
Alternatively, a Smith acetylene/air torch offers gentler heating for even more precise temperature control during granulation.
Understanding Flame Anatomy and Heat Zones
Once you’ve selected your torch, mastering its flame structure becomes your next priority for successful granulation.
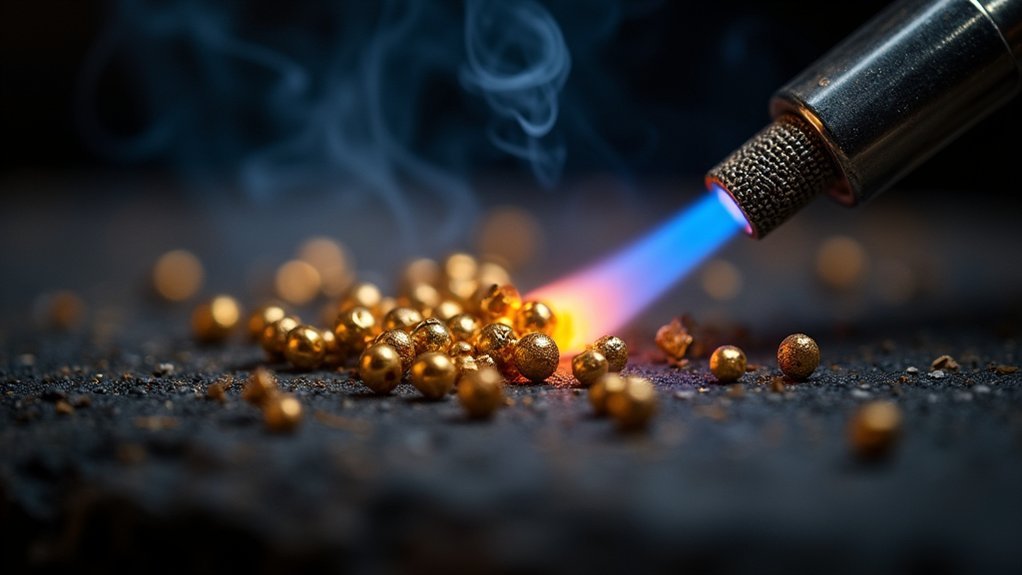
Understanding flame anatomy reveals three distinct heat zones that’ll transform your technique. The inner cone’s light blue center delivers maximum temperature, perfect for initiating granule melting and achieving that vital “wet look” with flux.
Surrounding this, the outer cone displays multiple blue shades and adjusts for different project sizes—larger pieces need broader flames for even heating.
Between these zones lies the neutral zone, your sweet spot for soldering without excessive oxidation or metal distortion.
You’ll need to manipulate flame size and position relative to your workpiece, ensuring proper solder flow while preventing overheating that can ruin delicate granulation work.
Adjusting Flame Size Based on Metal Surface Area
Because metal surface area directly impacts heat distribution, you’ll need to adjust your flame size accordingly to achieve consistent granulation results.
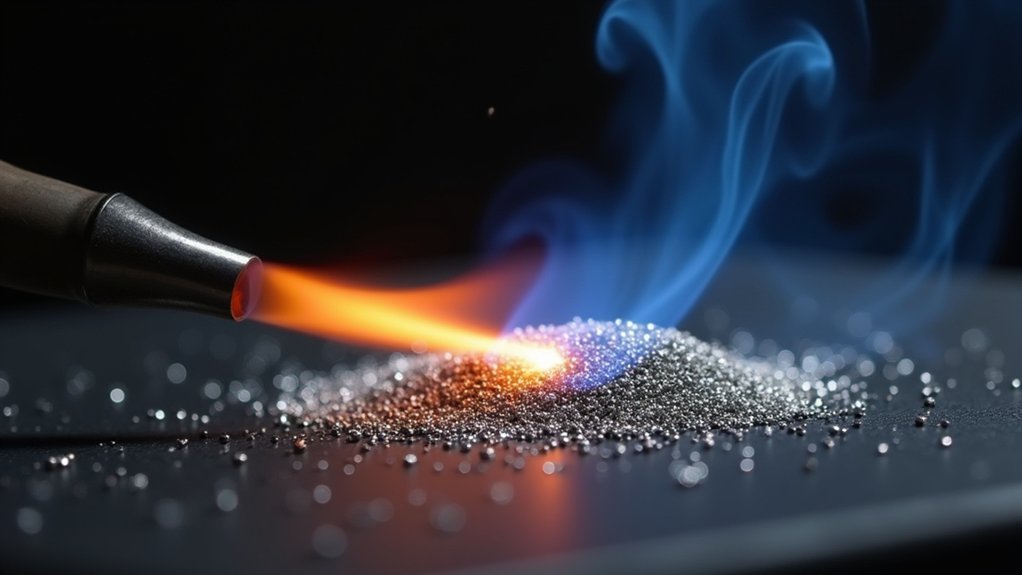
For larger metal surfaces, use a bigger flame to guarantee quicker, more even heating across the entire area. This promotes effective granulation without creating hot spots.
When working with smaller pieces, switch to a smaller flame for precise control and prevent overheating that could cause distortion or melting.
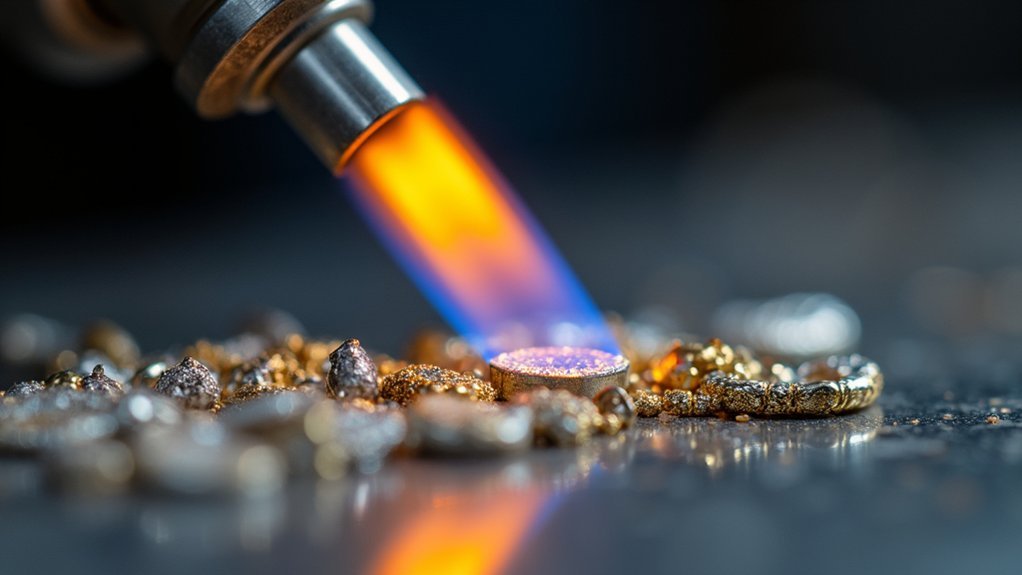
Direct your flame primarily at the metal’s hottest part to optimize solder flow and minimize firescale risk.
Watch for the metal’s change from frosted to wet appearance—this signals the correct temperature for successful granulation without damage.
Regular practice adjusting flame size relative to different surface areas will enhance your skill and improve fusing consistency.
Proper Torch Distance and Positioning Techniques
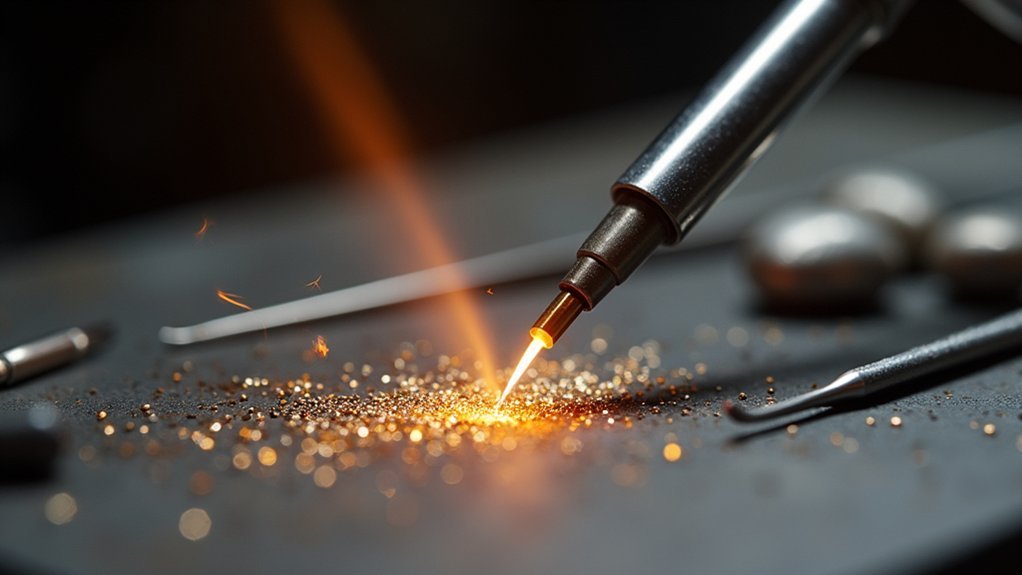
Three critical elements determine successful torch control: distance, angle, and movement.
You’ll want to maintain your torch distance at 2-3 inches from the work surface to guarantee even heat distribution without overheating the granules or base sheet.
Position your flame at a 45-degree angle to the workpiece—this gives you better control and prevents direct contact that causes distortion.
Adjust flame size according to your metal’s thickness. Thinner sheets need smaller, softer flames for precision, while thicker pieces require larger flames for adequate heating.
Keep your torch moving in circular motions to avoid concentrating heat in one spot, which creates uneven fusing or firescale.
When using soldering techniques for granulation, watch for the metal’s surface shift from frosted to wet and shiny—that’s your perfect temperature indicator.
Managing Heat Application Speed and Timing
You’ll need to apply heat gradually when granulating, allowing your flux to slowly shift from dry white powder to that vital wet appearance.
Watch your flux closely as it changes – this visual cue tells you exactly when the granules are ready to fuse.
The moment you see that shiny, wet surface, move your flame away immediately to prevent overheating your base metal.
Gradual Heat Buildup Technique
When working with jewelry granulation, controlling your heat application speed determines whether your granules fuse perfectly or your piece becomes a molten disaster.
The good thing about gradual heat buildup is that it gives you complete control over the process, especially when working with sterling silver.
Apply heat gradually and watch for these critical visual alterations:
- Flux transformation – The flux changes from dry powder to wet appearance
- Droplet formation – Flux begins liquefying into small droplets before flame removal
- Surface evolution – Metal shifts from frosted to glossy, wet look
- Temperature distribution – Even heating from underneath guarantees consistent results
Adjust your flame size based on material thickness.
Thinner sheets need softer flames for better control, while you’ll monitor the flux to dry completely before beginning the heating process.
Recognizing Flux Visual Cues
As flux changes through distinct visual stages, it becomes your most reliable indicator for proper granulation timing.
Initially, you’ll see a dry white powder coating your pieces of metal. Don’t rush the process—apply heat gradually while watching the flux transform. The powder will begin liquefying into small droplets as the metal becomes hot enough for fusing.
You’re aiming for that critical “wet look” where the flux appears glossy rather than frosted. This visual change signals the metal has reached ideal temperature for granulation.
Make sure you remove the flame immediately once you achieve this wet appearance. Overheating will distort your base sheet and ruin the granulation. The flux’s transformation from dry powder to wet, glossy surface provides precise temperature control.
Immediate Flame Withdrawal Timing
Once the flux achieves that critical wet appearance, your reflexes must kick in immediately to pull the flame away from your work. This timing isn’t negotiable—you’ve got seconds to prevent overheating that’ll distort or melt your base sheet.
I’m going to emphasize that watching the flux change from dry white powder to liquid state gives you the visual roadmap for perfect withdrawal timing.
Here’s your timing checklist:
- Watch for the “wet look” – flux becomes glassy and liquid
- Move flame away instantly – no hesitation allowed
- Avoid late withdrawal – prevents firescale formation
- Practice the motion – build muscle memory for quick response
I’d love to stress that mastering this split-second timing dramatically improves your granulation success rate and prevents costly mistakes.
Recognizing Flux Behavior as Temperature Indicators

You’ll notice your flux transforms from a dry white powder into a liquid as your metal reaches the right temperature for granulation.
Watch for that telltale “wet look” on the surface—it’s your signal that the metal’s properly heated and ready for fusing.
This visual cue eliminates guesswork and helps you maintain precise control over your heating process.
Flux Visual Heat Cues
The flux becomes your visual thermometer during granulation, transforming from a dry white powder into liquid droplets that signal ideal fusing temperature.
When I’m going through the heating process, I’ve used these visual changes to determine the perfect moment for granulation success.
Watch for these critical flux indicators:
- Dry white powder appearance – Initial heating stage before flux activation
- “Wet look” development – Flux reaches proper temperature and readiness
- Liquid droplet formation – Critical cue you’re approaching best fusing temperature
- Frosted to shiny surface shift – Metal preparation complete for granule attachment
If your flux becomes thick or gunky, dilute it 50/50 with water to maintain effectiveness.
These visual transformations guide your torch control, ensuring you achieve the precise temperature needed for successful granulation without overheating.
Wet Look Temperature
Building on these visual cues, recognizing the exact moment flux achieves its “wet look” becomes your most reliable temperature gauge during granulation.
You’ll first see the flux as dry white powder when you apply heat. As temperature increases, watch for the critical shift from this frosted appearance to a shiny, wet surface. This wet look signals your metal has reached ideal granulation temperature without overheating.
This visual transformation tells you the granules are ready to fuse properly. The moment you achieve that characteristic shiny, liquid appearance, you’ll know it’s time to move your flame away.
Missing this cue risks distortion or melting your base sheet. Master this flux behavior observation, and you’ll gain precise control over your granulation process, consistently producing superior fusing results.
Preventing Overheating During the Fusing Process
When working with jewelry granulation, preventing overheating becomes critical since excessive heat can distort your base metal or completely melt your carefully placed granules.
You’ll need precise temperature control to achieve successful fusing without damaging your work.
Use these essential techniques to prevent overheating:
- Choose the right torch – A Meco Midget or Smith acetylene/air torch provides better control with low-pressure, soft flames.
- Watch your flux carefully – It’ll shift from dry white powder to a wet appearance when you’ve reached proper temperature.
- Move flame away immediately – Remove heat once you see the “wet look” to prevent distortion.
- Heat from underneath – This provides more even distribution for larger pieces and reduces overheating risk.
Using Compressed Charcoal Blocks for Enhanced Control
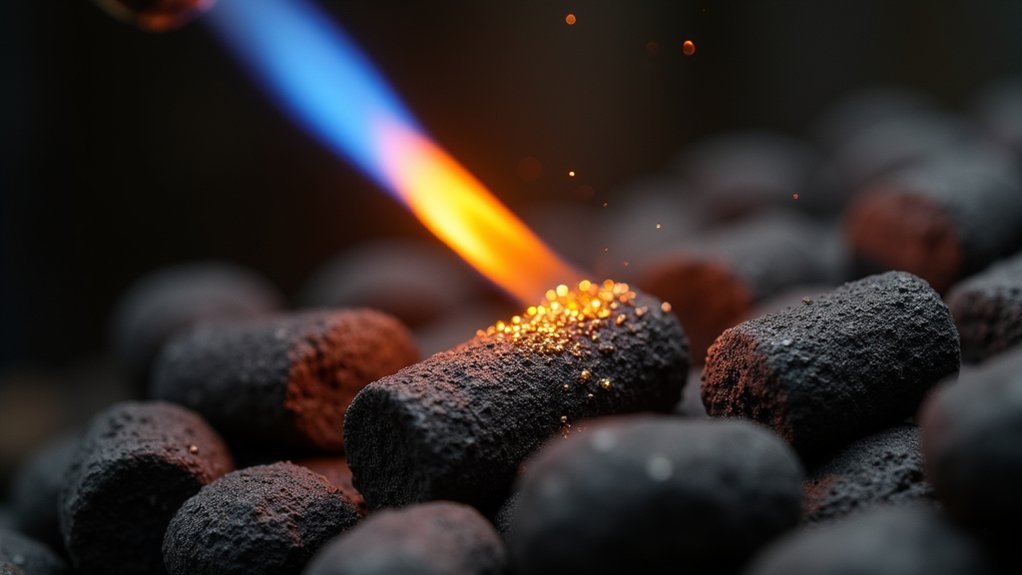
Although precise torch control remains your primary defense against overheating, compressed charcoal blocks offer an additional layer of temperature management that can make the difference between successful granulation and melted disaster.
Compressed charcoal blocks provide crucial temperature management, creating the difference between successful granulation and complete melted disaster.
You’ll find these blocks absorb and distribute heat more evenly around your metal, creating consistent temperatures that prevent hot spots from forming.
The porous structure enhances airflow beneath your work, improving flame efficiency while reducing oxidation risks.
Position your granulated piece directly on the charcoal surface for maximum stability during heating.
Watch for that telltale “wet look” when your flux becomes active – the charcoal’s heat retention helps maintain this critical fusing temperature longer.
You’ll have better control over the entire process, giving you more time to achieve perfect granule attachment without the anxiety of sudden temperature spikes.
Heat Application Methods for Different Piece Sizes
Your piece size fundamentally determines how you’ll apply heat during granulation, with larger works demanding a completely different approach than delicate, smaller projects.
For larger pieces, you’ll need to apply heat from underneath to guarantee even heating and prevent metal distortion. Use a larger flame to cover more surface area for quicker heating.
Smaller pieces offer better control and precise flux monitoring. You can easily observe the critical change from dry powder to wet appearance that signals proper temperature.
Key heat application principles by size:
- Large pieces: Heat from underneath with bigger flames
- Small pieces: Use controlled, smaller flames from above
- Thin sheets: Apply low-pressure, soft flames only
- All sizes: Watch for frosted-to-wet flux change before removing heat
Monitoring Metal Surface Changes During Heating
Since proper granulation depends entirely on recognizing subtle visual cues, you’ll need to develop a keen eye for monitoring metal surface changes as heat builds.
Watch for the critical shift from a frosted appearance to a wet, shiny look—this indicates your flux is properly activated and the metal’s approaching correct fusing temperature. The “wet look” in the flux signals granules are ready for fusing and helps prevent overheating.
Apply heat slowly and evenly, allowing time for this shift while ensuring granules and base sheet heat uniformly without distortion.
Stay vigilant for surface texture or color changes, as overheating causes melting or distortion.
Using compressed charcoal blocks enhances heat absorption and helps maintain consistent monitoring throughout the fusing process.
Quick Movement Techniques to Minimize Oxidation
When oxidation threatens to compromise your granulation work, mastering quick torch movements becomes essential for maintaining clean metal surfaces. Your torch technique directly impacts oxidation formation, so developing swift, controlled movements prevents prolonged heat exposure that creates firescale.
Keep these movement principles in mind:
- Move continuously – Never let your flame linger in one spot for extended periods.
- Use deliberate motions – Plan each movement to achieve maximum heating efficiency.
- Watch flux changes – When flux turns glossy, immediately move the flame away.
- Practice rhythm – Develop consistent timing between heating and moving.
Adjust your flame size strategically—larger flames heat quickly, reducing oxygen exposure time, while smaller flames offer precision control.
Use low-pressure, soft flames for better maneuverability and temperature control throughout the granulation process.
Flame Control for Different Metal Thicknesses
Metal thickness determines everything about your flame control strategy during granulation work. For thicker sheets around 26 gauge, you’ll need a larger flame to guarantee even heating across the surface while maintaining control to prevent overheating.
When working with thinner metals, switch to a smaller flame for precision, allowing you to focus heat on specific areas without risking distortion.
Gradually increase your flame size when shifting from thicker base sheets to smaller granules to accommodate differences in heat absorption and dissipation.
Apply heat slowly to observe flux behavior—thicker metals require more patience to avoid overheating while confirming proper granule melting.
Monitor the metal surface’s color change closely, moving your flame away immediately upon achieving that desired “wet look” for successful fusing.
Adjusting Torch Settings for Optimal Results
Although flame control forms the foundation of granulation work, your torch settings determine whether you’ll achieve clean, professional results or struggle with burnt granules and distorted metal.
Mastering torch settings separates amateur granulation from professional metalwork—precision flame control prevents disaster and creates perfection.
Start with a low-pressure, soft flame that gives you maximum control without distorting delicate elements.
Optimize your torch setup with these key adjustments:
- Light at the threads instead of using screw-on tips to create a larger, more manageable flame
- Match flame size to your workpiece – larger pieces need broader flames for quick heating, smaller pieces require focused flames
- Position the inner cone strategically as it’s the hottest part, perfect for fusing granules
- Heat from underneath when working with larger pieces for better heat distribution
Watch for the “wet look” with flux, then immediately move your flame away to prevent overheating.
Troubleshooting Common Torch Control Issues
Even experienced jewelers encounter torch control problems that can derail an otherwise perfect granulation project.
If you’re overheating your metal, check that you’re using a low-pressure, soft flame rather than an aggressive one. When your flame feels unmanageable, confirm you’re lighting at the threads instead of using screw-on tips for better control.
Match your flame size to your work—oversized flames on small pieces cause rapid overheating, while undersized flames won’t adequately heat larger surfaces.
Watch your flux carefully; if it’s burning off too quickly before shifting from dry powder to wet appearance, reduce your flame intensity.
Switch to compressed charcoal blocks if you’re struggling with heat control, as they’ll absorb excess heat and prevent overheating.
Frequently Asked Questions
What Is the Granulation Technique of Jewelry?
You’ll fuse tiny metal beads called granules onto a base metal surface without solder to create decorative patterns. This technique requires precise heat control and clean surfaces for successful adhesion and intricate jewelry designs.
What Kind of Torch Is Best for Jewelry Making?
You’ll want the Smith Little Torch for versatility with oxygen-propane setups, or the Meco Midget for precise granulation work. Use low-pressure flames and avoid screw-on tips for better control.
How Do You Light a Jeweler’s Torch?
You’ll light your jeweler’s torch by first opening the propane valve slightly, then igniting the gas at the threads rather than the tip. Next, slowly introduce oxygen while adjusting both valves for ideal flame control.
What Is the Temperature of a Jewelry Torch?
Your jewelry torch’s temperature ranges from 1,300°F to 1,600°F for typical soldering work. However, you’ll find the inner flame cone reaches over 3,500°F, so you’ll need careful control for precise applications.
In Summary
You’ll master granulation by combining proper torch selection with precise flame control techniques. Keep your movements steady and deliberate, adjusting flame size to match your work piece. Watch your flux carefully as it changes, and don’t rush the heating process. With consistent practice applying these torch control fundamentals, you’ll achieve professional-quality granulation results every time. Remember, patience and precision beat speed when you’re working with delicate metal surfaces.


Leave a Reply