You’re about to invest in your first silver clay project, but you’re staring at endless tool lists that seem overwhelming and expensive. The truth is, you don’t need a professional studio’s worth of equipment to create stunning jewelry pieces. With just a handful of carefully chosen tools—many of which you probably already own—you can craft beautiful silver pieces that rival expensive store-bought jewelry. The key lies in knowing which tools truly matter.
Essential Work Surface and Basic Preparation Tools
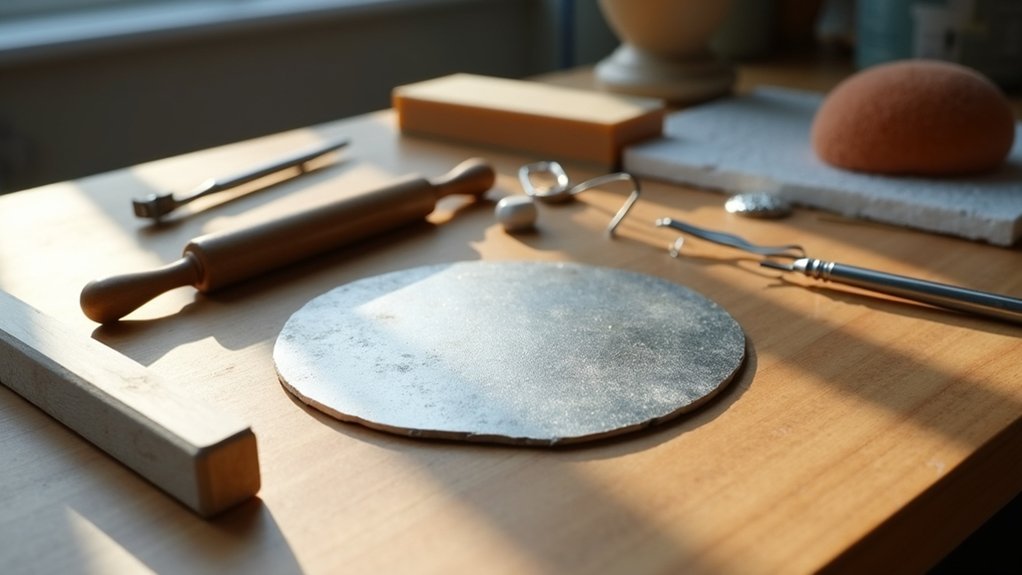
Before diving into your first silver clay project, you’ll need to establish a proper workspace with the right preparation tools. Your work surface should be smooth and non-porous to prevent sticking—plastic place mats, glazed ceramic tiles, or glass pieces work perfectly.
For rolling tools, you don’t need expensive equipment; a straight-sided glass or acrylic pipe will efficiently flatten your clay. Keep a sharp craft knife nearby for precise cutting and shaping of intricate designs.
Don’t forget a release agent like cooking oil or Badger Balm to prevent clay from adhering to your tools and workspace. These essential metal clay supplies will set you up for successful projects without breaking the bank.
Rolling and Shaping Equipment for Silver Clay
Rolling your silver clay to the ideal thickness requires the right equipment, but you don’t need to invest in expensive specialty tools. For beginners, solid rollers work well, though cost-effective alternatives like cut plumbing pipes deliver excellent results.
Stack playing cards 3 to 5 thick as rolling guides to achieve consistent thickness while preventing sticking.
Playing cards stacked 3-5 thick create perfect rolling guides for consistent silver clay thickness without expensive equipment.
You’ll need smooth surfaces for best shaping. Plastic, glass, or ceramic tiles provide non-porous work areas that prevent clay adhesion.
Cookie cutters and templates create precise, consistent shapes in your rolled clay, streamlining the shaping process considerably.
Repurpose household items like bottles or smooth pens as rolling tools. These alternatives allow you to start your silver clay projects without major equipment investments while maintaining professional-quality results.
Texturing Tools and Creative Materials

Once you’ve mastered basic shaping techniques, you’ll want to add visual interest through texturing. Texturing tools don’t require expensive purchases – everyday items work perfectly. Leaves, fabric, and wallpaper create stunning patterns when pressed into silver clay.
| Material Type | Examples | Cost |
|---|---|---|
| Household Items | Fabric, wallpaper, playing cards | Free/Low |
| Natural Textures | Leaves, bark, flower petals | Free |
| Kitchen Tools | Cookie cutters, DIY stencils | Low |
| Release Agents | Olive oil, cooking spray | Low |
Use olive oil as your release agent to prevent sticking. Plastic playing cards make excellent rolling guides for consistent thickness. Explore your garden for natural textures like bark or flower petals. Cookie cutters and homemade stencils help create precise shapes and intricate patterns, making creative materials accessible for beginners.
Cutting and Forming Implements
You’ll need reliable cutting tools to shape your silver clay into precise forms and clean edges.
Cookie cutters work perfectly for consistent shapes, while wooden toothpicks let you make detailed cuts and intricate patterns after texturing.
These basic implements, combined with simple shape formation methods, give you the control needed to transform raw clay into professional-looking pieces.
Basic Cutting Tools
While precision matters most when working with silver clay, having the right cutting tools makes all the difference in achieving clean, professional results. You’ll need essential implements that offer control and versatility for your projects.
| Tool | Primary Use |
|---|---|
| Craft Knife | Cutting and shaping silver clay with precision |
| Cookie Cutters | Creating uniform shapes and consistent sizes |
| Wooden Toothpicks | Intricate detailing and making holes |
| Drinking Straws | Creating bails and jump ring holes |
A sharp Craft Knife serves as your primary cutting instrument, allowing detailed work and clean edges. Cookie Cutters help beginners achieve consistent results quickly. Wooden Toothpicks excel at fine detail work and edge shaping. Drinking Straws provide practical solutions for pendant bails and connection points. Don’t forget Rolling Guides like playing cards to maintain even thickness throughout your pieces.
Shape Formation Methods
Beyond basic cutting, shape formation requires specialized implements that transform your silver clay into dimensional forms and complex designs. Cookie cutters become your primary allies for creating consistent, uniform shapes that eliminate guesswork from your projects.
When you’re wondering “what tools do I need” for more complex work, consider investing in moulding compound to replicate custom shapes and detailed forms. Texturing sheets add professional surface designs to your clay, while natural items like leaves and fabric create unique patterns.
Drinking straws serve dual purposes—cutting perfect circles and creating bails for pendants. Wooden toothpicks excel at fine detail work and surface texturing. These accessible tools allow you to progress from simple flat pieces to sophisticated three-dimensional jewelry with professional-quality finishes.
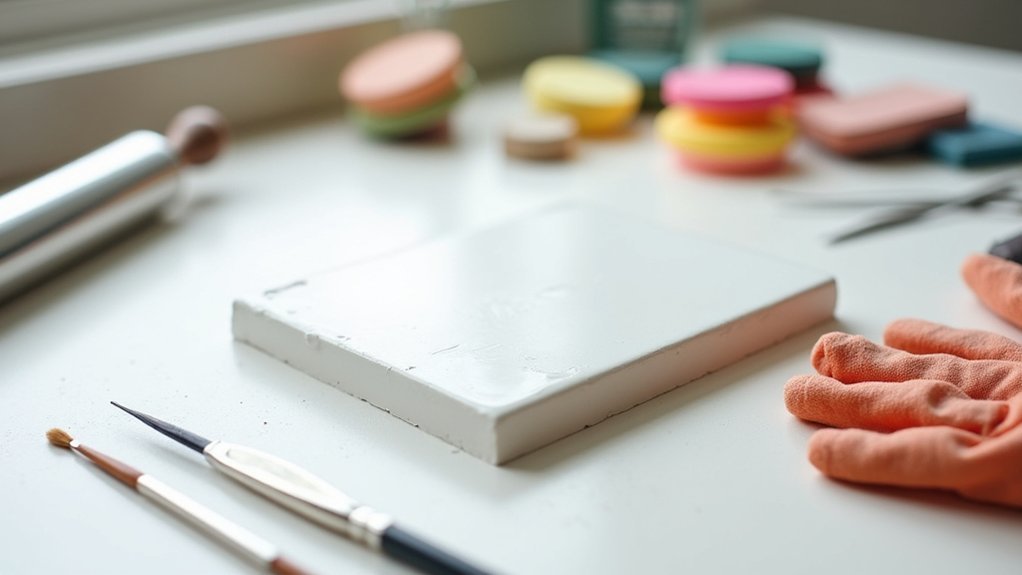
Drying and Finishing Supplies

You’ll need proper drying and finishing supplies to transform your shaped silver clay into a polished final piece.
Essential drying methods guarantee your work is completely moisture-free before firing, while basic finishing tools help you achieve smooth, professional-looking surfaces.
These supplies are just as important as your forming tools since any imperfections left during this stage won’t disappear after firing.
Essential Drying Methods
Proper drying stands as the most critical step between shaping your silver clay piece and achieving a successful firing. You need to use one of several effective methods to remove moisture completely before you fire metal clay.
Natural air drying works well, though it’s the slowest option. A food dehydrator or warm oven speeds up the process considerably. When drying any small piece, remember to flip it periodically for uniform moisture removal and prevent warping from damp spots.
You can also use a hairdryer, but avoid overheating which damages the clay’s structure.
Once thoroughly dried, refine your piece with sandpaper or emery boards to smooth rough edges. This preparation guarantees your metal clay maintains its intended shape and design through firing.
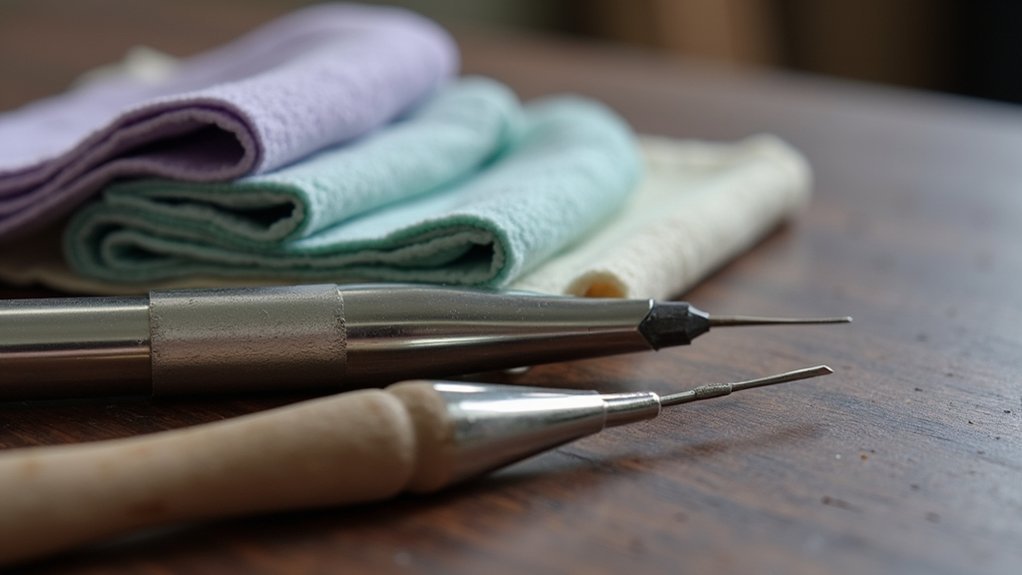
Basic Finishing Tools
Success in silver clay work depends heavily on having the right finishing tools at your disposal.
Once your silver metal clay pieces are dry, you’ll need specific tools to refine and perfect them before firing.
Start with 600-grit sandpaper for smoothing rough edges and preparing surfaces. This essential finishing tool guarantees your pieces have clean, professional lines.
For detailed work, emery boards and nail files offer precise control when refining smaller areas and curves.
Key finishing tools you’ll need:
- 600-grit sandpaper – smooths edges and prepares surfaces for firing
- Small drill bit or craft knife – creates holes for bails and attachments
- Stainless steel brush – brings out shine during polishing after firing
These basic finishing tools, combined with proper polishing techniques using a brass brush, will help you achieve professional-looking silver clay jewelry.
Firing Equipment and Safety Tools
Once your silver clay pieces are shaped and dried, you’ll need the right firing equipment to transform them into solid silver jewelry. A small jeweller’s butane torch provides controlled flame and easy handling for firing metal clay effectively.
You’ll also need a firing block or fire-safe tile to create a secure workspace and keep heat localized during the process.
Safety precautions are vital when firing metal clay. Always place your firing surface on a fire-repellent base to prevent accidents. Be mindful of flammable materials nearby and the reach of your torch flame to avoid hazards.
Fire safety is non-negotiable when working with metal clay – always use fire-repellent surfaces and clear flammable materials from your workspace.
If you plan to work with silver clay regularly, consider investing in a kiln like the Paragon SC2 Digital Kiln for more advanced firing options and consistent results.
Polishing and Burnishing Materials
Achieving professional-looking results requires the right polishing and burnishing materials to transform your fired silver clay pieces from rough metal into gleaming jewelry.
You’ll need specific tools to create that perfect finish on your silver clay creations. Start with polishing papers in various grades to achieve a high sheen without power tools. These allow gradual refinement of different surfaces.
Sanding and polishing sticks with coarse to fine grits help you reach intricate areas and refine edges effectively.
Essential polishing and burnishing tools include:
- Agate burnisher for creating the shiniest surface finish
- Stainless steel or brass wire brushes for removing oxidation
- Multiple grades of polishing papers for progressive surface refinement
Proper burnishing techniques elevate surface shine while minimizing tool marks and imperfections, ensuring your finished pieces look professionally crafted.
Budget-Friendly Alternatives and Household Items
While professional tools enhance your silver clay work, you don’t need to spend a fortune to create beautiful pieces. Many budget-friendly alternatives exist using household items that work just as effectively as expensive making kits.
Start with laminated paper as your work mat instead of purchasing specialized surfaces. Cut solid plumbing pipes to size for rollers, and use plastic playing cards as rolling guides to guarantee even thickness. These alternatives are easy to use and greatly reduce costs.
For release agents, olive oil prevents sticking without buying commercial products. Create textures using leaves, pen lids, or wallpaper instead of specialized texture tools.
These household items offer endless creative possibilities while keeping your silver clay toolkit affordable and accessible for beginners.
Frequently Asked Questions
Can You Use Silver Clay Without a Kiln?
You can use silver clay without a kiln by firing it with a jeweller’s butane torch. You’ll need a proper firing block and must work in a well-ventilated area for safety.
How to Use Metal Clay for Beginners?
Start by rolling metal clay to even thickness using guides. Texture with household items, then cut shapes. Let pieces dry completely before firing. After firing, polish with burnishing tools for a professional shine.
What Tools Do You Need for Clay?
You’ll need a smooth work surface, rolling guides like playing cards, a craft knife, release agent such as olive oil, texturing items like leaves or fabric, and a pin vice with drill bits.
Does Silver Clay Need to Dry Before Firing?
Yes, you must thoroughly dry silver clay before firing. You’ll need to air dry it naturally or use gentle heat methods, turning pieces regularly for uniform drying to prevent warping and cracking.
In Summary
You don’t need to break the bank when starting silver clay crafting. Focus on acquiring the essential tools first: a non-porous work surface, rolling tools, sharp cutting implements, and basic texturing materials. You’ll find many household items can substitute for expensive specialty tools initially. As you develop your skills and passion for the craft, you can gradually invest in professional-grade equipment. Start simple, practice consistently, and let your creativity guide your tool collection’s growth.


Leave a Reply