You’ll master Japanese chainmaille by starting with the foundational 4-in-1 weave pattern, which creates a square grid that’s forgiving for beginners. Progress to the protective 6-in-1 armor technique, then tackle the visually stunning dragonscale method that mimics overlapping scales. The captive 8-in-2 pattern offers strength while remaining beginner-friendly, and Takara chain design teaches triangle segment construction. Master basic ring connections and triangle fundamentals first, as these skills reveal the intricate techniques waiting below.
Japanese 4-in-1 Weave Pattern
The Japanese 4-in-1 weave pattern forms the backbone of beginner chainmaille techniques, utilizing large rings that connect through four smaller rings to create a robust yet flexible structure.
You’ll discover this weave produces a distinctive square grid tessellation that’s both visually appealing and uniform in appearance. As you work with the large rings, you’ll find the pattern surprisingly forgiving for newcomers to chainmaille crafting.
This foundational technique opens doors to more complex variations like Japanese 6-in-1 or Japanese Cube patterns once you’ve mastered the basics.
You’ll need to maintain consistent tension and proper ring alignment throughout your work to guarantee structural integrity.
Visual tutorials prove invaluable when you’re starting out, helping you understand the intricacies while building confidence in your developing chainmaille skills.
Japanese 6-in-1 Maille Armor Technique
Building upon your foundational 4-in-1 skills, you’ll find the Japanese 6-in-1 maille armor technique offers notably enhanced protection through its alternating ring system of larger and smaller components.
Japanese 6-in-1 maille builds on basic techniques, delivering superior armor protection through its innovative alternating ring system design.
You’ll start by creating a foundation strip using large rings interspersed with smaller ones, establishing the consistent alternating pattern that’ll guide your entire project.
When constructing your second row, position it beneath the first with a slight leftward offset. Connect each ring to two rings from the previous row to maintain structural integrity. This technique’s strength makes it ideal for protective armor applications.
You can explore creative variations like 12-2 and 6-2 weaves while preserving the armor’s protective qualities.
Visual references will notably help you master this more complex pattern, especially during your initial attempts.
Japanese Dragonscale Weaving Method

Moving from protective armor applications, you’ll discover that Japanese Dragonscale weaving creates stunning visual effects through its distinctive overlapping pattern.
This chain maille technique mimics dragon scales by combining larger and smaller rings in a staggered arrangement, where smaller rings nestle between larger ones for enhanced texture.
You’ll need foundational skills in basic weaves like 1-1 and 4-1 before attempting this method.
The construction process involves carefully positioning rings to create both strength and flexibility in your finished piece.
You can adapt this versatile weave into bracelets, necklaces, and other decorative items.
The intricate connections require patience, so you’ll benefit from visual tutorials and step-by-step guides to master the complex patterns effectively.
Captive Japanese 8-in-2 Pattern
After mastering the Japanese Dragonscale technique, you’ll find the Captive Japanese 8-in-2 pattern offers an exciting progression that builds complexity while maintaining beginner-friendly fundamentals.
This weave features large rings passing through eight smaller rings, creating a visually striking structure that’s perfect for expanding your skills.
The pattern’s defining characteristic is its captive rings—small rings held securely by the larger ones. This addition transforms the traditional 8-in-2 weave into something more intricate and textured.
You’ll appreciate the robust construction that provides exceptional strength, making it ideal for both jewelry and armor applications.
Before attempting this pattern, verify you’ve mastered the basic Japanese 8-in-2 weave.
Once comfortable, introducing captive rings becomes manageable. Step-by-step tutorials and visual aids will help you navigate the intricacies and achieve professional-looking results.
Japanese Takara Chain Design

You’ll create the Japanese Takara Chain by constructing individual triangle segments that form the foundation of this elegant pattern.
Each triangle uses the basic Japanese 4-1 weave technique you’ve already learned, making this an ideal next step in your chainmaille journey.
Once you’ve mastered the triangle construction, you’ll connect these segments together to build a complete chain with impressive depth and visual appeal.
Triangle Segment Construction
Triangle segments form the cornerstone of the Japanese Takara Chain design, requiring careful attention to ring size and placement from the very start.
You’ll begin by alternating between small and large jump rings to establish the foundation’s geometric structure. Each triangle consists of three sides that must be tightly connected to preserve the pattern’s integrity.
When constructing your segments, focus on precise ring placement. The alternating size pattern creates the distinctive shape that defines this Japanese technique. You’ll need to guarantee each connection remains secure as you build.
Once you’ve completed individual triangle segments, you’ll join them using extra large rings. This connection method creates the continuous chain effect while enhancing overall strength, making it perfect for beginners exploring Japanese chainmaille patterns.
Chain Assembly Process
Mastery of the chain assembly process transforms your individual triangle segments into the flowing, interconnected structure that defines the Japanese Takara design.
You’ll start by creating a foundation using large rings, connecting them in a straight line to establish your base structure. This linear arrangement provides the backbone for your entire chain.
Next, you’ll alternate between large and small rings as you build upward, creating the signature layered appearance that makes Takara chains so visually striking.
The key is maintaining consistent spacing while ensuring each ring properly interlocks with its neighbors. Keep visual references nearby—diagrams or photos will help you verify correct placement and prevent assembly errors.
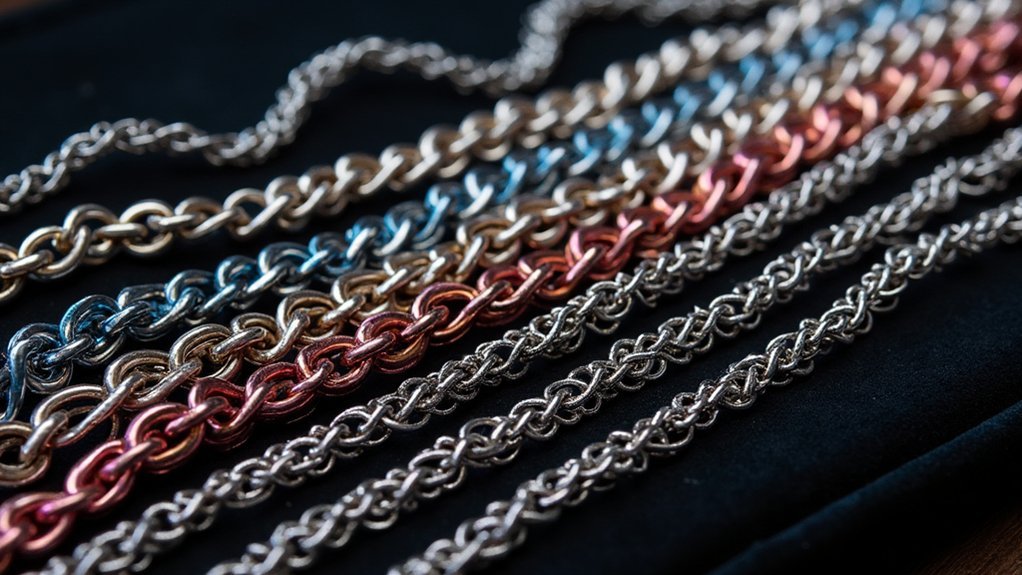
This beginner-friendly technique allows you to experiment with different color combinations while developing your chainmaille skills.
Basic Japanese Ring Connection Fundamentals
Three fundamental principles govern successful Japanese ring connections: proper ring sizing, consistent alignment, and strategic attachment points.
You’ll master the 6-1 weave by combining large rings with smaller ones, creating a protective structure that’s perfect for developing your skills.
Start your foundation row using alternating large and small rings in a consistent pattern. This establishes the framework you’ll build upon.
When adding your second row, offset the rings slightly to the left. This positioning guarantees proper alignment for secure connections with your first row.
Connect each second-row ring to both the upper left and upper right rings from the first row. This dual-attachment technique provides essential structural integrity.
These fundamental connection methods will prepare you for advanced Japanese weaves while strengthening your overall chainmaille abilities.
Japanese Triangle Segment Construction
Two distinct ring sizes work together to form the cornerstone of Japanese triangle segments, creating a geometric foundation that’s both structurally sound and visually striking.
You’ll use large rings to establish the main framework while smaller rings fill gaps, boosting both strength and flexibility in your design.
Focus on mastering the specific connection pattern required for proper triangle alignment. Each segment must connect seamlessly with others to achieve a professional finish.
Master the precise connection patterns that ensure each triangle segment aligns perfectly with adjacent pieces for seamless, professional-quality results.
As a beginner, you’ll want to concentrate on these fundamental connections since they’re essential for advancing to more complex Japanese patterns.
Don’t skip visual aids and step-by-step tutorials—they’re invaluable for understanding the subtle techniques that make triangle segment construction successful and help you avoid common mistakes.
Frequently Asked Questions
What Is the Easiest Chainmaille Weave?
The easiest chainmaille weave you’ll encounter is the Japanese 4-1 pattern. You’ll find it’s beginner-friendly because it uses simple alternating larger and smaller rings, creating sturdy, visually appealing results while you’re learning.
What Is the Most Protective Chainmail Weave?
You’ll find the Japanese 6-1 weave offers superior protection compared to traditional patterns. It uses two ring sizes, distributes force effectively, and doesn’t form weak square shapes like 4-1 weaves do.
What Ring Size Is Best for Chainmail?
You’ll want 6-8mm rings for most chainmail projects, using 18-gauge wire. Start with larger rings since they’re easier to handle. Aim for an aspect ratio between 4.0-6.0 for ideal flexibility and strength.
How to Make 6 in 1 Chainmail?
You’ll start with large rings in a strip, alternating with smaller ones. Create a second offset row beneath, then connect each ring to six others above and beside it for proper structure.
In Summary
You’ve now explored seven essential Japanese chainmaille patterns that’ll build your foundation in this ancient craft. Start with the basic ring connections and 4-in-1 weave before progressing to more complex designs like dragonscale and 8-in-2 patterns. Don’t rush the process—each technique requires patience and practice to master. As you develop muscle memory with these fundamental patterns, you’ll find yourself ready to tackle advanced Japanese armor construction and create stunning decorative pieces.


Leave a Reply