You’ll master chain design by selecting rings with 4-6 aspect ratios for ideal flexibility, then using spiral weaving techniques with consistent tension throughout. Essential tools include bent nose pliers, rotary cutting bits, and holding jigs for precision work. Coordinate complementary colors strategically and apply two-step crimping for durable closures. Document each stage clearly and engage with crafting communities for targeted feedback. These foundational techniques will reveal the advanced pattern integration methods that transform ordinary chains into masterful artistic statements.
Essential Tools and Materials for Chain Construction
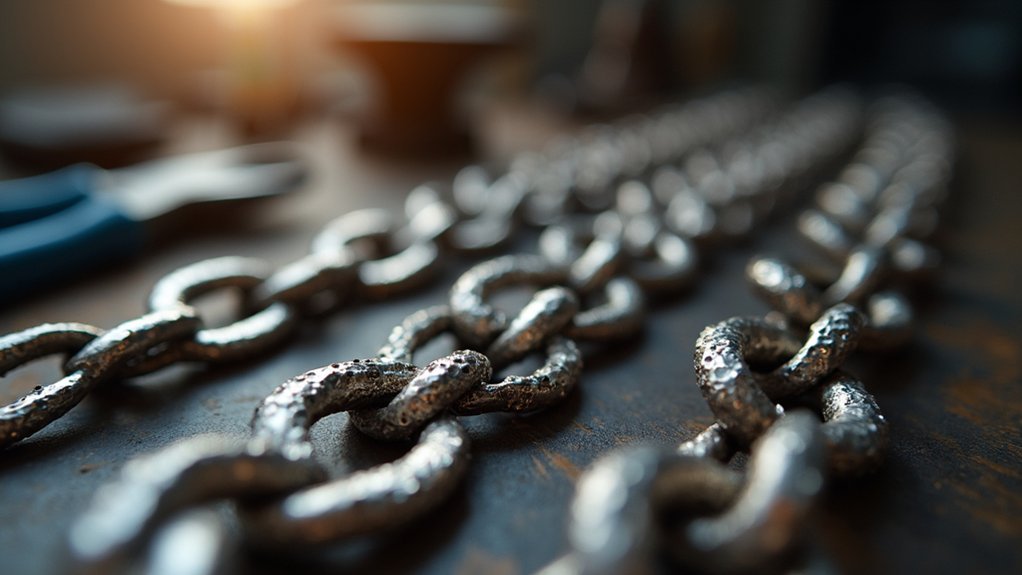
Success in chain construction depends heavily on selecting the right tools and materials before you begin your project. For wooden chains, basswood offers the perfect combination of softness and consistent grain, making it ideal for hand carving.
Power tools like scroll saws and oscillating multi-tools are essential for making precise plunge cuts in 2 by 4 materials, greatly speeding up your workflow.
A holding jig stabilizes your wood blank during cutting, ensuring both precision and safety. After initial cuts, you’ll need a rotary tool with multi-purpose cutting bits to clean and refine your links for smoother finishes.
For spiral chain weaving or chain mail projects, bent nose pliers and stepped flat nose pliers become indispensable. Choose based on comfort and efficiency preferences.
Understanding Aspect Ratios in Ring Selection
When selecting rings for your spiral chain weaving, you’ll need to balance ideal ratio guidelines against your desired flexibility outcomes.
An aspect ratio between 4 and 6 works best, with 4:1 giving you maximum flexibility for intricate movements.
You’re fundamentally choosing between tighter weaves that limit design options and looser configurations that create more open, airy appearances.
Optimal Ratio Guidelines
Although chainmail might appear to be simply interlocked rings, the aspect ratio—your ring’s inner diameter divided by its wire diameter—determines whether you’ll create a masterpiece or a frustrating tangle.
For spiral chains, you’ll want to target an aspect ratio between 4 to 6, with 4 being your sweet spot for ideal results.
When you choose smaller ratios, you’ll get tighter, less flexible chains that struggle to maintain their spiral shape. Go too large, and you’ll sacrifice structural integrity for excessive looseness.
The 4-to-1 ratio strikes the perfect balance, giving you flexible chains that move beautifully while maintaining their intended form. This ratio guarantees your spiral chains perform as designed, creating that fluid movement that makes quality chainmail jewelry so enchanting.
Flexibility Vs Tightness
Finding the right balance between flexibility and tightness requires understanding how aspect ratios directly affect your chain’s behavior. Lower aspect ratios create denser, stiffer chains that appear more polished but restrict movement. Higher ratios produce looser, more flexible chains that enhance comfort in wearables.
| Aspect Ratio | Chain Behavior | Best Applications |
|---|---|---|
| 3.0-3.5 | Very tight, minimal flex | Decorative elements |
| 4.0-4.5 | Balanced movement | General jewelry making |
| 5.0-6.0 | High flexibility | Bracelets, necklaces |
You’ll need to test different ratios to find what suits your design needs. Remember that saw cut rings work best with tighter aspect ratios, ensuring proper closures. The key is matching your chain’s flexibility and tightness to its intended purpose and your personal crafting style.
Spiral Chain Weaving Fundamentals

You’ll master spiral chain weaving by understanding three core elements that determine your success.
Start with basic spiral patterns using the single helix technique, which requires only open and closed rings in alternating positions.
Then focus on selecting proper tools with aspect ratios between 4 to 6, and develop consistent tension control methods that’ll keep your chains structurally sound and visually appealing.
Basic Spiral Patterns
Mastery of spiral chain weaving begins with understanding three fundamental patterns that form the backbone of this versatile technique.
The regular spiral chain offers an ideal starting point, creating a single helix through repetitive ring interlinking that’s perfect for beginners. You’ll need to apply a little bit of pressure while maintaining consistent tension to guarantee your chain holds its shape properly.
Double spiral chains elevate complexity by positioning two rings at each location, dramatically improving both visual appeal and structural stability.
Make certain you’re ready for twisted spiral patterns, which intertwine separate chains for stunning dimensional effects perfect for earrings.
Using contrasting ring colors helps organize your weaving process while creating beautiful aesthetic results.
You can also incorporate beads between rings to add personalized touches to bracelets and necklaces.
Essential Tools Selection
Success in spiral chain weaving depends heavily on selecting the right tools and materials from the start.
You’ll need bent nose pliers and stepped flat nose pliers as your primary instruments. Test various pliers to find what feels comfortable and efficient for your weaving style.
Saw cut rings provide much better closures than standard rings, greatly improving your finished product’s quality.
For materials, bright aluminum is your best choice. It’s lightweight, durable, and easier to manipulate than heavier metals.
The aspect ratio matters tremendously – aim for 4 to 6, with 4 being ideal for best flexibility and tension. You can grab either end of properly sized rings without compromising the weave structure.
A beginner kit under $30 on Amazon includes essential organizers and ring size charts.
Tension Control Methods
While proper tools form the foundation of quality spiral chain weaving, controlling tension throughout your project determines whether you’ll achieve professional-looking results or end up with loose, misshapen chains.
You’ll want to secure safety pins at strategic points to keep your work under tension, preventing rings from shifting out of position. When gripping rings with your pliers, guarantee the nose maintains firm contact without over-squeezing.
Keep your working chain wrapped around your non-dominant hand’s fingers to maintain consistent tension as you add each ring. Organize your units with one closed ring and several open rings sorted by color—this setup helps you track patterns while preserving tension throughout the weaving process.
Color Coordination Strategies for Visual Impact
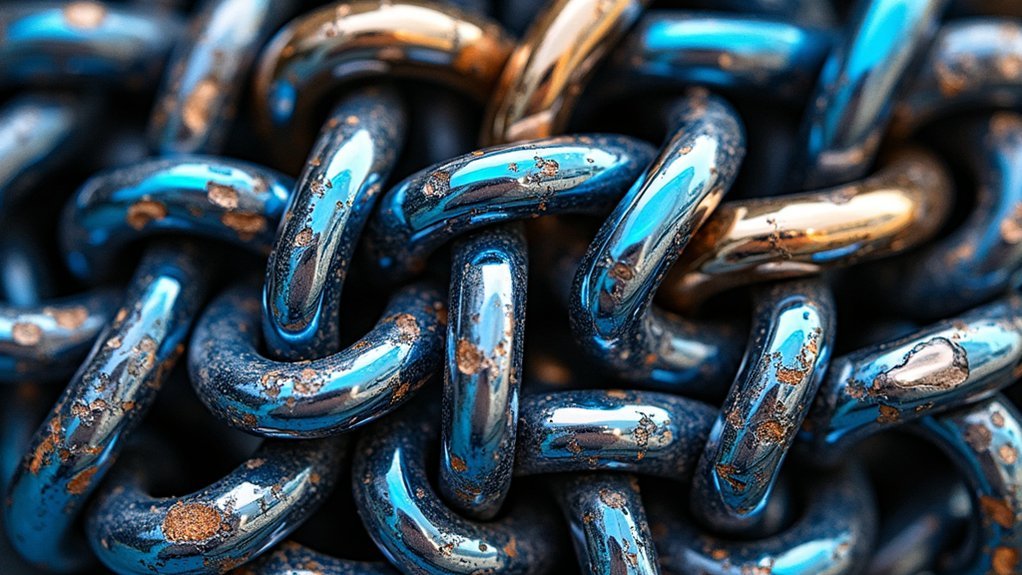
Three fundamental approaches can transform your spiral chain designs from ordinary to extraordinary through strategic color coordination.
First, you’ll maximize visual impact by pairing complementary colors. These opposing hues create striking contrasts that make your jewelry pieces immediately eye-catching and memorable.
Second, incorporate gradient shifts between shades. This technique adds depth and sophistication while maintaining seamless flow throughout your design. You’ll notice how gradients naturally guide the viewer’s eye along the chain’s spiral pattern.
Third, develop cohesive color palettes that match your intended theme or occasion. Whether you’re crafting friendship bracelets or formal jewelry, consistent color schemes guarantee your pieces complement the wearer’s style.
Don’t hesitate to experiment with different combinations. You’ll discover which color variations yield the most appealing results while maintaining visual interest across multiple chain styles.
Tension Management Throughout the Weaving Process
Before you can achieve professional-looking spiral chains, you must master the delicate balance of tension control that determines whether your weave will hold together or fall apart.
Successful tension management requires systematic attention to detail throughout your weaving process:
- Use safety pins to maintain tension and stabilize your chain structure as you progress.
- Choose rings with aspect ratios between 4 to 6, as smaller ratios create tighter weaves requiring careful tension control.
- Check and adjust tension after adding each ring to prevent loose or uneven sections.
- Practice dropping your project and quickly recovering to build confidence in tension management.
- Monitor for gaps and misalignments that indicate inconsistent tension.
Remember that proper tension distribution creates the foundation for professional results, transforming amateur attempts into polished, structurally sound spiral chains.
Double Spiral Techniques for Enhanced Texture
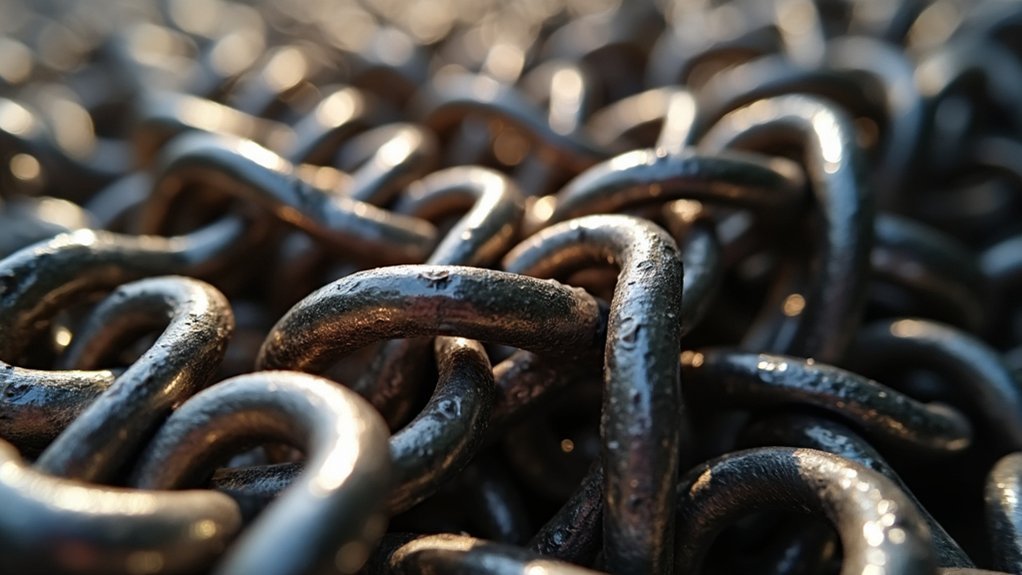
Once you’ve mastered basic tension control, double spiral techniques open new possibilities for creating richly textured chainmail with enhanced visual depth.
You’ll use two rings in each position, creating intricate helix patterns that surpass regular spiral chains in complexity and visual appeal.
Choose rings with a 4:1 aspect ratio—this balances flexibility with structural integrity, making weaving manageable while maintaining tightness.
You’ll find this technique perfect for earrings and necklaces since it holds its shape beautifully.
Experiment with complementary or gradient color combinations to maximize the visual impact.
Use safety pins strategically during weaving to maintain organization and consistent tension between both spirals.
When you interweave the two spirals properly, you’ll achieve uniform, visually stunning pieces with remarkable texture and depth.
Twisted Spiral Variations and Applications
While double spirals create impressive texture, twisted spiral variations take your chainmail artistry to the next level by intertwining two separate spiral chains into a single, dimensionally rich piece.
You’ll discover these versatile chains work beautifully for both earrings and necklaces, offering endless creative possibilities.
Master these essential techniques for stunning results:
- Use a 4:6 aspect ratio for rings, with 4:1 being ideal for balancing flexibility and structure
- Maintain consistent tension throughout weaving to guarantee uniform appearance and proper shape retention
- Choose complementary or gradient colors to enhance visual appeal and showcase your artistic vision
- Incorporate beads strategically to add complexity and elegance for formal occasions
- Practice steady hand movements to achieve the dimensional quality that makes twisted spirals so enchanting
Mirror Image Chain Creation Methods

Creating mirror image chains requires establishing the spiral chain direction through careful alignment of the first four rings in a symmetric pattern.
You’ll need to guarantee both sides mirror each other perfectly for maximum aesthetic appeal.
Maintain consistent tension throughout your weaving process to assure uniformity in the final design. You can utilize different colors for alternating rings, which helps visually differentiate the mirrored sections and makes maintaining pattern balance much easier.
Complete one side fully before duplicating the process for the opposite side. This approach aids in achieving accurate symmetry throughout your work.
During final assembly, pay careful attention to detail by using crimp beads and guaranteeing equal length on both sides. This enhances the overall look and structural integrity of your finished piece.
Assembly Techniques for Professional Results
Professional assembly demands meticulous attention to detail and systematic execution of proven techniques. You’ll achieve superior results by implementing these essential methods that separate amateur work from professional-grade chainmail jewelry.
- Maintain consistent tension throughout your weaving process to preserve both structural integrity and visual appeal of your spiral chains.
- Use crimp beads with proper technique – apply a two-step crimping process with specialized pliers to establish tension before completing closures.
- Incorporate strategic color variations in your rings to simplify assembly order identification while enhancing aesthetic value.
- Establish spiral direction early using your first four rings when creating mirror image chains for perfect symmetry.
- Deploy safety pins strategically during assembly to maintain tension and prevent accidental unraveling of intricate weaving patterns.
Crimping and Securing Methods for Durability
Beyond mastering the assembly process, your chainmail’s longevity depends entirely on how well you secure each connection point. Crimping offers a reliable two-step method where you’ll squeeze crimp beads to lock beading materials in place, creating durable finishes for your chain links.
Before crimping, establish proper tension throughout your chain. This prevents loosening over time and maintains your design’s structural integrity.
You’ll need crimp pliers specifically designed for this task—they provide the control and precision necessary for fastening crimp beads effectively.
Select crimp bead sizes that match your wire or thread diameter. This guarantees secure holds without damaging materials.
For maximum durability, especially in high-stress areas, combine crimp beads with strategic knots to reinforce connection points where movement occurs.
Troubleshooting Common Weaving Challenges
Although chainmail weaving appears straightforward in theory, you’ll encounter specific challenges that can frustrate even experienced crafters.
These issues often stem from inconsistent techniques or improper tool selection, but they’re entirely manageable with the right approach.
Here are five common weaving challenges and their solutions:
- Tension irregularities in spiral chains – Maintain consistent ring spacing and inspect your weave for irregularities that create unevenness.
- Overly tight links – Adjust your ring aspect ratio to 4-6 for ideal flexibility and easier manipulation.
- Severed links during cutting – Use rotary tools with multi-purpose cutting bits instead of plunge cutting blades for cleaner results.
- Inconsistent spiral formations – Employ safety pins to maintain proper tension throughout assembly.
- Chain length discrepancies – Verify equal ring counts in each segment for symmetrical results.
Advanced Pattern Integration With Beads
Mastering the fundamentals of chainmail weaving opens exciting possibilities for incorporating decorative elements that transform basic spiral chains into sophisticated jewelry pieces.
You’ll want to select beads that complement your chain’s aspect ratio while preserving its flexibility and structural integrity. Thread beads at regular intervals to create rhythmic patterns that add depth and visual dimension to your design.
Experiment with contrasting bead colors and sizes to achieve striking effects or harmonious blends suitable for different occasions. You can use larger beads as focal points to draw attention to specific chain sections, while smaller beads fill gaps and maintain proper tension throughout the piece.
This strategic placement guarantees your enhanced chain maintains its flow while gaining complexity and visual interest that elevates simple chainmail into elegant jewelry.
Community Sharing and Skill Development
You’ll amplify your chain link designs by engaging with crafting communities through strategic social media showcasing and targeted hashtags like #craftalong.
Collaborative learning becomes invaluable when you connect with fellow crafters who’ll exchange techniques, share supplier recommendations, and provide constructive feedback on your spiral chain weaving progress.
Document your projects with clear photos and specific questions to maximize the targeted advice you’ll receive from experienced community members.
Social Media Showcasing
How can you transform your chain link crafting journey from a solitary pursuit into a vibrant community experience? Social media platforms offer incredible opportunities to showcase your work and connect with fellow enthusiasts who share your passion for intricate metalwork.
- Use strategic hashtags like #craftalong and #chainmail to reach engaged communities of crafters enthusiastic to see your latest creations.
- Post clear, well-lit images alongside specific questions to receive targeted advice from experienced artisans.
- Follow experienced crafters on Instagram and YouTube for tutorials and live demonstrations that’ll elevate your techniques.
- Participate in themed challenges and online crafting events to push your creative boundaries.
- Join dedicated forums where members regularly exchange innovative tips and project inspiration.
Collaborative Learning Benefits
Three powerful benefits emerge when you join collaborative learning communities: accelerated skill development, creative problem-solving, and technique refinement. When you share your spiral chain projects online using hashtags like #craftalong, you’ll connect with fellow artisans who offer targeted feedback and innovative solutions.
| Learning Aspect | Solo Crafting | Collaborative Community |
|---|---|---|
| Skill Growth | Limited to personal trial-and-error | Accelerated through shared expertise |
| Problem Solving | Isolated struggle with challenges | Collective wisdom and multiple solutions |
| Creative Inspiration | Restricted to individual imagination | Endless diverse ideas and techniques |
| Quality Control | Self-assessment only | Peer feedback and professional guidance |
Community workshops teach essential techniques like proper tension maintenance, while online platforms let you explore diverse materials and designs. You’ll discover best practices that transform your chain-making abilities.
Project Documentation Tips
When you document your spiral chain projects effectively, you create valuable resources that benefit both your own learning journey and the broader crafting community. Proper documentation transforms your creative process into educational content that others can follow and adapt.
Here are essential tips for documenting your chain-making projects:
- Take clear photos at each stage, from initial sketches to final assembly, creating a thorough visual guide.
- Share completed projects on social media using hashtags like #craftalong with vaughn to connect with fellow crafters.
- Include detailed descriptions of materials and tools used to help others replicate your techniques.
- Encourage community engagement by inviting feedback and attaching photos when seeking advice.
- Create tutorial videos or step-by-step guides for visual learners.
Frequently Asked Questions
What Is the Strongest Chain Link Design?
You’ll find the strongest chain link design uses oval or round shapes with a 4-6 aspect ratio, double spiral configuration, high tensile strength materials like stainless steel, and properly saw-cut closed rings.
What Is the Most Popular Chain Design?
You’ll find spiral chain design’s the most popular choice among jewelry makers. It’s known for its repetitive, straightforward weaving technique that’s perfect for bracelets and necklaces, especially when you’re creating friendship jewelry collaboratively.
Can You Carve a Chain Out of Wood?
You can carve a chain from wood using basswood’s soft grain. You’ll create a plus-shaped blank, mark link templates, make rough cuts with a scroll saw, then hand-finish each connected link.
What Are the Different Chain Link Styles?
You’ll find several chain link styles including regular spiral chains for simple designs, double spiral chains with two rings per position, and twisted spiral chains that intertwine for added texture and dimension.
In Summary
You’ve now mastered the fundamentals of chain link design, from selecting proper aspect ratios to managing tension throughout your weaving. Don’t let common challenges discourage you—they’re part of the learning process. As you experiment with advanced bead integration and color coordination, you’ll develop your unique style. Share your creations with the community and continue practicing these techniques. Your skills will flourish as you apply these proven methods to future projects.




Leave a Reply