You’ll need more than just copper clay and enthusiasm to create stunning metal art pieces. While Art Clay Copper forms the foundation of your work, success depends on having the right firing equipment, specialized tools, and safety gear at your fingertips. The difference between a polished masterpiece and a disappointing result often comes down to whether you’ve assembled the complete toolkit that professional copper clay artists consider absolutely essential.
Essential Copper Clay Materials and Products
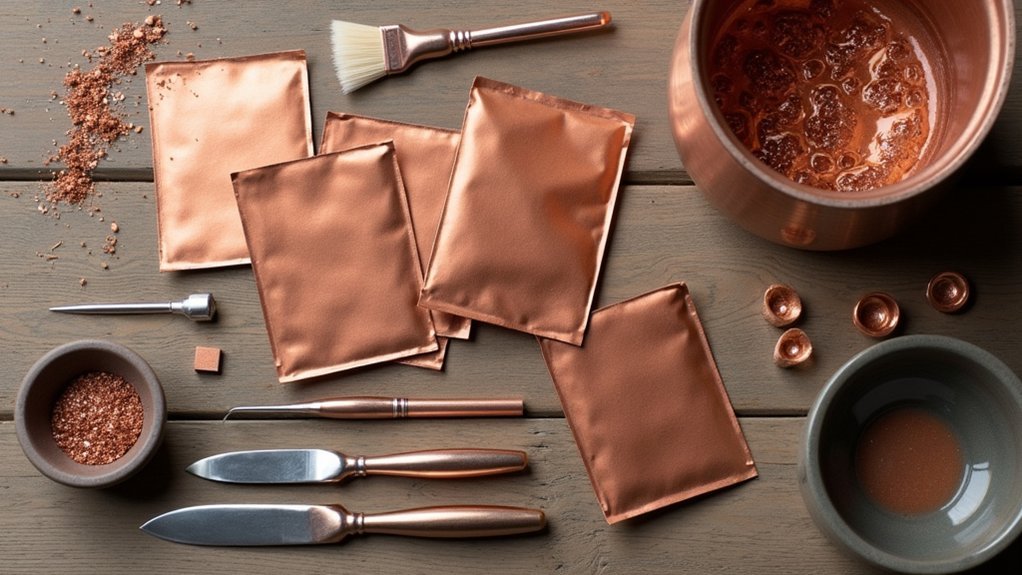
Five essential materials form the foundation of any copper clay artist’s toolkit.
Art Clay Copper serves as your primary medium, available in both lump and powdered forms to accommodate different project requirements and techniques.
You’ll need a gas torch for heating your clay pieces effectively – small jewellers gas torches provide the precise flame control necessary for successful results.
A quality soldering block creates your safe workspace, containing heat while protecting surrounding surfaces from damage.
Insulated reverse action tweezers become indispensable when you’re handling hot pieces and transferring them to quenching water after firing.
Finally, sanding and polishing sticks in various grades help you prepare edges before firing and achieve that professional high sheen on your finished copper clay creations.
Storage and Handling Best Practices
While copper clay offers remarkable creative possibilities, proper storage and handling techniques will greatly extend its working life and guarantee consistent results in your projects.
Store your copper clay indoors at moderate room temperature, away from direct sunlight to maintain quality and prevent oxidation. After opening packages, use clay immediately when possible. Wrap unused portions in plastic wrap and place them in airtight containers to minimize air exposure.
Proper indoor storage at room temperature away from sunlight preserves copper clay quality and prevents unwanted oxidation damage.
If oxidation occurs, you’ll notice darkened surfaces on your clay. Simply scrape off these areas before use to restore peak performance.
Prevent contamination by using separate tools for copper and silver clays. Always verify your clay is completely dry before firing by conducting a thorough dryness test to avoid cracking during the firing process.
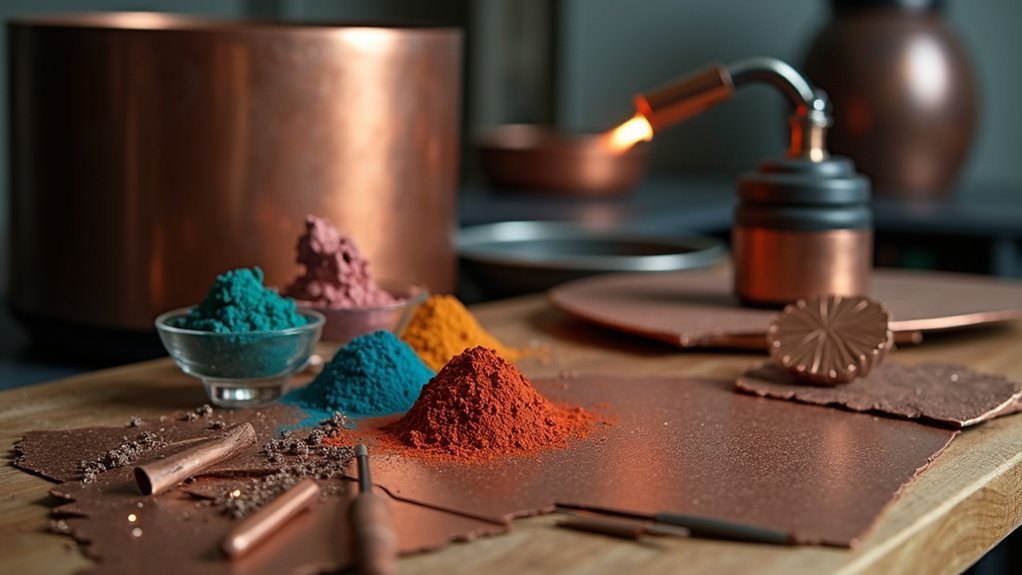
Required Firing Equipment and Tools

After mastering proper storage techniques, you’ll need specific firing equipment to successfully fire your copper clay creations. A small jeweller’s gas torch provides quick, controlled heating with precise flame application during the firing process.
You’ll also require a soldering block to create a safe workspace that keeps heat localized while protecting your surfaces from damage.
Essential tools include insulated reverse action tweezers made from sprung steel for safely handling hot pieces and transferring them to water for quenching. A stainless steel firing container guarantees even heat distribution and prevents contamination during firing.
While gas torches work well for small pieces, larger projects may need a kiln set to 970°C (1778°F) for thirty minutes, or you can use gas hobs as alternative firing equipment.
Safety Precautions for Copper Clay Work
You’ll need to prioritize safety when working with copper clay to protect yourself and guarantee successful results.
Always fire your pieces in well-ventilated areas to avoid inhaling fumes, and use heat-resistant gloves when handling hot clay or tools to prevent burns.
If you’re sensitive to copper, take extra precautions to avoid allergic reactions during handling and finishing processes.
Fire in Ventilated Areas
Because copper clay firing consumes oxygen and releases potentially harmful gases, you must work in a well-ventilated area to protect your health and safety.
Proper ventilation prevents harmful fume buildup, creating a safer workspace for your artistic endeavors.
Before you fire copper clay, verify your workspace meets these ventilation requirements:
- Check airflow systems – Verify open windows or exhaust fans provide adequate ventilation
- Wear protective equipment – Use masks or respirators in areas with limited ventilation
- Monitor workspace conditions – Regularly check temperature and air quality during firing
- Maintain safety standards – Keep ventilation systems running throughout the entire firing process
Don’t compromise on ventilation when working with copper clay.
Your safety depends on maintaining proper airflow to eliminate dangerous gases and oxygen depletion risks.
Handle Hot Clay Safely
When working with copper clay, proper handling of hot materials becomes critical for preventing serious burns and maintaining workspace safety.
You’ll need essential protective equipment to handle hot clay safely throughout the firing process.
Always use insulated tweezers when moving fired copper clay pieces. These specialized tools provide a secure grip while protecting your hands from extreme temperatures. The insulated design prevents heat transfer, allowing you to manipulate pieces immediately after firing without waiting for cooling.
Heat-resistant gloves offer additional protection when handling heated clay or tools. They’re particularly useful during torch firing when you’re working in close proximity to flames and hot surfaces.
Keep a water container nearby for immediate quenching, which removes oxidized layers and stops further heat exposure to your workspace.
Prevent Copper Allergy Reactions
While copper clay offers exciting creative possibilities, some artists may experience allergic reactions ranging from mild skin irritation to more severe symptoms. Taking preventive measures protects your health and guarantees enjoyable crafting sessions.
Essential precautions for preventing copper allergies include:
- Always wear protective gloves during handling to minimize direct skin contact with copper particles.
- Maintain proper workspace ventilation to reduce exposure to copper dust and fumes during firing.
- Use dedicated tools exclusively for copper clay work to prevent cross-contamination with other materials.
- Wash hands thoroughly after each session to remove any copper residue.
Consider testing for copper sensitivity before starting extensive projects.
Keep your workspace clean and organized to minimize copper dust accumulation.
If you notice any skin irritation or allergic symptoms, discontinue use and consult a healthcare professional immediately.
Drying Methods and Techniques
You’ll need to choose between natural air-drying and various heat sources when drying your copper clay pieces.
Air-drying takes longer but requires no equipment, while heat sources like hot air dryers, electric hot plates, or kilns speed up the process considerably.
Your project timeline and desired results will determine which drying method works best for your specific piece.
Natural Air-Dry Process
Although copper clay requires careful drying before firing, the natural air-drying process offers the most reliable method for preventing thermal shock and ensuring successful results.
You’ll need to place your pieces on a non-stick surface like a silicone mat to prevent adhesion during the drying period.
The drying timeline varies considerably based on your piece’s thickness and ambient humidity:
- Allow several hours to a few days for complete drying
- Use a fan or warm, dry location to accelerate the process
- Avoid direct sunlight which causes uneven drying
- Test multiple areas if your piece has varying thicknesses
Before firing, perform the clay dryness test by gently pressing the surface.
When it feels cool and leaves no fingerprints, your copper clay is ready for the kiln.
Heat Source Options
Several heat source options can accelerate your copper clay drying process beyond natural air-drying. You’ll want to control temperatures carefully when using these drying methods to avoid damaging your clay’s binders.
| Heat Source | Max Temperature | Best For | Notes |
|---|---|---|---|
| Hot Air Dryer | 250°C (482°F) | Quick drying | Portable option |
| Electric Hot Plate | 250°C (482°F) | Small pieces | Easy temperature control |
| Electric Kiln | 250°C (482°F) for drying | Large batches | Most versatile |
| Natural Air | Room temperature | Delicate work | Slowest method |
Your electric kiln offers the most versatility among heat source options, allowing you to both dry and fire pieces. Remember that exceeding 250°C during drying destroys the clay’s binders, so you’ll need precise temperature monitoring regardless of your chosen method.
Kiln Vs Torch Firing Options
When working with copper clay, you’ll face an essential decision between kiln and torch firing methods, each offering distinct advantages for different project types.
Kiln firing provides the gold standard for copper clay projects, delivering consistent 970°C (1778°F) temperature for 30 minutes. This method guarantees complete sintering and reliable results, especially for larger pieces.
You’ll need to quench fired pieces in water immediately to remove oxidized layers.
Torch firing offers accessibility and convenience for smaller projects:
- Uses a jeweller’s gas torch with controlled flame
- Perfect for intricate details without distortion risk
- Enables quick completion of small projects
- Requires careful temperature control to prevent overheating
Choose kiln firing for reliability and larger items, or torch firing for quick, detailed work.
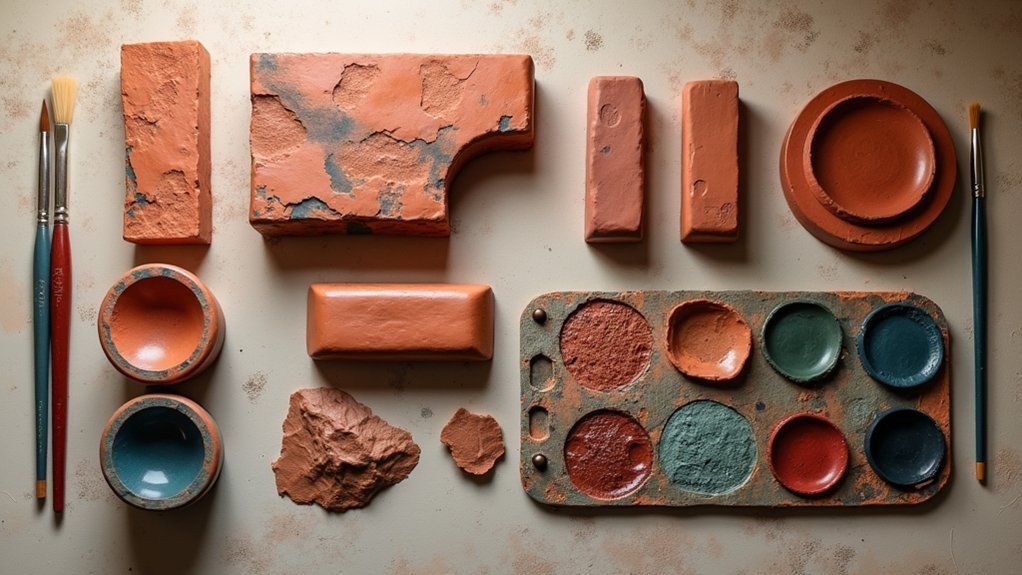
Pickling Solutions and Finishing Supplies
After you’ve fired your copper clay pieces, you’ll need pickling solutions to strip away oxidized layers that form during the heating process.
Essential supplies like Sparex No. 2 Pickling Compound will restore your copper’s clean surface, preparing it for the finishing stage.
You’ll also want professional finishing tools including metal brushes, burnishers, and polishing points to achieve that lustrous, professional appearance your pieces deserve.
Essential Pickling Solutions
Although copper clay transforms beautifully during firing, it develops an oxidized layer that masks the metal’s natural brilliance.
You’ll need a reliable pickling solution to restore your copper clay pieces to their stunning metallic appearance.
Sparex No. 2 Pickling Compound stands as the gold standard for removing these oxidized layers effectively.
After applying your pickling solution, you’ll want proper polishing tools to achieve that coveted lustrous finish.
Essential pickling and finishing supplies include:
- Sparex No. 2 Pickling Compound for oxide removal
- Metal brushes and burnishers for hand polishing
- Tumblers for batch polishing multiple pieces
- Polishing points for detailed work with rotary tools
Remember to dispose of your pickling solution responsibly following environmental guidelines to maintain safe studio practices.
Professional Finishing Tools
Since copper clay’s true beauty emerges only after proper finishing, investing in professional-grade tools will dramatically elevate your work’s quality and appearance. You’ll need specialized polishing tools to achieve that lustrous copper finish that makes your pieces stand out.
| Tool Type | Best For | Key Benefit |
|---|---|---|
| Metal Brushes | Surface texturing | Even scratch patterns |
| Burnishers | Detail work | Mirror-like finish |
| Tumbler | Multiple pieces | Consistent results |
Electric rotary tools with polishing points excel at reaching intricate design areas where larger tools can’t access. After using pickling solutions to remove oxidation, these finishing tools transform your fired pieces into professional-quality jewelry. Remember that proper tool selection directly impacts your final results, so don’t compromise on quality when building your finishing arsenal.
Polishing Tools and Abrasives

When you’re ready to transform your fired copper clay pieces into gleaming finished jewelry, having the right polishing tools and abrasives makes all the difference.
These essential supplies help you achieve professional-quality results without complex equipment.
Your polishing toolkit should include:
- Polishing papers – Available in various grades for gradually achieving high sheen without power tools
- Sanding and polishing sticks – Different grades help prepare edges before firing and provide final polish for intricate designs
- Fine polishing points – Used with electric rotary tools for detailed finishing work on small, complex areas
- Metal brushes and burnishers – Enhance luster and create smooth, polished appearances on finished pieces
Proper polishing enhances aesthetic appeal while removing oxidized layers post-firing, revealing pure copper’s natural beauty beneath.
Workspace Setup and Preparation
Before you begin your first copper clay project, establishing a proper workspace sets the foundation for safe and successful results. Choose a well-ventilated area to handle gas emissions and oxygen consumption during firing processes.
Your workspace setup should include essential tools like gas torches, soldering blocks, tweezers, and sanding sticks for streamlined workflow.
Keep your workspace away from direct sunlight and humidity, storing copper clay at moderate room temperature to prevent oxidation. Position heat-resistant surfaces, such as soldering blocks, to protect your work area during firing.
Prepare multiple drying methods including hot air dryers and electric kilns, but avoid exceeding 250°C/482°F to prevent binder destruction. This organized approach guarantees both safety and efficiency throughout your copper clay projects.
Measuring and Shaping Instruments
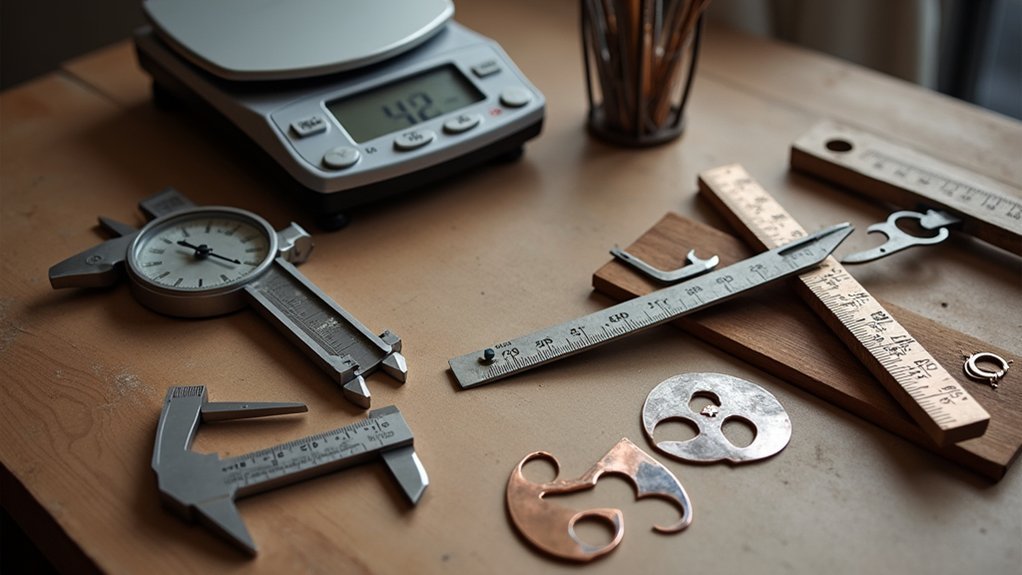
With your workspace properly organized, you’ll need the right measuring and shaping instruments to transform copper clay into precise, professional pieces.
Since copper clay shrinks under 10% during firing, accurate measurements are vital for achieving your desired final dimensions.
Essential measuring tools and shaping instruments include:
- Rulers and calipers – Guarantee precise dimensions accounting for firing shrinkage
- Rolling pins or acrylic sheets – Create uniform thickness for even firing
- Sculpting tools, knives, and molds – Shape clay into desired forms and intricate designs
- Tweezers and spatulas – Handle small pieces with precision during assembly
Don’t forget texture mats and stamps to add unique patterns to your clay’s surface.
These tools enhance the aesthetic appeal of your finished copper pieces while maintaining the professional quality you’re aiming for.
Maintenance and Care of Equipment
Since copper clay requires specialized equipment that represents a significant investment, proper maintenance and care of your tools will extend their lifespan and warrant consistent, high-quality results.
Regular cleaning of your tools, including tweezers and polishing papers, prevents contamination that could compromise future projects. You’ll need separate tool sets for copper and silver clay to avoid cross-contamination that creates undesirable outcomes.
Store unused clay in airtight containers wrapped in plastic wrap to maintain moisture and prevent oxidation.
After firing, immediately quench copper pieces in water to remove oxidized layers and preserve your design’s integrity.
Always dispose of pickling solution following environmentally friendly guidelines to maintain a safe workspace.
Proper maintenance guarantees your copper clay tools perform effectively project after project.
Frequently Asked Questions
What Tools Do I Need for Metal Clay?
You’ll need a gas torch, soldering block, insulated tweezers, sanding sticks, polishing papers, and a stainless steel firing container. Consider adding a basic jewelry soldering kit for post-firing work.
How to Fire Copper Clay at Home?
You’ll need a jeweller’s torch or electric kiln to reach 970°C for thirty minutes. Make certain your workspace is well-ventilated, fire completely dry pieces, monitor temperature closely, then immediately quench in water afterward.
Can Copper Clay Be Torch Fired?
You can torch fire copper clay using a small jeweler’s gas torch. Heat it to around 970°C, then immediately quench in water to remove oxidation. It’s perfect for small, detailed pieces.
What Temperature Should Copper Clay Be?
You should fire copper clay at exactly 970°C (1778°F) for thirty minutes. Don’t let the temperature fluctuate during firing, as this’ll affect your piece’s quality and structural integrity throughout the process.
In Summary
You’ll find success in copper clay artistry depends on having the right combination of materials, tools, and safety equipment. Don’t skimp on quality firing tools or protective gear—they’re investments in your craft’s longevity. Remember that proper workspace setup and equipment maintenance will streamline your creative process. With these essential supplies in place, you’re ready to explore copper clay’s unique properties and create stunning metalwork pieces that showcase this versatile medium’s natural beauty.


Leave a Reply