You can repair cracked or broken silver clay pieces using several effective methods. For minor cracks, apply Art Clay Paste directly after sanding the damaged area, then refire at the original temperature. For deeper damage, create a slip with PasteMaker and fresh clay, ensuring you roughen contact surfaces for better adhesion. Alternatively, traditional soldering provides the strongest joints for severely broken pieces. These techniques will restore your project’s structural integrity and help you master advanced reconstruction approaches.
Understanding Common Crack Formation in Silver Clay
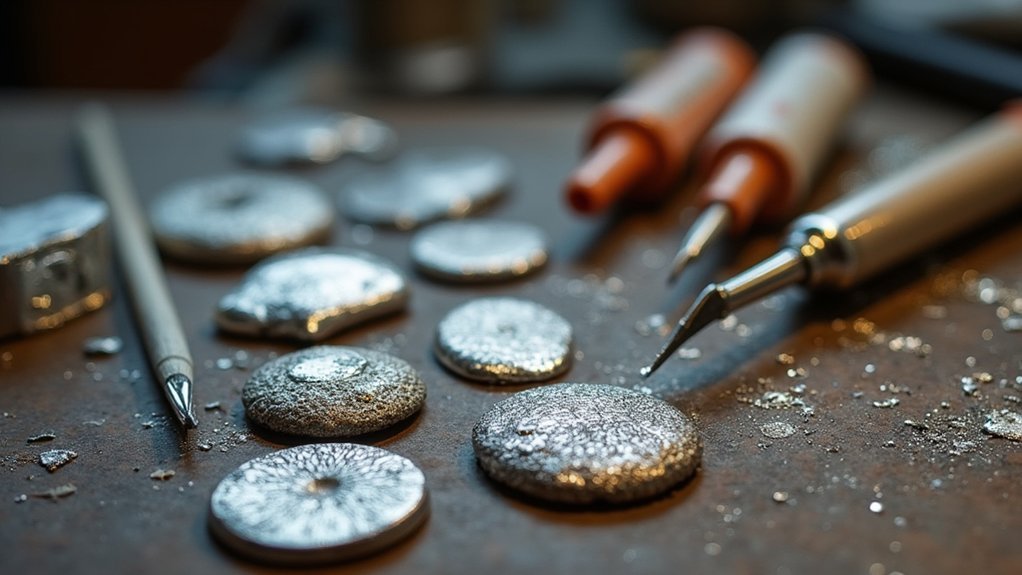
When working with silver clay, you’ll encounter several types of defects that can compromise your finished pieces.
Cracks in silver clay typically develop from shrinkage during firing, especially around set stones where stress concentrates. You’ll notice small fissures appearing after the firing process completes.
Stress concentration around set stones during firing commonly causes small fissures to develop from shrinkage in silver clay pieces.
The porosity of PMC3 creates additional challenges, as this characteristic leads to internal and external pits forming during both drying and firing stages.
Contamination proves equally problematic—sawdust, dust, and particles create larger cavities in your clay. These contaminants burn out during firing, leaving behind pox blemishes that appear as small holes or surface imperfections.
Proper handling and cleanliness during kneading and shaping stages greatly reduces crack formation risks.
Clean work surfaces and contamination-free tools prevent many common defects.
Post-Fired Repair Techniques Using Art Clay Paste
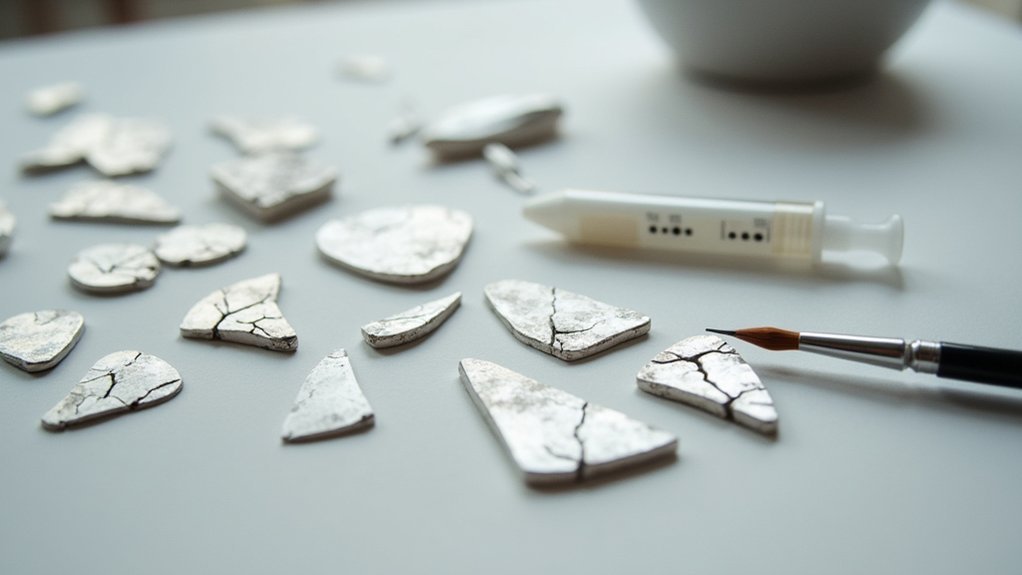
Once your silver clay piece emerges from the kiln with cracks or surface defects, you can restore it using Art Clay Paste Type®. This specialized paste works perfectly for repairing fired Metal Clay pieces, especially when adding small or flat-lying elements.
Before applying the paste, sand both the damaged area and the paste contact points to create better adhesion. Feather the edges carefully to blend seamlessly with surrounding areas.
For superficial cracks, simply apply Art Clay Paste directly. However, deeper cracks require pressing lump clay into the gap first, then smoothing with paste.
For enhanced bonding, mix PasteMaker® with your Precious Metal Clay to create a slip that strengthens adhesion. Always air dry thoroughly before using additional drying methods, then refire at your original temperature.
Fired-to-Fired Metal Clay Connection Methods
While post-fired repairs address damage, you’ll often need to connect separate fired pieces to create complex designs or structural assemblies. Successfully joining fired metal clay requires specific techniques that guarantee strong, permanent bonds between components.
Start by roughening contact areas on both pieces to create better bonding surfaces. Mix PasteMaker® into lump clay to form a Metal Clay slip, then apply this mixture generously to the prepared contact areas. Press the pieces together firmly and allow proper drying time before firing.
Use a two-part firing approach: first fire the main assembly, then refire at maximum temperature on appropriate support material for maximum strength.
- Textured surfaces grabbing onto each other like interlocking puzzle pieces
- Smooth slip flowing between roughened edges like liquid silver cement
- Heat transforming separate components into one unified metal sculpture
Traditional Metalsmithing Solutions for Broken Pieces
Although metal clay repairs work well for many situations, traditional metalsmithing techniques offer robust alternatives for fixing broken silver clay pieces.
Soldering stands out as the most effective method, using filler metal at approximately 780°F to create strong joints between pieces.
You’ll need fire-resistant materials to shield your work during the soldering process, protecting it from excessive heat damage.
Never place freshly soldered pieces directly into hot kilns, as this can melt the solder and compromise your repair.
For crack repairs, apply silver oil paste after initial firing, then fire at 800°F for thirty minutes.
Proper polishing techniques are essential post-repair to prevent crack reappearance and guarantee seamless blending with the original piece.
Advanced Reconstruction for Severely Damaged Projects

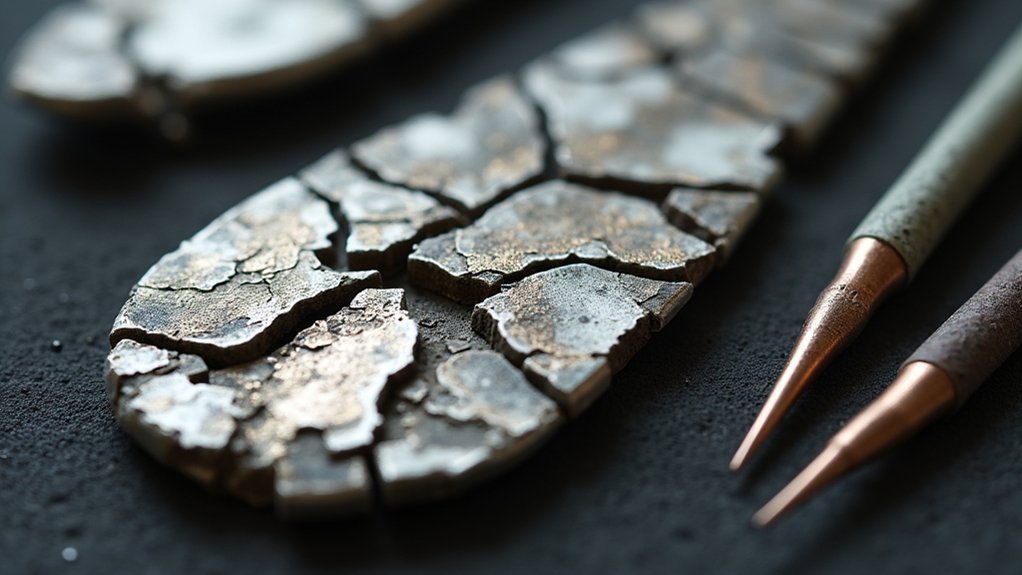
When your silver clay piece suffers extensive damage that goes beyond simple cracks or minor breaks, you’ll need to shift into reconstruction mode rather than basic repair.
Start by evaluating the structural integrity and isolating damaged areas for focused work. Use a jeweler’s saw to separate components, giving you better access to problematic sections.
- Fresh clay filling deep crevices while PasteMaker slip bonds seamlessly with existing sterling silver surfaces
- Careful sawing revealing clean edges that accept new material without creating visible repair lines
- Polished surfaces gleaming uniformly after refiring, showing no trace of previous damage
Fill gaps with lump clay and apply PasteMaker slip as your bonding agent.
Allow proper drying time before refiring at appropriate temperatures. Finish with detailed polishing techniques to achieve seamless integration.
Frequently Asked Questions
How to Repair Silver Clay?
You’ll repair silver clay by applying Art Clay Silver Oil Paste to cracks, drying for 24 hours, then firing at 800°F for 30 minutes. For deeper cracks, press lump clay in and blend smoothly.
Can You Refire Silver Clay?
You can refire silver clay at the original temperature, around 1650°F. Make certain it’s completely dry first, watch for added components with different melting points, and cool gradually afterward.
Why Did My Silver Clay Break After Firing?
Your silver clay likely broke due to firing shrinkage creating cracks around stones, internal pits from porosity, contaminants causing cavities, or excessive heat melting soldered parts during the firing process.
Can You Rehydrate Silver Clay?
You can rehydrate unfired silver clay by gradually adding small amounts of distilled water. The clay will absorb moisture and become pliable again. Don’t add too much water at once.
In Summary
You’ve now got multiple repair strategies at your disposal for rescuing damaged silver clay pieces. Whether you’re dealing with hairline cracks, complete breaks, or major structural damage, you can choose the most appropriate technique for your specific situation. Don’t let firing mishaps discourage you—these repair methods will help you salvage projects and continue developing your skills. Practice these techniques so you’ll be ready when accidents happen.


Leave a Reply